I figured a good pumpkin scone was something you had to hunt down at a fancy bakery. It took about one batch of these coming out of my own oven for that idea to fall apart completely. The first time I made them, I was honestly skeptical—could a home kitchen really produce something that tasted like autumn in a pastry case? The answer, as it turns out, is a very messy, very buttery yes. The kitchen smelled like a candle shop exploded, but in the best way possible.
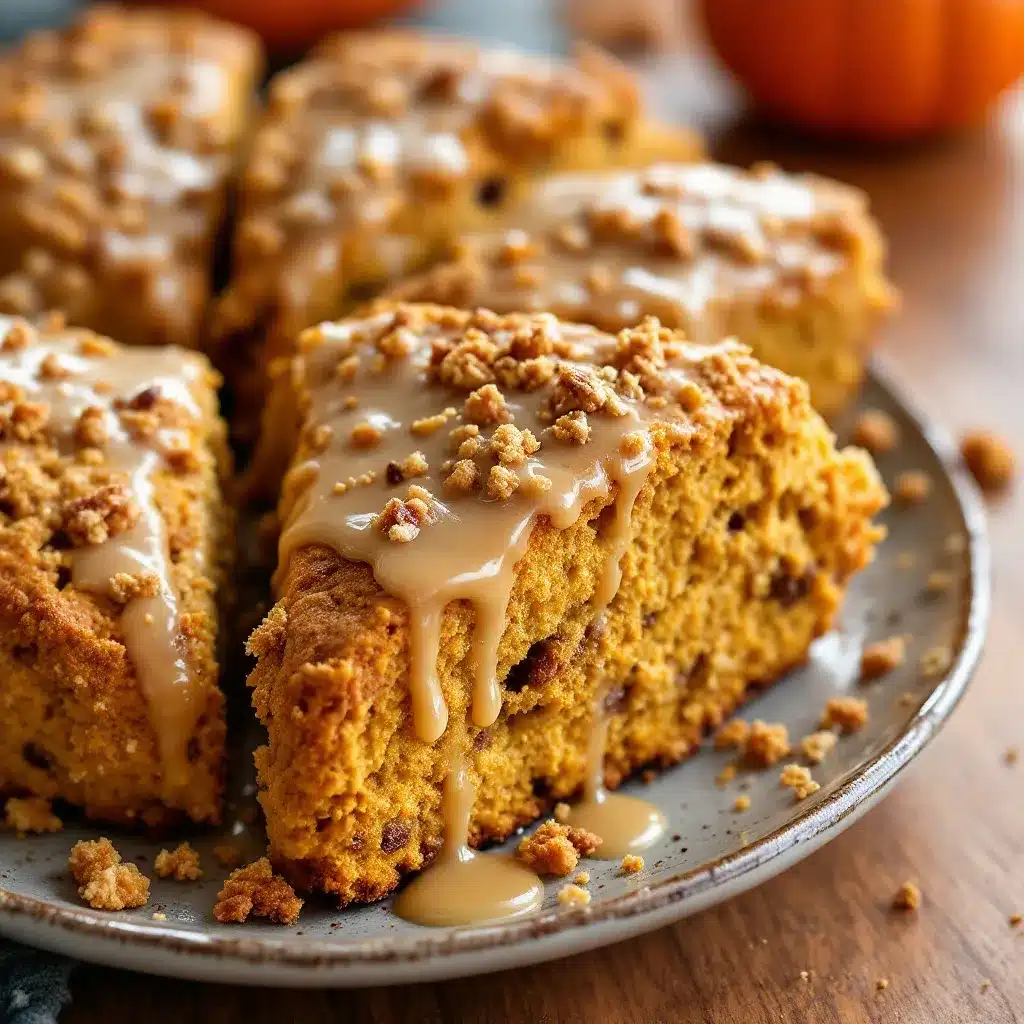
These scones aren’t dry or crumbly like some can be. They’re tender, slightly crisp on the edges, and packed with real pumpkin flavor, not just spice. The maple glaze is the real star here—it soaks into the warm scone just enough to make each bite a little bit magical. I originally made them for a lazy Sunday morning, and now they’ve become a non-negotiable part of my fall baking rotation. Honestly, they’re the reason I look forward to cooler weather. If you’ve ever had a sad, cardboard-textured scone, let me just say—these are the redemption arc you didn’t know you needed.
Why You’ll Love This Recipe
Let me tell you why these pumpkin scones are about to become your new favorite fall obsession. I’ve tested this recipe about four times to get the texture just right—not too cakey, not too dense—and it finally hit that sweet spot.
- Quick & Easy: From mixing bowl to cooling rack in about 35 minutes. No stand mixer required, no complicated folding.
- Simple Ingredients: You probably already have most of these in your pantry. Canned pumpkin, flour, butter, and maple syrup are the heavy lifters here.
- Perfect for Fall Mornings: These scones are basically a hug in pastry form. Great for Thanksgiving brunch, cozy weekends, or surprising your coworkers.
- Crowd-Pleaser: I brought a batch to a potluck and watched three different people come back for seconds. Kids love the glaze, adults love the spice blend.
- Unbelievably Delicious: The combo of pumpkin, warm spices, and that maple glaze is next-level comfort food. It’s the kind of pastry that makes you close your eyes after the first bite.
What makes this recipe different? It’s the ratio—just enough butter for flakiness, a touch of heavy cream for tenderness, and pumpkin puree that keeps everything moist without making it soggy. I’ve tried versions with less butter and they just weren’t the same. This is the one.
What Ingredients You Will Need
This recipe uses simple, wholesome ingredients to deliver big flavor without the fuss. Most of these are pantry staples, especially if you’re a regular fall baker.
- For the Scones:
- 2 cups (250g) all-purpose flour (I prefer King Arthur for consistent results)
- 1/3 cup (65g) granulated sugar
- 1 tablespoon baking powder
- 1 teaspoon ground cinnamon
- 1/2 teaspoon ground nutmeg
- 1/2 teaspoon ground ginger
- 1/4 teaspoon ground cloves
- 1/2 teaspoon salt
- 6 tablespoons (85g) cold unsalted butter, cubed (keep it cold—this is crucial)
- 1/2 cup (120ml) canned pumpkin puree (not pumpkin pie filling)
- 3 tablespoons heavy cream, plus more for brushing
- 1 large egg
- 1 teaspoon vanilla extract
- For the Maple Glaze:
- 1 cup (120g) powdered sugar, sifted
- 3 tablespoons pure maple syrup (the real stuff, not pancake syrup)
- 1-2 tablespoons heavy cream or milk (to thin)
- Pinch of salt
Ingredient Notes: I recommend using canned pumpkin puree for consistent moisture content. Fresh pumpkin can be too watery and throw off the texture. For the butter, keep it cold until you’re ready to cut it in—warm butter makes dense scones. The maple syrup should be real, not imitation. It makes a noticeable difference in the glaze flavor.
Substitutions: You can use whole wheat pastry flour for a slightly nuttier flavor, though the scones will be a bit denser. For a dairy-free version, substitute cold coconut oil for the butter and use a plant-based cream. The glaze works with coconut cream too, but it will be a little thinner.
Equipment Needed
You don’t need much for this recipe, which is part of its charm. Here’s what you’ll need:
- Large mixing bowl
- Pastry cutter or two forks (for cutting butter into flour)
- Baking sheet lined with parchment paper
- Whisk
- Measuring cups and spoons
- Sharp knife or bench scraper (for cutting the scones)
- Cooling rack
If you don’t have a pastry cutter, don’t worry. I used two forks for years before buying one. You can also use your fingertips—just work quickly so the butter doesn’t warm up. A bench scraper is nice for clean cuts, but a sharp knife works perfectly fine.
Preparation Method
Preheat your oven to 400°F (200°C). Line a baking sheet with parchment paper and set it aside.
- Mix the dry ingredients. In a large bowl, whisk together the flour, sugar, baking powder, cinnamon, nutmeg, ginger, cloves, and salt. Make sure the spices are evenly distributed—nobody wants a bite that’s all clove.
- Cut in the butter. Add the cold, cubed butter to the flour mixture. Use a pastry cutter or two forks to cut the butter into the flour until it resembles coarse crumbs with some pea-sized butter pieces remaining. This takes about 2 minutes. Work quickly to keep the butter cold.
- Combine the wet ingredients. In a separate small bowl, whisk together the pumpkin puree, heavy cream, egg, and vanilla extract until smooth.
- Bring it together. Pour the wet mixture into the dry mixture. Stir with a fork or spatula until just combined. The dough will be shaggy and a bit sticky—that’s okay. Do not overmix, or the scones will be tough.
- Shape the dough. Turn the dough out onto a lightly floured surface. Gently bring it together with your hands, patting it into a 1-inch thick round. It should be about 8 inches in diameter. Don’t overwork it—just enough to hold together.
- Cut the scones. Using a sharp knife or bench scraper, cut the round into 8 wedges (like a pizza). Transfer each wedge to the prepared baking sheet, spacing them about 2 inches apart.
- Brush and bake. Brush the tops of the scones with a little heavy cream. This helps them develop a golden, slightly crisp crust. Bake for 15-18 minutes, until the edges are lightly golden and the tops are firm to the touch.
- Cool slightly. Let the scones cool on the baking sheet for 5 minutes, then transfer them to a cooling rack. They should still be warm when you glaze them.
- Make the glaze. While the scones cool, whisk together the powdered sugar, maple syrup, and 1 tablespoon of cream. Add more cream, 1 teaspoon at a time, until the glaze is thick but pourable. It should coat the back of a spoon.
- Glaze and serve. Drizzle the glaze over the warm scones. Let it set for a few minutes before serving. The glaze will soak in slightly, creating that perfect sweet finish.
Sensory Cues: At step 2, the mixture should look like damp sand with visible butter flecks. At step 4, the dough should just come together—if it’s too dry, add a teaspoon of cream. When baking, your kitchen will smell like a pumpkin spice dream. The scones are done when the edges are just starting to brown and the center springs back when lightly pressed.
Cooking Tips & Techniques
I’ve made this recipe enough times to know where things can go wrong. Here are the lessons I learned the hard way.
Keep everything cold. This is the number one rule for flaky scones. If your butter warms up, the scones will spread and turn out dense. I sometimes pop my butter in the freezer for 10 minutes before cutting it in. On a hot day, chill your mixing bowl too.
Don’t overmix the dough. I know it’s tempting to keep stirring until everything looks smooth, but stop as soon as the flour is incorporated. Overmixing develops gluten, which makes scones tough and chewy. You want them tender, not like bread.
Use a light hand when shaping. Pat the dough together gently. If it cracks a little at the edges, that’s fine. Rough edges actually create more surface area for a crispy exterior.
Brush with cream, not egg wash. I tried an egg wash once and it made the tops too dark and shiny. Heavy cream gives a subtle golden color and a softer finish that works better with the glaze.
Glaze while warm. The glaze sinks into the scones slightly when they’re still warm, creating a lovely moist layer under the surface. If you wait until they’re completely cool, the glaze just sits on top. Both are good, but warm glazing is my preference.
I once forgot to add the baking powder. The scones came out like hockey pucks. Don’t be like me—double-check your leavening agent.
Variations & Adaptations
This recipe is flexible, and I’ve played around with it quite a bit. Here are some of my favorite variations:
- Gluten-Free Version: Substitute the all-purpose flour with a 1:1 gluten-free baking blend. I’ve had good results with Bob’s Red Mill. Add an extra tablespoon of cream since gluten-free flours tend to absorb more moisture.
- Vegan Adaptation: Use cold coconut oil instead of butter, and substitute the heavy cream with full-fat coconut cream. Replace the egg with a flax egg (1 tablespoon ground flaxseed + 3 tablespoons water, let sit for 5 minutes). The texture will be slightly different—a bit more crumbly—but still delicious.
- Spice It Up: Add 1/2 teaspoon of cardamom or allspice for a more complex flavor profile. I tried a cardamom-pumpkin version last year and it was surprisingly good with the maple glaze.
- Add-Ins: Fold in 1/2 cup of chopped pecans, walnuts, or white chocolate chips after the dough comes together. The nuts add a nice crunch. White chocolate chips make it taste like a dessert scone.
- Savory Twist: Skip the sugar and spices, add 1/2 teaspoon of black pepper and 1/2 cup of shredded cheddar cheese. Omit the maple glaze and brush with melted butter instead. It sounds weird, but pumpkin and cheddar are a classic combination.
I personally love the pecan version—the crunch contrasts perfectly with the soft interior and the glaze.
Serving & Storage Suggestions
These scones are best served warm, right after the glaze sets. The contrast between the slightly crisp exterior and the tender, moist interior is at its peak within the first hour.
Serving Ideas: Pair them with a hot cup of coffee or chai tea for the ultimate fall treat. They’re also great alongside a bowl of slow cooker honey garlic chicken meal prep bowls for a sweet-savory contrast. For brunch, serve them with scrambled eggs and fresh fruit. The maple glaze also works beautifully as a dip for apple slices.
Storage: Store leftover scones in an airtight container at room temperature for up to 2 days. After that, they start to dry out. You can also refrigerate them for up to 5 days, but they’ll lose some tenderness.
Freezing: Freeze unbaked scone wedges on a baking sheet until solid, then transfer to a freezer bag. Bake from frozen, adding 2-3 minutes to the baking time. You can also freeze baked, unglazed scones for up to 3 months. Thaw at room temperature, then warm in a 300°F oven for 5 minutes before glazing.
Reheating: The best way to revive a day-old scone is in a 350°F oven for 5-7 minutes. The microwave works in a pinch, but it makes the scone soft and a bit gummy. If you’re reheating glazed scones, the glaze might melt a little—that’s okay, it just gets more absorbed.
Flavor Development: Honestly, these scones are best on day one. The glaze soaks in overnight and the texture changes. They’re still good the next day, but not quite as magical. So eat them fresh if you can.
Nutritional Information & Benefits
Here’s an approximate nutritional breakdown per scone (with glaze):
| Nutrient | Amount |
|---|---|
| Calories | 320 |
| Total Fat | 14g |
| Saturated Fat | 8g |
| Carbohydrates | 45g |
| Sugar | 22g |
| Protein | 5g |
| Fiber | 2g |
| Vitamin A | 85% DV |
Pumpkin is packed with vitamin A, which supports eye health and immune function. It’s also a good source of fiber and antioxidants. The maple syrup adds a touch of minerals like zinc and manganese, though let’s be real—it’s mostly sugar. These scones are a treat, not a health food, but they’re a treat that happens to have some redeeming qualities.
Dietary Considerations: This recipe contains gluten, dairy, and eggs. For allergen-friendly versions, see the variations section above.
Frequently Asked Questions
Can I use fresh pumpkin instead of canned?
You can, but I don’t recommend it. Fresh pumpkin has higher water content, which can make the dough too sticky and the scones dense. If you must use fresh, roast and puree it, then strain it through a cheesecloth for about an hour to remove excess liquid.
Why did my scones spread out flat?
This usually happens when the butter is too warm or the dough is overmixed. Make sure your butter is cold straight from the fridge, and handle the dough as little as possible. If your kitchen is warm, chill the shaped scones for 15 minutes before baking.
Can I make the dough ahead of time?
Yes! Shape the scones, place them on a baking sheet, and refrigerate for up to 24 hours. Bake directly from the fridge, adding a minute or two to the baking time. You can also freeze the unbaked wedges for up to 3 months.
How do I know when the scones are done?
The edges should be lightly golden, and the tops should feel firm but spring back when gently pressed. A toothpick inserted into the center should come out clean or with a few moist crumbs. Don’t overbake—they’ll continue to set as they cool.
Can I skip the maple glaze?
You can, but why would you? The glaze is what makes these scones special. If you’re avoiding sugar, try a light dusting of powdered sugar or a drizzle of honey instead. But honestly, the maple glaze is the star of the show.
Conclusion
These perfect pumpkin scones with easy maple glaze are everything I want in a fall pastry—tender, spiced, and just sweet enough without being overwhelming. They’re simple enough for a weekday morning but impressive enough for company. I love how the glaze turns into a little pool of sweetness on the plate, just waiting to be sopped up with a bite of scone.
I hope you give these a try and make them your own. Maybe throw in some pecans, double the glaze, or serve them with a side of cucumber mint green tea cooler for a surprisingly good pairing. Let me know in the comments how they turned out for you—did you tweak the spices? Add chocolate chips? I’d love to hear about your version. Happy baking!
Pin This Recipe!
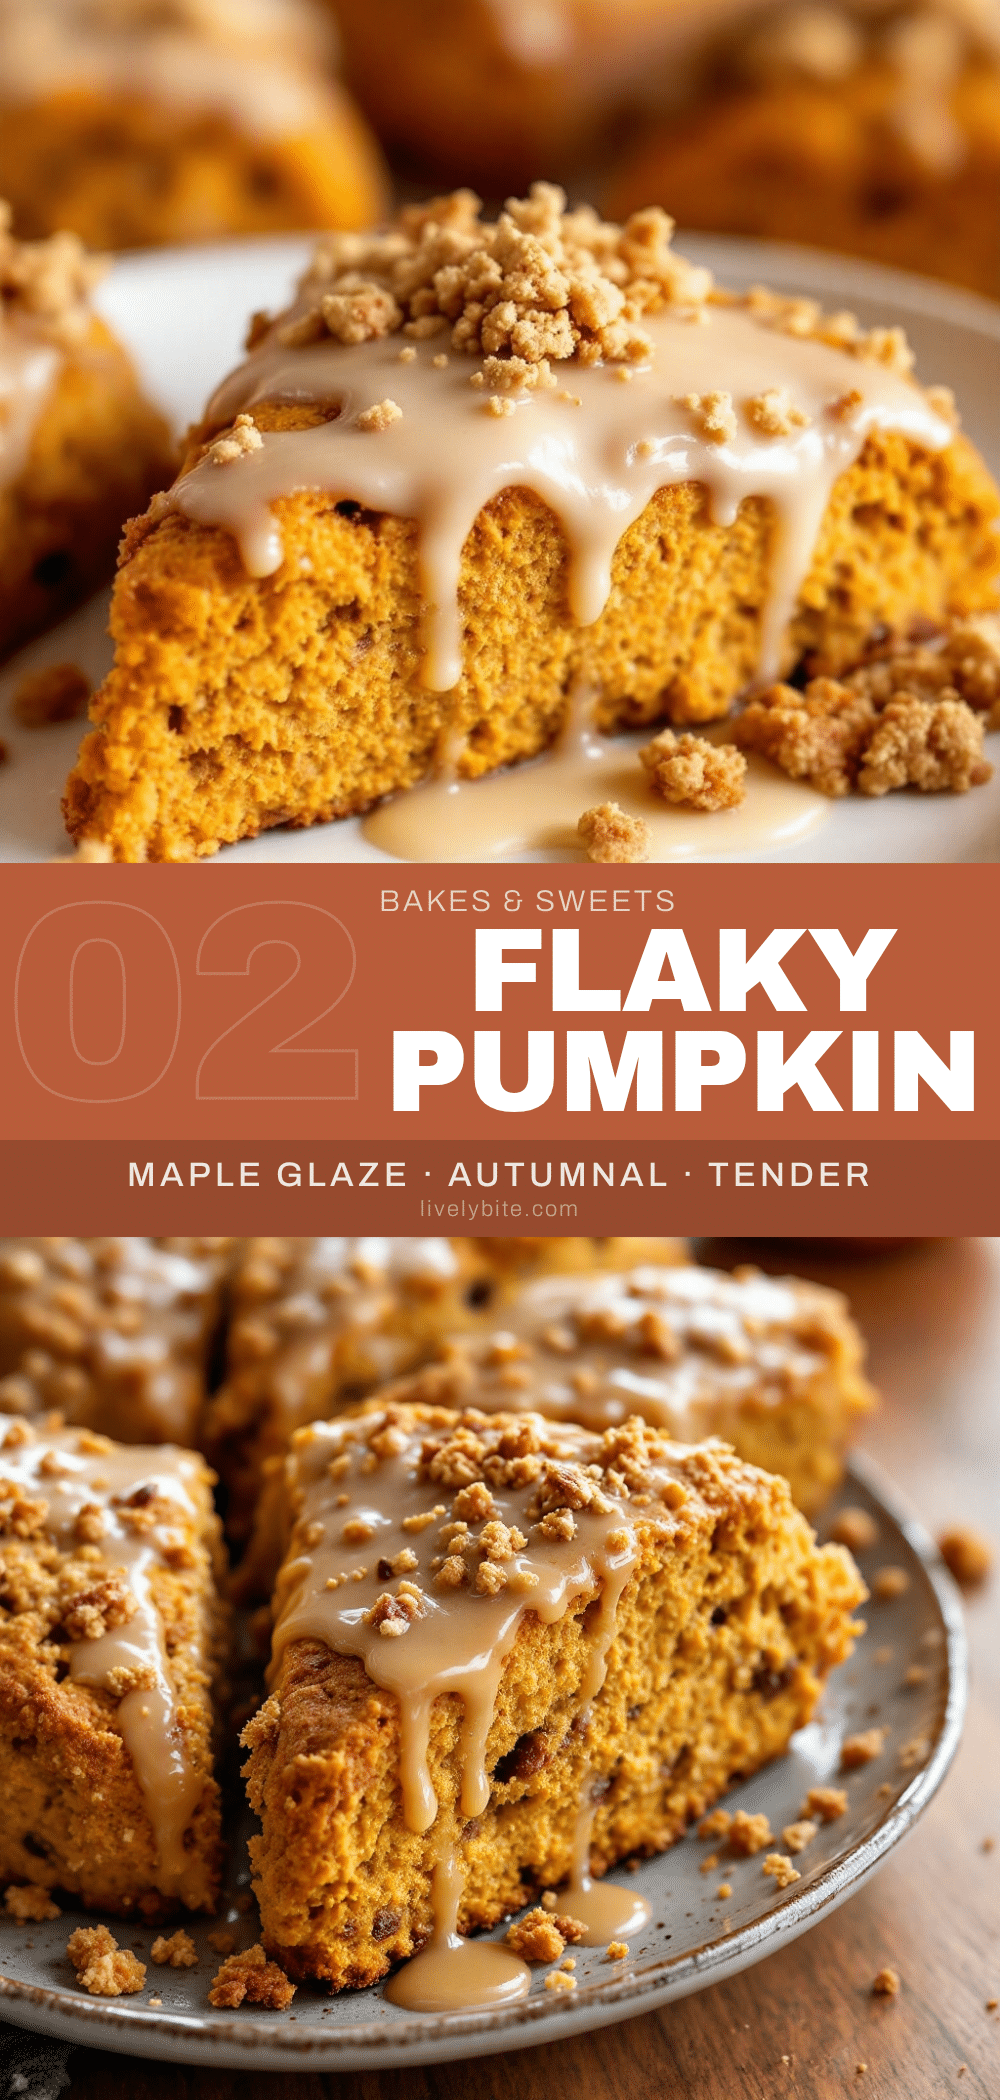
Perfect Pumpkin Scones with Easy Maple Glaze
Tender, slightly crisp on the edges, and packed with real pumpkin flavor, these scones are topped with a maple glaze that soaks in just enough to make each bite magical. They’re the perfect fall treat, ready in about 35 minutes.
- Prep Time: 15 minutes
- Cook Time: 18 minutes
- Total Time: 33 minutes
- Yield: 8 servings 1x
- Category: Breakfast
- Cuisine: American
Ingredients
- 2 cups (250g) all-purpose flour
- 1/3 cup (65g) granulated sugar
- 1 tablespoon baking powder
- 1 teaspoon ground cinnamon
- 1/2 teaspoon ground nutmeg
- 1/2 teaspoon ground ginger
- 1/4 teaspoon ground cloves
- 1/2 teaspoon salt
- 6 tablespoons (85g) cold unsalted butter, cubed
- 1/2 cup (120ml) canned pumpkin puree
- 3 tablespoons heavy cream, plus more for brushing
- 1 large egg
- 1 teaspoon vanilla extract
- 1 cup (120g) powdered sugar, sifted
- 3 tablespoons pure maple syrup
- 1–2 tablespoons heavy cream or milk (to thin)
- Pinch of salt
Instructions
- Preheat oven to 400°F (200°C). Line a baking sheet with parchment paper.
- In a large bowl, whisk together flour, sugar, baking powder, cinnamon, nutmeg, ginger, cloves, and salt.
- Add cold cubed butter to flour mixture. Use a pastry cutter or two forks to cut butter into flour until it resembles coarse crumbs with some pea-sized butter pieces remaining.
- In a separate small bowl, whisk together pumpkin puree, heavy cream, egg, and vanilla extract until smooth.
- Pour wet mixture into dry mixture. Stir with a fork or spatula until just combined. Dough will be shaggy and slightly sticky.
- Turn dough out onto a lightly floured surface. Gently bring together with hands, patting into a 1-inch thick round (about 8 inches in diameter).
- Using a sharp knife or bench scraper, cut the round into 8 wedges. Transfer wedges to prepared baking sheet, spacing about 2 inches apart.
- Brush tops of scones with a little heavy cream. Bake for 15-18 minutes, until edges are lightly golden and tops are firm to the touch.
- Let scones cool on baking sheet for 5 minutes, then transfer to a cooling rack.
- While scones cool, whisk together powdered sugar, maple syrup, and 1 tablespoon of cream. Add more cream, 1 teaspoon at a time, until glaze is thick but pourable.
- Drizzle glaze over warm scones. Let set for a few minutes before serving.
Notes
Keep butter cold for flaky scones. Do not overmix dough. Glaze while scones are still warm for best absorption. For dairy-free, use cold coconut oil and plant-based cream. For gluten-free, use a 1:1 gluten-free baking blend.
Nutrition
- Serving Size: 1 scone
- Calories: 320
- Sugar: 22
- Sodium: 320
- Fat: 14
- Saturated Fat: 8
- Carbohydrates: 45
- Fiber: 2
- Protein: 5
Keywords: pumpkin scones, maple glaze, fall baking, breakfast pastry, easy scone recipe


