There was a Tuesday night—just a regular one, nothing special—when I stood in front of my open fridge and just stared. Ground beef thawed on the counter. A half-used block of cheddar sat in the drawer. There was rice in the pantry, an onion that was starting to look a little sad, and a can of diced tomatoes that had been there for months. I wanted something warm, filling, and cheesy, but I did not want to dirty every pot in the kitchen. That is the exact moment this easy cheesy ground beef and rice skillet was born. It wasn’t planned. It wasn’t pretty at first glance. But after that first bite—the kind where you just nod and keep eating without saying a word—I knew I had stumbled onto something worth repeating.
For a while, I just accepted that weeknight ground beef dinners were going to be a little boring or a lot of work. You know the ones: either they take an hour to simmer or they come out dry and sad. Honestly, I had made peace with that. But this skillet changed the game. It is the kind of recipe that feels like a cheat code—one pan, simple ingredients you probably already have, and dinner on the table in about 30 minutes. No fancy techniques, no obscure spices. Just honest, cheesy, beefy comfort food that tastes like you tried harder than you actually did.
I have made this dish for my family at least a dozen times since that first night, and every single time, someone asks for seconds. It has become my go-to for those nights when I need a win without a fuss. It is the recipe I turn to when I want something that feels like a hug in a bowl but still leaves me with only one pan to wash. There is no drama here. Just a really good dinner that quietly earns its place in your regular rotation.
Why You’ll Love This Recipe
Let me tell you why this easy cheesy ground beef and rice skillet has earned a permanent spot in my weekly meal plan. It is not just another ground beef recipe—it is the one I actually look forward to making.
- Quick & Easy: From start to finish, this comes together in about 30 minutes. No marinating, no complicated steps. Just brown the beef, toss in the ingredients, and let it simmer.
- Simple Ingredients: You probably have most of these in your kitchen right now. Ground beef, rice, cheese, a few pantry staples. No special grocery trips required.
- One-Pan Wonder: This is a true one-pan meal. You cook everything in a single skillet, which means minimal cleanup. That alone is a win on a busy weeknight.
- Perfect for Busy Weeknights: Whether it is a Tuesday after work or a Saturday when you just do not feel like cooking, this recipe delivers. It is reliable, fast, and satisfying.
- Crowd-Pleaser: Kids love the cheesy goodness. Adults love the hearty flavor. I have brought this to potlucks and family dinners, and it always gets polished off.
- Unbelievably Delicious: The combination of seasoned beef, tender rice, and melted cheddar is pure comfort. It is the kind of meal that makes you close your eyes after the first bite.
What makes this recipe different from the dozens of other ground beef and rice skillets out there? It is the balance. The beef is seasoned just right, the rice cooks perfectly in the same pan, and the cheese melts into every bite. I tested this multiple times to get the liquid ratio spot on so the rice turns out fluffy, not mushy. It is not just another version—it is my best version.
This recipe isnt just good. It is the kind that makes you feel like you have your life together, even on the days when you absolutely do not. It is comfort food reimagined—simpler, faster, but with the same soul-soothing satisfaction. Perfect for those nights when you need dinner to just work.
What Ingredients You Will Need
This recipe uses simple, wholesome ingredients to deliver bold flavor and satisfying texture without the fuss. Most of these are pantry staples, which is exactly why this dish works so well on a busy night.
- 1 lb ground beef (80/20 works best for flavor; drain excess fat if needed)
- 1 tablespoon olive oil (for sautéing; adds a little richness)
- 1 medium yellow onion, diced (about 1 cup; adds sweetness and depth)
- 3 cloves garlic, minced (fresh is best, but jarred works in a pinch)
- 1 cup long-grain white rice (uncooked; jasmine or basmati work great)
- 2 cups beef broth (low-sodium preferred so you can control the salt)
- 1 can (14.5 oz) diced tomatoes, undrained (fire-roasted adds nice flavor)
- 1 teaspoon paprika (smoked paprika adds a subtle smokiness)
- 1 teaspoon dried oregano (or Italian seasoning blend)
- ½ teaspoon salt (adjust to taste)
- ¼ teaspoon black pepper
- 1 ½ cups shredded cheddar cheese (sharp cheddar gives the best flavor)
- 2 tablespoons chopped fresh parsley (optional, for garnish)
I recommend using a good quality beef broth here—it makes a difference since the rice absorbs all that liquid. I personally like Pacific Foods or Swanson for consistent flavor. For the cheese, shred it yourself from a block if you can. Pre-shredded cheese has anti-caking agents that prevent it from melting as smoothly. Trust me on this one.
If you want to swap the ground beef, ground turkey or chicken work beautifully. Just note that leaner meats may need a splash more oil to keep things from drying out. For a vegetarian version, try crumbled plant-based meat or even cooked lentils. The cooking time will vary slightly, so keep an eye on the liquid.
You can also use brown rice, but you will need to increase the broth to about 2 ½ cups and simmer for about 45 minutes instead of 20. White rice keeps this recipe fast and foolproof, which is exactly what I am going for here.
Equipment Needed
You do not need much for this recipe, which is part of the beauty. Here is what you will need:
- Large skillet or Dutch oven (12-inch with a lid is ideal; a deep sauté pan works too)
- Wooden spoon or spatula (for breaking up the beef)
- Chef’s knife and cutting board
- Measuring cups and spoons
- Box grater (if shredding cheese from a block)
If you do not have a skillet with a lid, you can use a sheet of aluminum foil to cover it tightly. I have done this more times than I care to admit, and it works perfectly fine. A cast iron skillet is great here because it holds heat evenly, but any heavy-bottomed pan will do the job. I have used my trusty Lodge cast iron for years, and it has never let me down. If you are on a budget, a non-stick skillet from a store brand works just as well—just be gentle with the lid to avoid warping.
One tip: make sure your skillet is large enough to hold everything with a little room to stir. A crowded pan makes it harder for the rice to cook evenly. If your skillet is on the smaller side, use a Dutch oven instead.
Preparation Method
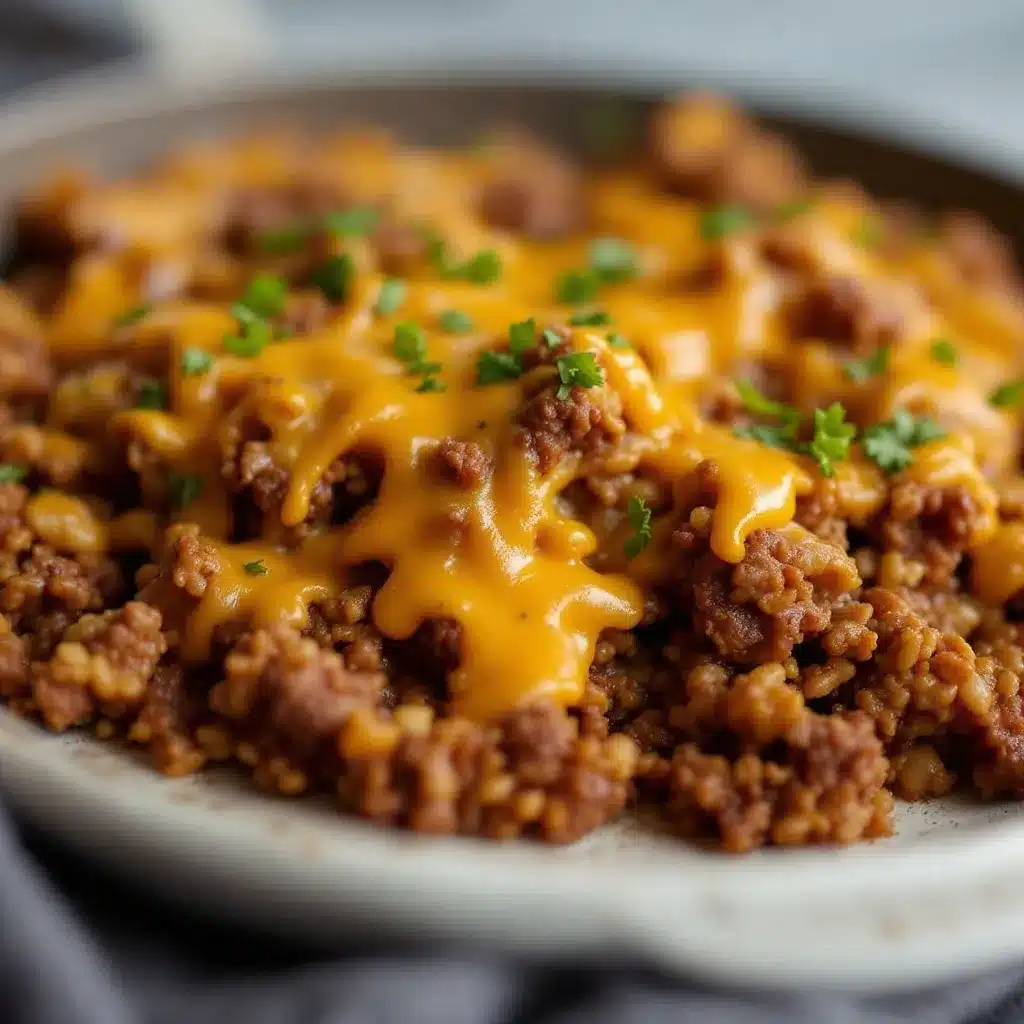
Let me walk you through this step by step. It is simpler than it looks, and I promise you will have dinner on the table before you know it.
- Brown the beef. Heat the olive oil in your large skillet over medium-high heat. Add the ground beef and break it apart with your spoon. Cook for 5-7 minutes, stirring occasionally, until the beef is browned and no longer pink. If there is a lot of excess fat, drain it off, leaving about a tablespoon in the pan for flavor. (I usually just tilt the pan and spoon out the extra grease.)
- Sauté the aromatics. Reduce the heat to medium. Add the diced onion to the skillet and cook for 3-4 minutes, until it softens and turns translucent. Stir in the minced garlic and cook for another 30 seconds until fragrant. You will smell it when it is ready—do not let the garlic burn, or it will turn bitter.
- Add the rice and seasonings. Pour in the uncooked rice and stir it around for about a minute. This toasts the rice slightly, which helps it hold its shape better during cooking. Sprinkle in the paprika, oregano, salt, and pepper. Stir everything together so the rice is coated in all that flavor.
- Add the liquid. Pour in the beef broth and the can of diced tomatoes (with their juices). Give everything a good stir, scraping up any browned bits from the bottom of the pan. Those bits are pure flavor, so do not leave them behind.
- Bring to a simmer. Increase the heat to high and bring the mixture to a boil. Once it is bubbling, reduce the heat to low, cover the skillet with the lid, and let it simmer gently. Set a timer for 20 minutes. Do not lift the lid during this time—the steam is what cooks the rice.
- Check the rice. After 20 minutes, remove the lid carefully. The rice should be tender and most of the liquid should be absorbed. If the rice is still a little firm, add a splash more broth or water, cover, and cook for another 3-5 minutes. Every stovetop is a little different, so trust your eyes here.
- Add the cheese. Once the rice is done, remove the skillet from the heat. Sprinkle the shredded cheddar evenly over the top. Cover the skillet again for 2-3 minutes to let the cheese melt completely. If you want a golden, bubbly top, pop the skillet under the broiler for 1-2 minutes—just watch it closely so it does not burn.
- Garnish and serve. Sprinkle the chopped parsley over the top for a fresh finish. Serve straight from the skillet or scoop into bowls. That first bite with the melted cheese pulling apart? Pure magic.
Cooking Tips & Techniques
I have made this easy cheesy ground beef and rice skillet enough times to learn a few things the hard way. Let me save you some trouble.
Do not skip toasting the rice. That quick minute of stirring the rice in the hot pan before adding liquid makes a real difference. It helps the grains stay separate and gives them a slightly nutty flavor. I learned this after making a few mushy skillets in my early days. A quick toast changed everything.
Resist the urge to peek. I know it is tempting to lift the lid and check on things, but every time you do, you let out steam. That steam is what cooks the rice. Keep the lid on for the full 20 minutes. If you are worried about it boiling over, use a slightly larger pan or crack the lid just a hair.
Watch your heat. A gentle simmer is key. If the heat is too high, the liquid will evaporate before the rice is cooked through. If it is too low, the rice will take forever. Medium-low to low is usually the sweet spot on most stovetops. You want small, lazy bubbles, not a rolling boil.
Season as you go. I season the beef first, then add more seasoning with the rice. This builds layers of flavor instead of just dumping it all in at the end. Taste the broth before you cover the pan—it should be well-seasoned since the rice will absorb it.
One mistake I made early on: I used pre-shredded cheese and wondered why my skillet looked greasy instead of creamy. The anti-caking powders in bagged cheese mess with the melt. Shred your own cheese. It takes two minutes and the texture is infinitely better. I promise it is worth the extra effort.
If you want to get ahead, you can brown the beef and onion a day in advance. Just store it in the fridge, and when you are ready to cook, reheat it in the skillet and pick up from step 3. It shaves off about 10 minutes.
Variations & Adaptations
One of the best things about this recipe is how flexible it is. Here are some ways I have tweaked it over the years.
Spicy Southwest Version: Swap the diced tomatoes for a can of Rotel (tomatoes with green chilies). Add ½ teaspoon of cumin and a pinch of cayenne pepper. Top with pepper jack cheese instead of cheddar. It adds a nice kick without being overwhelming. I made this for a game day dinner and it was a hit.
Vegetable-Packed Version: Sauté a diced bell pepper and a cup of frozen corn along with the onion. You can also stir in a handful of fresh spinach right before adding the cheese. The spinach wilts down into the rice and adds extra nutrients without changing the flavor much. This is my go-to when I want to pretend I am being healthy.
Low-Carb Adaptation: Swap the rice for cauliflower rice. Use 4 cups of frozen cauliflower rice and reduce the broth to 1 cup. Simmer for only 10 minutes covered, then check for doneness. Cauliflower rice cooks much faster, so keep an eye on it. It is not exactly the same, but it scratches the itch if you are watching your carbs.
Dairy-Free Option: Use a dairy-free shredded cheese alternative. I have tried several brands, and Violife melts the best in my experience. You can also skip the cheese entirely and add a spoonful of nutritional yeast for a cheesy flavor without the dairy. It is different, but still good.
One-Pot Pasta Twist: Replace the rice with 8 ounces of small pasta like elbow macaroni or ditalini. Use 2 ½ cups of broth and simmer until the pasta is al dente, about 10-12 minutes. Stir in the cheese at the end. It becomes a cheeseburger macaroni situation, and honestly, no one will complain.
I have tried the spicy version at least four times now, and it is my personal favorite. Something about the heat with the melted cheese just works. But the original is the one I make most often because it is what my family asks for.
Serving & Storage Suggestions
This easy cheesy ground beef and rice skillet is best served hot, straight from the pan. The cheese should be stretchy and the rice fluffy. I like to scoop it into bowls and let everyone add their own toppings—a dollop of sour cream, a few dashes of hot sauce, or some sliced green onions on top.
It pairs beautifully with a simple side salad dressed with lemon and olive oil. The freshness cuts through the richness of the cheese and beef. I also love serving it with a side of steamed broccoli or roasted green beans. If you are in the mood for something heartier, warm up some tortillas or crusty bread to soak up any extra sauce. For a lighter option, I sometimes serve it alongside a refreshing cucumber mint green tea cooler to balance the richness.
Storage: Let the skillet cool completely, then transfer leftovers to an airtight container. It will keep in the refrigerator for up to 4 days. The rice will absorb more liquid as it sits, so do not be alarmed if it seems a little drier the next day. That is normal.
Freezing: This recipe freezes surprisingly well. Portion it into freezer-safe containers or zip-top bags. It will keep for up to 3 months. Thaw overnight in the refrigerator before reheating.
Reheating: The best way to reheat is in a skillet over medium-low heat with a splash of broth or water. Stir occasionally until heated through, about 5-7 minutes. You can also use the microwave—cover the bowl with a damp paper towel to add moisture back. The flavors actually meld together even more overnight, so leftovers often taste better the next day. I have been known to make a double batch just for this reason.
Nutritional Information & Benefits
Here is an approximate nutritional breakdown for one serving (based on 6 servings):
- Calories: 420
- Protein: 28g
- Fat: 18g
- Carbohydrates: 35g
- Fiber: 2g
- Sugar: 4g
- Sodium: 680mg
This recipe offers a solid balance of protein from the beef, carbohydrates from the rice for energy, and calcium from the cheese. The tomatoes provide a good dose of vitamin C and antioxidants like lycopene. If you use lean ground beef (90/10), you can reduce the fat content to about 12g per serving.
For those watching their sodium, use low-sodium broth and no-salt-added diced tomatoes. You can also reduce the added salt and rely more on the herbs and spices for flavor. The recipe is naturally gluten-free as written, but always double-check your broth label to be sure.
This is not a diet food, and it does not pretend to be. It is honest, hearty comfort food that fills you up and satisfies a craving. Sometimes that is exactly what you need, and there is nothing wrong with that.
Conclusion
This easy cheesy ground beef and rice skillet is the kind of recipe that quietly becomes a staple. It is not flashy. It does not require a trip to a specialty grocery store. It just works, night after night, and that is exactly why I keep coming back to it. Whether you are feeding a hungry family, meal prepping for the week, or just need a reliable dinner that does not demand much from you, this dish delivers.
I love that I can make it without thinking too hard. I love that my kids eat it without complaint. And I love that I only have one pan to wash when it is all over. If you give it a try, I would love to hear how it turns out for you. Did you add your own twist? Swap in a different cheese? Throw in some extra veggies? Drop a comment below and let me know. Your version might just inspire someone else—or give me a new idea for next week’s dinner.
Go ahead and make this tonight. You have everything you need. And honestly, you deserve a dinner that feels this good without all the effort. Happy cooking!
Frequently Asked Questions
Can I use brown rice instead of white rice?
Yes, but you will need to adjust the cooking time and liquid. Use 2 ½ cups of broth instead of 2, and simmer for about 40-45 minutes instead of 20. Check the rice at the 35-minute mark and add more liquid if needed. Brown rice has a chewier texture, which works well here, but it does take longer.
Can I make this recipe in advance for meal prep?
Absolutely. This recipe is great for meal prep. Cook it as directed, let it cool completely, and portion it into containers. It will keep in the fridge for up to 4 days. Reheat in a skillet with a splash of broth to restore moisture. The flavors actually get better after a day in the fridge.
How do I prevent the rice from getting mushy?
The key is using the right liquid ratio and not overcooking. Use exactly 2 cups of broth and 1 cup of rice. Do not lift the lid during the 20-minute simmer. If the rice is still a little firm after 20 minutes, add a splash of liquid and cook for 3-5 more minutes. Also, toasting the rice before adding liquid helps it hold its shape.
Can I add vegetables to this skillet?
Yes, and I encourage it. Sauté diced bell peppers, zucchini, or mushrooms along with the onion. You can also stir in frozen peas or corn right before adding the cheese. Spinach wilts beautifully into the hot rice. Just keep in mind that watery vegetables like zucchini may release extra liquid, so you might need to simmer uncovered for a few extra minutes.
What is the best cheese to use for this recipe?
Sharp cheddar is my top choice because it melts smoothly and has a strong flavor. Colby Jack, Monterey Jack, or a Mexican blend also work well. Avoid pre-shredded cheese if you can—it contains anti-caking agents that prevent smooth melting. Shred your own cheese from a block for the creamiest, stretchiest results.
Pin This Recipe!
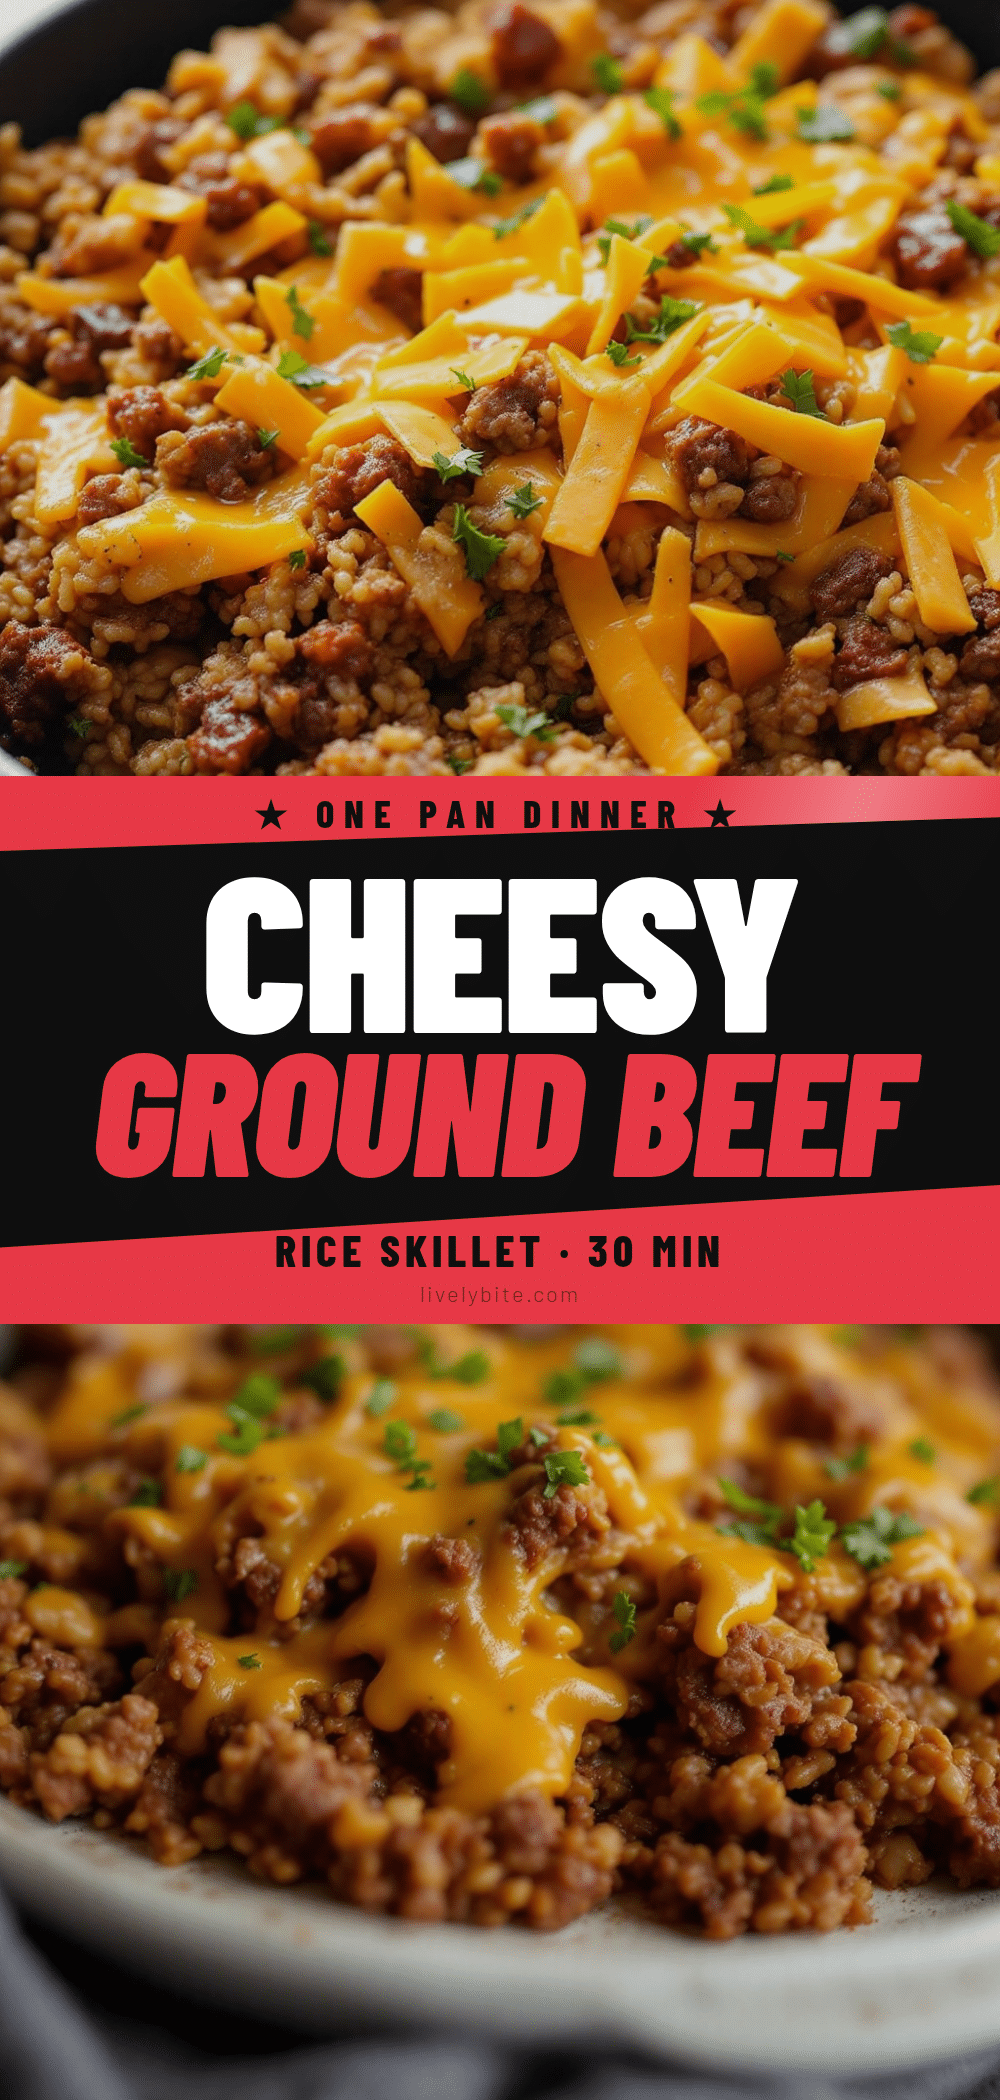
Easy Cheesy Ground Beef and Rice Skillet: Best One-Pan Dinner

This easy cheesy ground beef and rice skillet is a one-pan wonder that comes together in about 30 minutes. It’s the perfect weeknight dinner—simple ingredients, minimal cleanup, and pure comfort in every bite.
- Prep Time: 10 minutes
- Cook Time: 30 minutes
- Total Time: 40 minutes
- Yield: 6 servings 1x
- Category: Main Course
- Cuisine: American
Ingredients
- 1 lb ground beef (80/20 works best)
- 1 tablespoon olive oil
- 1 medium yellow onion, diced (about 1 cup)
- 3 cloves garlic, minced
- 1 cup long-grain white rice, uncooked
- 2 cups low-sodium beef broth
- 1 can (14.5 oz) diced tomatoes, undrained
- 1 teaspoon paprika
- 1 teaspoon dried oregano
- ½ teaspoon salt
- ¼ teaspoon black pepper
- 1 ½ cups shredded sharp cheddar cheese
- 2 tablespoons chopped fresh parsley (optional, for garnish)
Instructions
- Heat olive oil in a large skillet over medium-high heat. Add ground beef and cook for 5-7 minutes, breaking it apart, until browned. Drain excess fat, leaving about 1 tablespoon in the pan.
- Reduce heat to medium. Add diced onion and cook for 3-4 minutes until softened. Stir in minced garlic and cook for 30 seconds until fragrant.
- Add uncooked rice and stir for about 1 minute to toast. Sprinkle in paprika, oregano, salt, and pepper. Stir to coat the rice.
- Pour in beef broth and diced tomatoes with their juices. Stir, scraping up any browned bits from the bottom of the pan.
- Increase heat to high and bring to a boil. Reduce heat to low, cover, and simmer for 20 minutes. Do not lift the lid during this time.
- After 20 minutes, remove lid. Rice should be tender and most liquid absorbed. If rice is still firm, add a splash of broth or water, cover, and cook for 3-5 more minutes.
- Remove skillet from heat. Sprinkle shredded cheddar evenly over the top. Cover for 2-3 minutes to melt the cheese. Optionally, broil for 1-2 minutes for a golden top.
- Garnish with chopped parsley and serve straight from the skillet.
Notes
Do not skip toasting the rice—it helps keep grains separate. Resist lifting the lid during simmering to retain steam. Shred cheese from a block for best melting. For a spicy version, use Rotel tomatoes and pepper jack cheese. Leftovers keep in the fridge for up to 4 days or freeze for up to 3 months.
Nutrition
- Serving Size: 1 serving (about 1.5
- Calories: 420
- Sugar: 4
- Sodium: 680
- Fat: 18
- Saturated Fat: 8
- Carbohydrates: 35
- Fiber: 2
- Protein: 28
Keywords: ground beef, rice, skillet, one-pan, cheesy, weeknight dinner, comfort food


