Graham cracker crumbs flying everywhere, a pan of cream cheese sitting on the counter that I forgot to soften, and the distinct smell of pumpkin spice filling the kitchen—that’s where this recipe started. It was the night before Thanksgiving, and I had promised to bring dessert. The oven was already occupied with a roasting turkey, and my original plan for a traditional pumpkin pie had just gone up in smoke. I needed something quick, something that didn’t require baking, and something that would still feel special. I grabbed a mixing bowl, started improvising, and these Easy No-Bake Pumpkin Pie Cheesecake Bars were born. They saved the holiday dessert table that year, and honestly, they’ve become the thing I’m asked to bring to every fall gathering since.
There’s this moment when you take a bite—the creamy, tangy cheesecake layer hits your tongue first, followed by that warm, spiced pumpkin filling, all sitting on a buttery, crunchy crust. It’s the kind of dessert that makes people pause mid-conversation and look down at their plate with surprise. No one believes it’s no-bake. I’ve had friends ask for the recipe before they even finished their first bar. That’s the thing about this dessert—it doesn’t taste like a shortcut. It tastes like you spent hours in the kitchen, when really, it came together in about twenty minutes of actual work.
This recipe has become my fall secret weapon. It’s the dessert I bring to Friendsgiving, the one I make for Sunday dinners when I want something special but don’t have the energy for a project. It’s forgiving, it’s flexible, and it’s genuinely delicious. If you’re looking for a dessert that delivers all the cozy flavors of fall without turning on your oven, this is it. Trust me on this one.
Why You’ll Love This Recipe
Let me tell you why these Easy No-Bake Pumpkin Pie Cheesecake Bars have earned a permanent spot in my dessert rotation. I’ve tested this recipe more times than I can count, tweaking the ratios and the spices until everything hit just right. Here’s what makes them special:
- No Oven Required : This is the biggest win. Whether your oven is full of other dishes or you just don’t want to heat up the kitchen, these bars come together completely on the countertop and set up in the fridge.
- Simple Ingredients : You probably have most of these in your pantry right now. Graham crackers, cream cheese, pumpkin puree, and basic spices—no fancy shopping trips required.
- Perfect for Fall Gatherings : These bars are the ideal make-ahead dessert for Thanksgiving, Friendsgiving, or any autumn get-together. They actually taste better after a day in the fridge, so you can prep them the night before and relax on party day.
- Crowd-Pleaser : I’ve served these to kids, adults, and even my picky mother-in-law who “doesn’t like pumpkin desserts.” They disappear fast. The combination of creamy cheesecake and spiced pumpkin is just irresistible.
- Unbelievably Delicious : The texture is what gets everyone. The crust stays crunchy, the cheesecake layer is silky smooth, and the pumpkin layer is thick and luscious. It’s like a pumpkin pie and a cheesecake had a perfect little baby.
What makes this version different from other no-bake pumpkin desserts I’ve tried is the layering technique. Instead of mixing everything together, keeping the cheesecake and pumpkin layers separate means each bite has that distinct tangy-sweet contrast. It’s a small detail, but it makes a huge difference in the final flavor. I’ve also dialed in the spice blend so it’s warm and aromatic without being overpowering. This isn’t just another pumpkin dessert—it’s the one I’d serve to anyone who says they’re not a fan of pumpkin.
What Ingredients You Will Need
This recipe uses simple, wholesome ingredients to deliver that bold fall flavor and satisfying texture without any fuss. Most of these are pantry staples, especially if you do any fall baking. Let me walk you through each one and why it matters.
For the Crust
- 2 cups graham cracker crumbs (about 14-16 full sheets, crushed finely) — You can buy pre-crushed crumbs or pulse whole crackers in a food processor. I prefer making my own crumbs because they’re fresher and give a better texture.
- 1/2 cup unsalted butter, melted — This binds the crumbs together and adds richness. Use salted butter if that’s what you have, just reduce the added salt elsewhere.
- 1/4 cup granulated sugar — Adds just enough sweetness to balance the buttery, salty crumbs.
- 1/4 teaspoon salt — Don’t skip this. Salt makes the crust taste more buttery and enhances all the flavors.
For the Cheesecake Layer
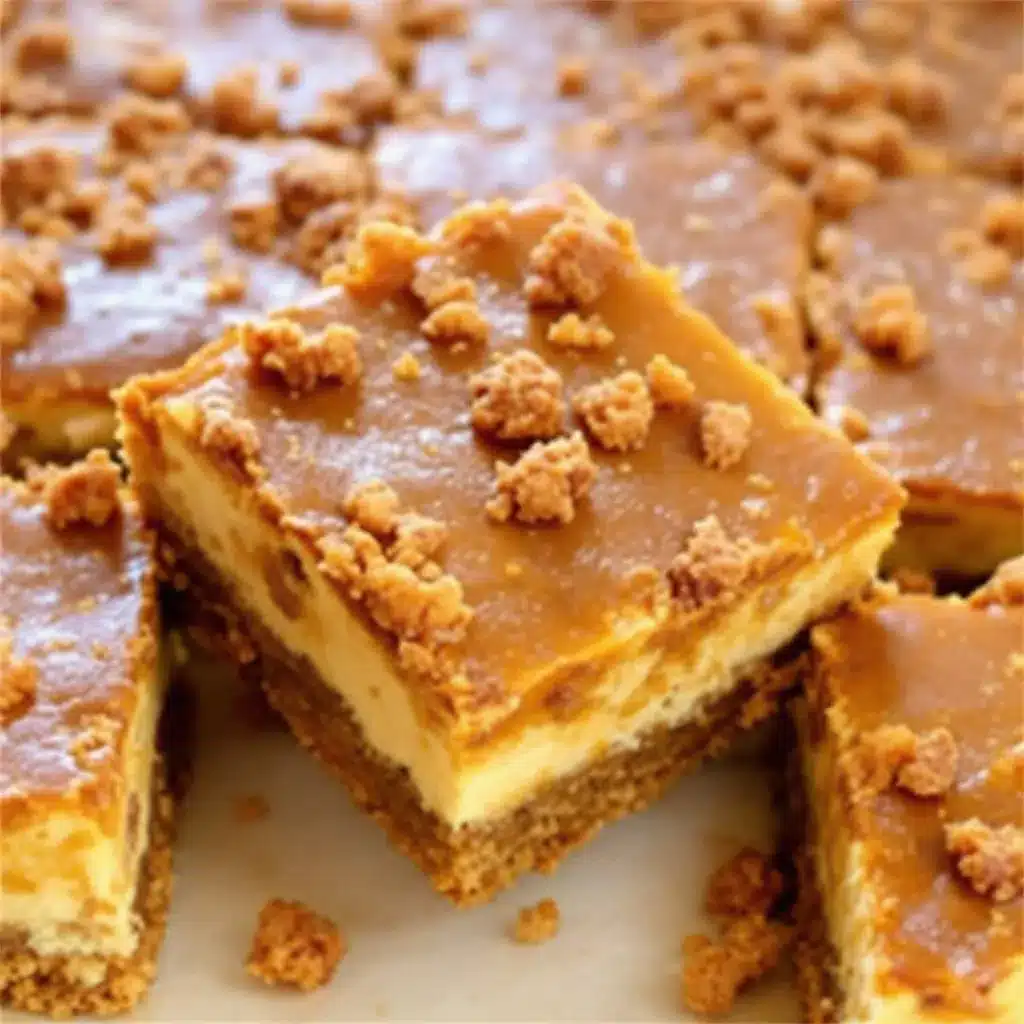
- 16 oz cream cheese, softened to room temperature — This is non-negotiable. Cold cream cheese will leave you with a lumpy filling. Let it sit on the counter for at least an hour before starting. I recommend Philadelphia brand for the smoothest texture.
- 1/2 cup granulated sugar — Sweetens the cheesecake layer without making it cloying.
- 1 teaspoon vanilla extract — Use pure vanilla extract, not imitation. It makes a noticeable difference in flavor depth.
- 1 1/2 cups heavy whipping cream — This gets whipped to stiff peaks and folded into the cream cheese mixture. It’s what gives the cheesecake layer its light, airy texture without needing gelatin or eggs.
For the Pumpkin Layer
- 1 1/2 cups pumpkin puree — Make sure you’re buying pure pumpkin puree, not pumpkin pie filling. The pie filling already has sugar and spices added, which will throw off the balance. Libby’s is my go-to brand.
- 1/2 cup packed light brown sugar — Brown sugar adds molasses notes that complement the pumpkin beautifully.
- 1/4 cup granulated sugar — Balances the sweetness.
- 1 teaspoon pumpkin pie spice — You can use store-bought or make your own blend. I usually mix cinnamon, nutmeg, ginger, and a pinch of cloves.
- 1/2 teaspoon ground cinnamon — Extra cinnamon because I’m a cinnamon lover. Adjust to your taste.
- 1/4 teaspoon salt — Enhances all the warm spices.
- 1 cup heavy whipping cream — Whipped and folded in to give the pumpkin layer a mousse-like texture.
- 1 tablespoon powdered gelatin (optional) — This helps the pumpkin layer set up firmer, making it easier to slice clean bars. If you’re serving these in a dish with a spoon, you can skip it. If you want neat, tidy squares, use it.
For the topping, I like to add a dollop of whipped cream and a sprinkle of cinnamon or crushed graham crackers right before serving. It makes them look extra pretty with almost no effort.
Equipment Needed
You don’t need any fancy equipment for these Easy No-Bake Pumpkin Pie Cheesecake Bars. Here’s what I use:
- 9×9 inch square baking dish — This is the perfect size for these bars. An 8×8 dish works too, but your layers will be slightly thicker. If you only have a 9×13, you can double the recipe.
- Parchment paper — Line your dish with parchment, leaving some overhang on two sides. This makes lifting the bars out a dream. Trust me, you don’t want to struggle with stuck bars.
- Electric hand mixer or stand mixer — You’ll be whipping cream and beating cream cheese, so a mixer is essential. A hand mixer works perfectly fine. If you’re using a stand mixer, use the whisk attachment for the cream and the paddle for the cream cheese.
- Large mixing bowls — You’ll need at least two large bowls, one for the cheesecake mixture and one for the pumpkin mixture.
- Food processor or rolling pin — For crushing graham crackers. A food processor makes quick work of it, but a zip-top bag and a rolling pin work just as well. I’ve done both, and honestly, the rolling pin method is oddly satisfying.
- Spatula — A rubber spatula is your best friend for folding whipped cream into the mixtures without deflating them.
- Measuring cups and spoons — Precise measurements matter for baking, even no-bake recipes.
If you don’t have a 9×9 dish, you can use a 9-inch springform pan. The bars will be slightly taller, and you can remove the ring for a prettier presentation. Just make sure the springform is leak-proof before pouring in your layers.
Preparation Method
Let me walk you through this step by step. I’ve made these bars so many times that I’ve got the process down to a science. Follow along, and you’ll have a stunning dessert with minimal fuss.
Step 1: Prepare the Crust
Start by lining your 9×9 dish with parchment paper. Leave about 2 inches of overhang on two opposite sides—these will be your handles for lifting the bars out later. In a medium bowl, combine 2 cups graham cracker crumbs, 1/4 cup granulated sugar, and 1/4 teaspoon salt. Pour in 1/2 cup melted butter and stir until every crumb is coated. The mixture should look like wet sand and hold together when you squeeze it. Press this mixture firmly into the bottom of your prepared dish. I use the bottom of a measuring cup to really pack it down tight. Pop this in the fridge while you make the fillings.
Step 2: Make the Cheesecake Layer
In a large mixing bowl, beat 16 oz of softened cream cheese with 1/2 cup granulated sugar and 1 teaspoon vanilla extract until smooth and creamy. Scrape down the sides of the bowl halfway through. This should take about 2-3 minutes with a hand mixer on medium speed. In a separate bowl, pour 1 1/2 cups cold heavy whipping cream and whip it on high speed until stiff peaks form. You’ll know it’s ready when you lift the beaters and the cream holds its shape without drooping. Take about a third of the whipped cream and fold it into the cream cheese mixture using a gentle, circular motion. This lightens the cream cheese so it’s easier to incorporate the rest. Add the remaining whipped cream and fold until no white streaks remain. Be gentle—you want this layer to stay light and airy. Spread the cheesecake mixture evenly over the chilled crust. Smooth the top with your spatula and place the dish back in the fridge.
Step 3: Make the Pumpkin Layer
In another large bowl, combine 1 1/2 cups pumpkin puree, 1/2 cup packed brown sugar, 1/4 cup granulated sugar, 1 teaspoon pumpkin pie spice, 1/2 teaspoon cinnamon, and 1/4 teaspoon salt. Stir until everything is well combined and smooth. If you’re using gelatin, sprinkle 1 tablespoon of powdered gelatin over 3 tablespoons of cold water in a small bowl. Let it sit for 5 minutes to bloom, then microwave for 10 seconds until it’s liquid. Stir this into the pumpkin mixture. In a separate bowl, whip 1 cup heavy cream to stiff peaks. Fold the whipped cream into the pumpkin mixture in two additions, just like you did with the cheesecake layer. The mixture should be thick, mousse-like, and a beautiful orange color.
Step 4: Layer and Set
Carefully spoon the pumpkin mixture over the cheesecake layer. Spread it gently to the edges, trying not to disturb the cheesecake layer underneath. Smooth the top with your spatula. Cover the dish with plastic wrap and refrigerate for at least 6 hours, but overnight is best. I know it’s tempting to rush this, but the waiting time is what gives these bars their clean, sliceable texture. The flavors also meld together beautifully overnight.
Step 5: Slice and Serve
Once the bars are fully set, use the parchment overhang to lift the entire block out of the dish. Place it on a cutting board and use a sharp knife to slice into 9 or 16 squares, depending on how big you want them. Wipe the knife clean between cuts for the neatest edges. I like to top each bar with a dollop of whipped cream and a light dusting of cinnamon right before serving.
Cooking Tips & Techniques
Over the years, I’ve learned a few things that make these bars turn out perfectly every time. Let me share what I’ve discovered through trial and error.
Room temperature cream cheese is crucial. I cannot stress this enough. Cold cream cheese will give you a lumpy, grainy cheesecake layer that never fully smooths out. Take it out of the fridge at least an hour before you start. If you’re in a hurry, cut it into cubes and let it sit for 20 minutes—it’s not perfect, but it helps.
Don’t overwhip your cream. This was a hard lesson for me. You want stiff peaks, but if you keep going, you’ll end up with butter. Watch the cream carefully as you whip it. When it starts to look thick and holds its shape when you lift the beaters, stop. It’s better to stop a little early than to go too far.
Press the crust firmly. A loose crust will crumble when you try to slice the bars. I use the bottom of a glass or a measuring cup to really pack those graham cracker crumbs down. Spend an extra minute on this step—it pays off.
Use the gelatin if you want clean slices. I’ve made these bars both with and without gelatin, and the difference is noticeable. Without gelatin, the pumpkin layer is softer and more mousse-like. It’s still delicious, but it won’t cut into neat squares. If presentation matters, use the gelatin. If you’re serving these in a dish with spoons, skip it.
Patience is a virtue. I know you want to eat these immediately, but the waiting time is non-negotiable. Six hours is the minimum, but overnight is where the magic happens. The layers set up properly, the flavors deepen, and the crust stays crunchy. Trust the process.
Variations & Adaptations
One of the things I love about this recipe is how adaptable it is. Here are some variations I’ve tried and loved.
Gluten-Free Option : Swap the graham crackers for gluten-free graham crackers or use crushed gluten-free cookies. I’ve used gluten-free vanilla wafers with great success. The crust comes out just as buttery and crunchy.
Dairy-Free Adaptation : Use a dairy-free cream cheese alternative like Kite Hill or Tofutti, and replace the heavy cream with full-fat coconut cream. Chill the coconut cream can overnight and scoop out only the solid white part for best results. The texture will be slightly different, but it’s still creamy and delicious.
Vegan Version : Follow the dairy-free adaptation above, and use a vegan butter for the crust. Skip the gelatin or use agar agar instead. I’ve tested this with agar agar, and it works well—just follow the package instructions for how much to use.
Pumpkin Spice Latte Twist : Add 1 tablespoon of instant espresso powder dissolved in 1 tablespoon of warm water to the pumpkin layer. The coffee enhances the pumpkin flavor without making it taste like coffee. It’s subtle, but it adds a lovely depth.
Chocolate Lover’s Version : Swap the graham cracker crust for a chocolate cookie crust using crushed Oreos or chocolate wafers. The chocolate and pumpkin combination is surprisingly good. I tried this on a whim one year, and it was a hit.
Individual Servings : Instead of making a full pan, layer the crust and fillings into small mason jars or dessert cups. These are perfect for parties or gifting. Just layer the crust, cheesecake, and pumpkin, then chill. No slicing required.
Serving & Storage Suggestions
These bars are best served cold, straight from the fridge. I like to let them sit at room temperature for about 5 minutes before serving—it takes the chill off and makes the flavors more pronounced. Top each bar with a generous dollop of whipped cream and a sprinkle of cinnamon or pumpkin pie spice. A few crushed graham crackers on top add a nice crunch.
For a pretty presentation, arrange the bars on a platter and garnish with fresh mint leaves or candied pecans. These pair beautifully with a hot cup of coffee or a warm apple cider. If you’re serving them after a big meal, they’re light enough that people won’t feel too full to enjoy them.
Storage : Store leftover bars in an airtight container in the refrigerator for up to 5 days. The crust will stay crunchy for the first couple of days, then soften slightly. I actually don’t mind a softer crust—it reminds me of a cheesecake crust that’s absorbed some of the filling’s moisture.
Freezing : These bars freeze beautifully. Place them on a baking sheet in a single layer and freeze until solid, about 2 hours. Then transfer them to a freezer-safe container with parchment paper between layers. They’ll keep for up to 3 months. Thaw in the refrigerator overnight before serving. Don’t thaw them at room temperature—they’ll get too soft.
One thing I’ve noticed is that the flavors actually improve after a day or two in the fridge. The spices meld together, and the pumpkin and cheesecake layers become more cohesive. So if you’re making these for a party, make them a day ahead. Your future self will thank you.
Nutritional Information & Benefits
Here’s a rough estimate of the nutritional information per bar, assuming you cut the pan into 16 servings:
| Nutrient | Amount Per Bar |
|---|---|
| Calories | 320 |
| Total Fat | 24g |
| Saturated Fat | 14g |
| Cholesterol | 80mg |
| Sodium | 220mg |
| Total Carbohydrates | 25g |
| Dietary Fiber | 1g |
| Sugars | 18g |
| Protein | 4g |
These numbers are estimates and will vary based on your specific ingredients and portion sizes. Pumpkin is a nutritional powerhouse—it’s packed with vitamin A, fiber, and antioxidants. The cream cheese provides calcium and protein, though it’s also higher in fat and calories. I see these bars as an occasional treat, not an everyday snack. They’re perfect for holiday celebrations and special occasions when you want something indulgent but still want to feel a little bit good about what you’re eating.
If you’re watching your sugar intake, you can reduce the sugar in the pumpkin layer by a couple of tablespoons without affecting the texture much. The cheesecake layer needs the sugar for structure, so I wouldn’t reduce that one.
Conclusion
These Easy No-Bake Pumpkin Pie Cheesecake Bars have become my signature fall dessert for a reason. They’re simple enough for a beginner to make, impressive enough to serve at Thanksgiving, and delicious enough that people will ask you for the recipe every single time. The combination of a buttery crust, creamy cheesecake, and spiced pumpkin is just unbeatable—especially when you don’t have to turn on the oven to get it.
I love that this recipe lets me enjoy all the flavors of fall without the stress of baking. It’s forgiving, it’s flexible, and it’s genuinely delicious. Whether you’re making it for a holiday gathering, a potluck, or just because you’re craving something cozy, these bars deliver. Feel free to customize them to your taste—add more spice, swap the crust, or make them individual servings. The possibilities are endless.
I’d love to hear how these turn out for you. Drop a comment below and let me know what variations you tried, or tag me in your photos if you share them online. Your feedback helps me create better recipes for all of you. Happy fall baking, friends—or should I say, happy fall no-baking!
Frequently Asked Questions
Can I use pumpkin pie filling instead of pumpkin puree?
No, I don’t recommend it. Pumpkin pie filling already has sugar and spices added, which will make your pumpkin layer too sweet and throw off the spice balance. Stick with pure pumpkin puree for the best results.
How long do these bars need to set in the fridge?
At least 6 hours, but overnight is best. The longer they set, the cleaner your slices will be. I always make these the night before I plan to serve them.
Can I skip the gelatin?
Yes, you can. The pumpkin layer will be softer and more mousse-like without gelatin. It’s still delicious, but it won’t slice into clean squares. If you’re serving these in a dish with spoons, feel free to skip it.
How do I get clean slices?
Use a sharp knife and wipe it clean between each cut. Run the knife under hot water, dry it, then make your cut. This gives you the neatest edges. Also, make sure the bars are fully set before slicing.
Can I make these bars vegan?
Absolutely. Use a dairy-free cream cheese alternative, full-fat coconut cream instead of heavy cream, and vegan butter for the crust. Skip the gelatin or use agar agar as a substitute. The texture will be slightly different, but they’re still creamy and delicious.
Pin This Recipe!
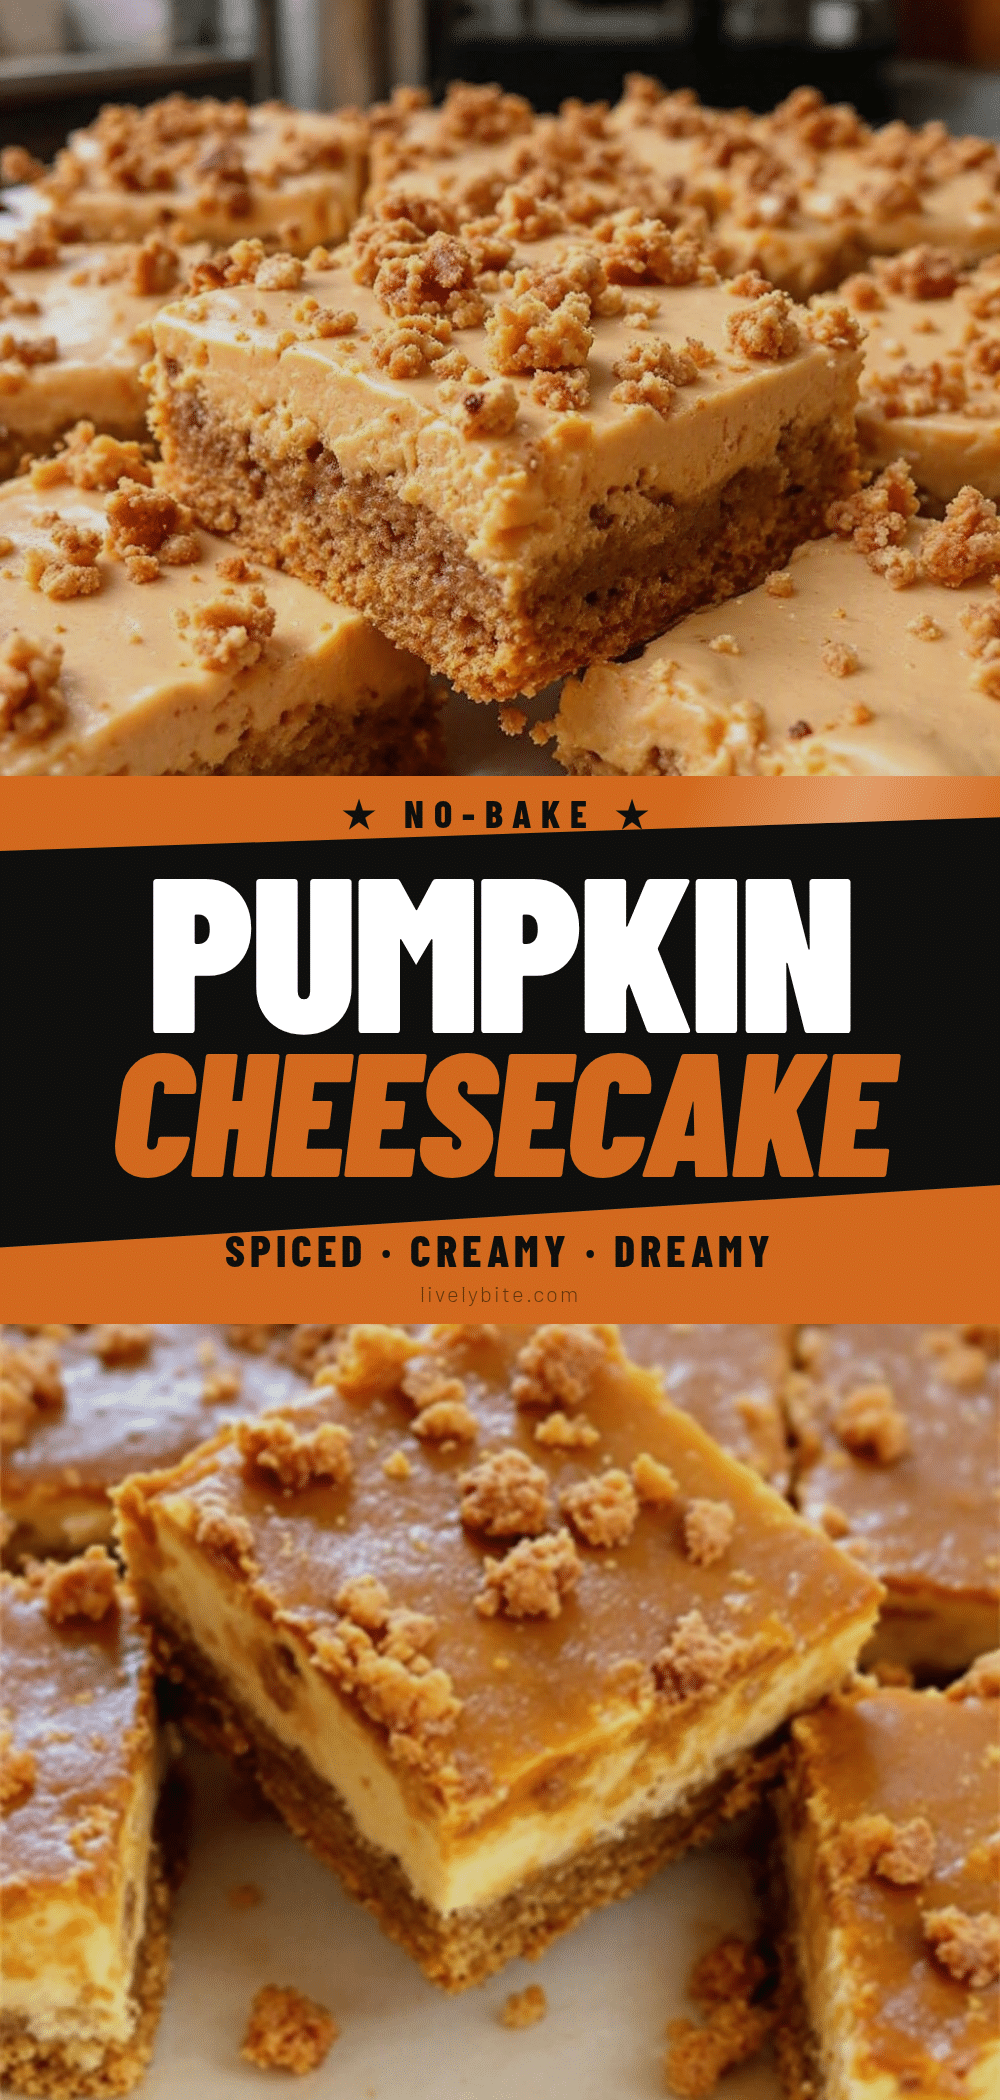
Easy No-Bake Pumpkin Pie Cheesecake Bars: Best Fall Dessert
These Easy No-Bake Pumpkin Pie Cheesecake Bars are the perfect fall dessert with a buttery graham cracker crust, creamy cheesecake layer, and spiced pumpkin topping. No oven required, simple ingredients, and a crowd-pleaser for any autumn gathering.
- Prep Time: 20 minutes
- Cook Time: 0 minutes
- Total Time: 6 hours 20 minutes (includes chilling)
- Yield: 16 servings 1x
- Category: Dessert
- Cuisine: American
Ingredients
- 2 cups graham cracker crumbs (about 14–16 full sheets, crushed finely)
- 1/2 cup unsalted butter, melted
- 1/4 cup granulated sugar
- 1/4 teaspoon salt
- 16 oz cream cheese, softened to room temperature
- 1/2 cup granulated sugar
- 1 teaspoon vanilla extract
- 1 1/2 cups heavy whipping cream
- 1 1/2 cups pumpkin puree
- 1/2 cup packed light brown sugar
- 1/4 cup granulated sugar
- 1 teaspoon pumpkin pie spice
- 1/2 teaspoon ground cinnamon
- 1/4 teaspoon salt
- 1 cup heavy whipping cream
- 1 tablespoon powdered gelatin (optional)
Instructions
- Line a 9×9 inch square baking dish with parchment paper, leaving overhang on two sides.
- In a medium bowl, combine 2 cups graham cracker crumbs, 1/4 cup granulated sugar, and 1/4 teaspoon salt. Pour in 1/2 cup melted butter and stir until every crumb is coated. Press mixture firmly into the bottom of the prepared dish. Refrigerate while making fillings.
- In a large mixing bowl, beat 16 oz softened cream cheese with 1/2 cup granulated sugar and 1 teaspoon vanilla extract until smooth and creamy.
- In a separate bowl, whip 1 1/2 cups cold heavy whipping cream on high speed until stiff peaks form.
- Fold about a third of the whipped cream into the cream cheese mixture to lighten it, then fold in the remaining whipped cream until no white streaks remain. Spread evenly over the chilled crust and return to fridge.
- In another large bowl, combine 1 1/2 cups pumpkin puree, 1/2 cup packed brown sugar, 1/4 cup granulated sugar, 1 teaspoon pumpkin pie spice, 1/2 teaspoon cinnamon, and 1/4 teaspoon salt. Stir until smooth.
- If using gelatin, sprinkle 1 tablespoon powdered gelatin over 3 tablespoons cold water, let bloom for 5 minutes, then microwave for 10 seconds until liquid. Stir into pumpkin mixture.
- In a separate bowl, whip 1 cup heavy cream to stiff peaks. Fold into pumpkin mixture in two additions until thick and mousse-like.
- Carefully spoon pumpkin mixture over cheesecake layer and spread gently to edges. Cover and refrigerate for at least 6 hours, preferably overnight.
- Use parchment overhang to lift bars out of dish. Slice into 9 or 16 squares with a sharp knife, wiping clean between cuts. Serve cold with whipped cream and cinnamon if desired.
Notes
Room temperature cream cheese is crucial for a smooth texture. Don’t overwhip the cream. Press the crust firmly for clean slices. Use gelatin for neater squares. Chill overnight for best results. Bars can be frozen for up to 3 months.
Nutrition
- Serving Size: 1 bar
- Calories: 320
- Sugar: 18
- Sodium: 220
- Fat: 24
- Saturated Fat: 14
- Carbohydrates: 25
- Fiber: 1
- Protein: 4
Keywords: no-bake pumpkin cheesecake bars, fall dessert, pumpkin pie cheesecake, easy dessert, Thanksgiving dessert


