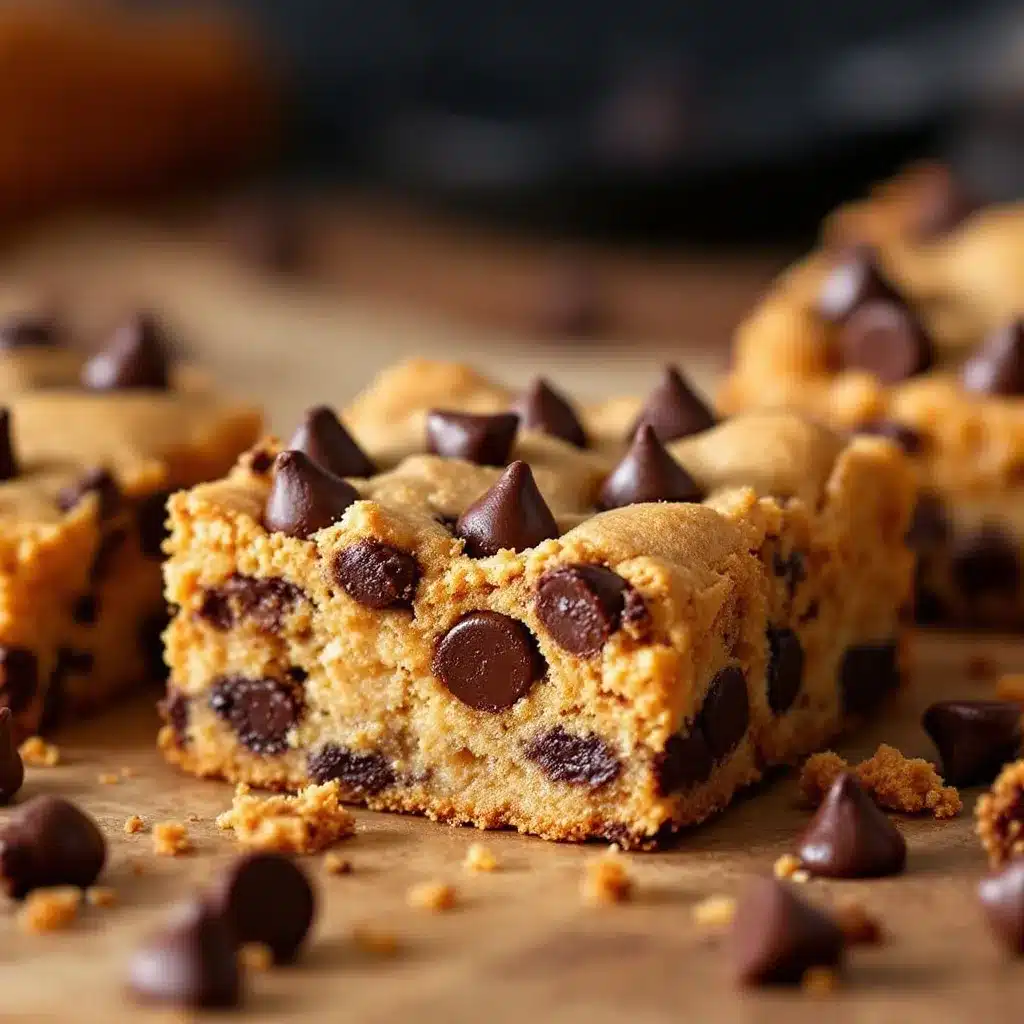
The edge pieces, honestly. That’s the whole reason I keep testing chocolate chip cookie bar recipes. The soft, almost fudgy center is fine—good, even—but the corner piece, where the edges have caramelized and the sugar has turned into something almost like toffee, and the chocolate chips have blistered just slightly on the surface? That’s the piece everyone fights over at a tailgate. And when you’re standing around the back of a truck in a parking lot at 11 AM, you need food that can handle the chaos. A regular cookie crumbles. A bar holds its ground.
This recipe started because I was tired of showing up to game day with a sad platter of store-bought cookies that inevitably got crushed under someone’s cooler. I wanted something that looked impressive but didn’t require me to stand in the kitchen scooping dough for an hour. Something I could make the night before, cut into squares, and just throw into a container. The first batch was too cakey. The second batch spread into one giant, greasy sheet. But the third batch—this one—had that perfect chew, those crispy golden edges, and enough chocolate to make even the most distracted fan stop mid-conversation and grab a second piece.
I’m not going to tell you these are the most sophisticated dessert you’ll ever make. They’re not. But they’re the kind of thing that disappears before the nachos do, and that’s a specific kind of victory. So if you’re looking for a dessert that travels well, feeds a crowd, and actually tastes better after sitting overnight, you’re in the right place.
Why You’ll Love This Recipe
Listen, I’ve made a lot of cookie bars in my life. Some were dry disasters. Some were so greasy they left a slick on a paper plate. But these? These are the ones I keep coming back to, and here’s why they’ll become your go-to for tailgating too.
- No Scooping, No Chilling: You don’t need to chill the dough, and you don’t need to roll individual cookies. Mix, press, bake. That’s it. Perfect for when you’re already packing the cooler and realize you forgot dessert.
- Portable and Sturdy: These bars hold their shape at room temperature for hours. No crumbling, no melting, no sad cookie dust at the bottom of your container. They’re built for the parking lot.
- Perfectly Chewy with Crispy Edges: The center stays soft and tender, while the edges get that golden, caramelized crunch. You get two textures in one bar, and honestly, that’s the best part.
- Simple Pantry Ingredients: Butter, sugar, eggs, flour, chocolate chips. If you bake at all, you probably have everything already. No weird specialty items.
- Crowd-Pleasing Flavor: These are classic chocolate chip cookies in bar form. No one’s going to argue with that. Kids, adults, picky eaters—everyone reaches for one.
What makes these bars different from the dozens of other recipes out there? It’s the ratio. I tested this until the butter-to-flour balance was just right—enough butter to give you that rich flavor and soft crumb, but not so much that the bars spread into a thin, crispy mess. Plus, I use a mix of brown and granulated sugar, which gives you that deep, almost molasses-like sweetness from the brown sugar, and the slight crunch from the granulated. It’s a small thing, but it makes a big difference.
Honestly, this is the kind of recipe that makes you look like you tried harder than you actually did. And isn’t that the whole point of tailgating? Show up with something good, have fun, and don’t stress.
What Ingredients You Will Need
This recipe uses basic ingredients, but the way they come together matters. Let me walk you through what you need and why each one pulls its weight.
- Unsalted butter, melted (1 cup / 2 sticks / 226g): Melting the butter is key here. It gives the bars a denser, chewier texture compared to creaming softened butter, which would make them more cakey. I use unsalted so I can control the salt level. If you only have salted, just reduce the added salt to ¼ teaspoon.
- Light brown sugar, packed (1 cup / 200g): This is where the chewiness and deep flavor come from. Brown sugar has molasses in it, which keeps the bars soft and gives them that slightly caramel taste. Don’t skip it—dark brown sugar works too, but the flavor will be stronger.
- Granulated sugar (½ cup / 100g): The granulated sugar helps the edges crisp up. It also balances the molasses flavor from the brown sugar. You need both for the perfect texture.
- Large eggs (2, room temperature): Room temperature eggs mix into the melted butter more evenly, creating a smoother batter. If you forget to take them out ahead of time, just place them in a bowl of warm water for 5 minutes.
- Vanilla extract (2 teaspoons): Pure vanilla extract is worth it here. The flavor is richer and more complex than imitation vanilla. I use Nielsen-Massey, but any good brand works.
- All-purpose flour (2 ¼ cups / 280g): Spoon and level your flour—don’t scoop directly from the bag. Scooping packs the flour down and you’ll end up with dry, crumbly bars. I’ve made that mistake, and it’s not pretty.
- Baking soda (1 teaspoon): This helps the bars rise just a little and keeps them from being too dense. Make sure your baking soda isn’t old—test it by dropping a bit into vinegar; if it fizzes, it’s good.
- Salt (1 teaspoon): Salt balances the sweetness and brings out the chocolate flavor. I use fine sea salt. If you use kosher salt, increase to 1 ¼ teaspoons.
- Semi-sweet chocolate chips (2 cups / 340g): I prefer semi-sweet because it’s not too sweet and not too bitter. But feel free to use milk chocolate if you like things sweeter, or dark chocolate for a more intense flavor. Ghirardelli or Guittard are my go-to brands.
- Optional: Flaky sea salt for topping: A sprinkle on top right after they come out of the oven adds a lovely salty crunch. It’s not necessary, but it’s a nice touch.
That’s it. No heavy cream, no corn syrup, no weird stabilizers. Just honest ingredients that do their job. And if you’re looking for a quick, savory option to balance out all this sugar, try my easy Mediterranean stuffed mini peppers with feta—they’re perfect for a tailgate spread and come together in minutes.
Equipment Needed
You don’t need a fancy kitchen for these bars. Here’s what you’ll need:
- 9×13-inch baking pan: This is the standard size. If you use an 8×8 pan, the bars will be much thicker and will need longer baking time. A 10×15 jelly roll pan will give you thinner, crispier bars.
- Parchment paper: Line the pan with parchment paper, leaving some overhang on the sides. This creates “handles” that let you lift the whole slab out of the pan for easy cutting. Trust me, this saves so much hassle.
- Mixing bowls: One large bowl for the wet ingredients and one medium bowl for the dry ingredients.
- Whisk: For mixing the wet ingredients. A wooden spoon or spatula works too.
- Spatula or wooden spoon: For folding in the chocolate chips and pressing the dough into the pan.
- Measuring cups and spoons: For accurate measurements. A kitchen scale is even better for the flour.
- Cooling rack: To let the bars cool evenly before cutting. If you cut them while they’re hot, they’ll fall apart.
- Sharp knife: For clean cuts. A serrated knife works well too.
If you don’t have parchment paper, you can grease the pan well with butter or non-stick spray. But parchment really does make life easier. I’ve used dollar-store baking pans and high-end ones, and honestly, as long as the pan isn’t warped, it works fine.
Preparation Method
Alright, let’s get to it. This is straightforward, but I’ll point out the little things that make a difference.
- Preheat your oven to 350°F (175°C). Line your 9×13-inch baking pan with parchment paper, leaving about 2 inches of overhang on the two long sides. This will be your lifting handles later.
- Melt the butter. In a large microwave-safe bowl, melt the 1 cup of butter in 30-second bursts until just melted. Don’t let it boil. Let it cool for 2-3 minutes—you don’t want it hot enough to cook the eggs when you add them.
- Mix the sugars and butter. Add the brown sugar and granulated sugar to the melted butter. Whisk vigorously for about 30 seconds until the mixture looks smooth and slightly thickened. It should smell amazing already.
- Add the eggs and vanilla. Crack the eggs into the bowl, add the vanilla, and whisk until everything is well combined and the mixture looks glossy. About 1 minute of whisking. Don’t rush this step—properly incorporating the eggs gives the bars a better structure.
- Mix the dry ingredients. In a separate medium bowl, whisk together the flour, baking soda, and salt. This ensures the baking soda and salt are evenly distributed.
- Combine wet and dry. Pour the dry ingredients into the wet ingredients. Use a spatula to fold everything together until just combined. A few streaks of flour are okay—overmixing will make the bars tough. Stop when you can’t see any more dry flour.
- Fold in the chocolate chips. Add the chocolate chips and fold them in gently. Try to distribute them evenly throughout the dough. If you want a few chips on top for looks, reserve about ¼ cup and sprinkle them on after pressing the dough into the pan.
- Press the dough into the pan. Transfer the dough to your prepared pan. It will be thick and slightly sticky. Use your spatula or lightly greased fingers to press it evenly into the corners. Make sure the surface is as level as you can get it—uneven thickness means uneven baking.
- Bake for 25-30 minutes. Place the pan on the middle rack. Bake until the edges are golden brown and the center looks set but is still slightly soft to the touch. A toothpick inserted into the center should come out with a few moist crumbs, not wet batter. Start checking at 25 minutes—ovens vary, and overbaking gives you dry bars.
- Cool completely in the pan. Place the pan on a cooling rack and let the bars cool for at least 1 hour. This is the hardest part, I know. But if you cut them while they’re warm, they’ll crumble and the chocolate will smear. Patience pays off here.
- Lift and cut. Once completely cool, use the parchment overhang to lift the entire slab out of the pan. Place it on a cutting board. Use a sharp knife to cut into squares—I usually do 12 large bars or 24 smaller ones. Wipe the knife clean between cuts for neat edges.
One thing I learned the hard way: don’t skip the cooling step. My first batch was a delicious but structurally unsound mess because I couldn’t wait. The bars were warm, the chocolate was gooey, and they turned into a pile of crumbs. They still tasted good, but they weren’t tailgate-friendly. Let them cool.
Cooking Tips & Techniques
After making these bars more times than I can count, here are the things I wish someone had told me.
Use a light-colored metal pan if you have one. Glass or dark non-stick pans conduct heat differently. Dark pans can cause the edges to over-brown before the center is done. If you only have a glass pan, reduce the oven temperature by 25°F and expect a slightly longer baking time.
Don’t overmix the dough. I know I said this already, but it’s worth repeating. Once you add the flour, mix just until you don’t see any more white streaks. Overmixing develops the gluten, and that gives you tough, bread-like bars instead of tender, chewy ones.
Press the dough evenly. If the dough is thicker in the middle, the center will be underdone while the edges burn. Take an extra 30 seconds to really press it into an even layer. I use my fingertips, slightly dampened so they don’t stick.
Check for doneness with your eyes and your touch. The edges should be a deep golden brown and pulling away from the sides of the pan slightly. The center should look set—not jiggly—but will still feel soft. If the center looks puffy and dry, you’ve gone too far.
Let them cool completely. I know I sound like a broken record, but this is the number one mistake people make. The bars need time to set up. Warm bars are fragile bars. If you’re making these for a tailgate the next day, they actually taste better after sitting overnight. The flavors meld, and the texture becomes perfectly chewy.
For even cleaner cuts, chill the slab in the fridge for 30 minutes before cutting. This makes the chocolate chips firm up and the bars slice like a dream. I do this when I want really neat squares for a party.
And if you’re planning a full tailgate menu, my easy slow cooker honey garlic chicken meal prep bowls are a fantastic make-ahead option that travels just as well as these bars. The sweet and savory combo is a crowd-pleaser.
Variations & Adaptations
These bars are a great base recipe, and I’ve tried a bunch of twists over the years. Here are a few that actually worked.
Double Chocolate Chip Bars: Replace ¼ cup of the all-purpose flour with ¼ cup of unsweetened cocoa powder. Sift it with the flour to avoid lumps. Use white chocolate chips or dark chocolate chips for contrast. This version is richer and feels a little more decadent.
Nutty Brown Butter Bars: Instead of melting the butter normally, brown it. Melt the butter in a saucepan over medium heat, swirling occasionally, until it turns golden brown and smells nutty—about 5-7 minutes. Let it cool slightly before using. Then fold in ½ cup of toasted chopped walnuts or pecans along with the chocolate chips. The brown butter adds a deep, toasty flavor that’s incredible.
Peanut Butter Swirl Bars: Warm ⅓ cup of creamy peanut butter in the microwave for about 20 seconds until it’s runny. After pressing the dough into the pan, drop spoonfuls of the warm peanut butter on top and use a knife to swirl it into the dough. Bake as directed. The peanut butter creates pockets of salty, nutty goodness.
Gluten-Free Option: Substitute the all-purpose flour with a 1:1 gluten-free baking flour blend that contains xanthan gum. I’ve used Bob’s Red Mill 1:1 Baking Flour with great results. The texture will be slightly more tender, but they hold together well.
M&M’s or Candy Bar Chunks: Replace half the chocolate chips with M&M’s (the mini ones work best) or chopped-up candy bars like Snickers or Twix. This is a fun variation for kids or for a more indulgent tailgate treat. Just be aware that candy bars can get very sticky when baked, so let the bars cool completely before cutting.
If you’re looking for something on the lighter side to balance out all this sugar, my refreshing cucumber mint green tea cooler is the perfect drink to serve alongside these bars. It’s crisp, clean, and not too sweet.
Serving & Storage Suggestions
These bars are at their best at room temperature. That’s what makes them perfect for tailgating—you don’t need to worry about keeping them hot or cold. Just cut them, stack them in a container, and go.
Serving: I like to cut them into 12 large squares for a hearty dessert, or 24 smaller ones if there are other sweets on the table. For a tailgate, I’ll arrange them on a platter or in a disposable aluminum pan with a lid. A light sprinkle of flaky sea salt right before serving adds a nice touch. They pair beautifully with a cold glass of milk, a hot coffee, or even a scoop of vanilla ice cream if you’re serving them at home.
Storage: Store leftover bars in an airtight container at room temperature for up to 4 days. Layer them with parchment paper between the layers to prevent sticking. Do not refrigerate them—the fridge dries them out and makes the texture crumbly.
Freezing: These bars freeze beautifully. Wrap the whole slab or individual bars tightly in plastic wrap, then place them in a freezer-safe bag or container. They’ll keep for up to 3 months. To thaw, just leave them at room temperature for about 30 minutes. I often make a double batch and freeze one for later—it’s a lifesaver for last-minute get-togethers.
Reheating: If you want that just-baked warmth, pop an individual bar in the microwave for 10-15 seconds. The chocolate will get melty again, and the texture will soften. For a larger batch, warm them in a 300°F oven for 5-7 minutes.
One thing I’ve noticed: these bars actually taste better on day two. The flavors settle, and the texture becomes more uniformly chewy. So don’t hesitate to make them a day ahead—your future self will thank you.
Nutritional Information & Benefits
Let’s be real—these are a treat, not a health food. But here’s the estimated nutrition per bar (based on 12 servings):
| Nutrient | Amount per Bar |
|---|---|
| Calories | 385 |
| Total Fat | 20g |
| Saturated Fat | 12g |
| Cholesterol | 65mg |
| Sodium | 280mg |
| Total Carbohydrates | 50g |
| Dietary Fiber | 2g |
| Sugars | 35g |
| Protein | 4g |
These numbers will vary based on the specific brands you use and the size of your bars. If you cut 24 smaller bars, just halve the values.
On the plus side, dark chocolate (if you use it) contains antioxidants and minerals like iron and magnesium. The butter provides vitamin A, and eggs offer protein and choline. But honestly, I make these because they make people happy, not because they’re a superfood. Everything in moderation, right?
This recipe contains gluten, dairy, and eggs. For a dairy-free version, use a high-quality vegan butter stick (like Miyoko’s or Country Crock Plant Butter) and dairy-free chocolate chips. I haven’t tested a vegan egg substitute, but a flax egg might work—just expect a slightly denser texture.
Conclusion
These chocolate chip cookie bars are the kind of recipe that earns a permanent spot in your rotation. They’re simple enough for a Tuesday night bake, but impressive enough to bring to a tailgate where everyone’s comparing snacks. The edges are crispy, the centers are soft, and the chocolate is generous without being overwhelming.
What I love most about this recipe is how forgiving it is. You can swap in different chips, add nuts, or play with the sugar ratio, and it still works. It’s a base that invites creativity, which is exactly what a good recipe should do. So don’t be afraid to make it your own—throw in some toffee bits, use milk chocolate, add a swirl of caramel. Go for it.
I’d love to hear how these turn out for you. Did you try a variation? Did they disappear at your tailgate? Drop a comment below and let me know. And if you’re looking for more game-day recipes, check out the full recipe collection—there’s plenty more where this came from. Happy baking, and see you at the next tailgate!
Frequently Asked Questions
Can I use margarine instead of butter?
You can, but the texture will be different. Butter gives these bars a richer flavor and a better chew. Margarine has more water content, which can make the bars spread more and become greasy. Stick with butter if you can.
Why did my cookie bars turn out cakey?
This usually happens if you overmix the dough after adding the flour, or if you used too much flour. Make sure you’re spooning and leveling your flour, and stop mixing as soon as the flour disappears. Also, using softened butter instead of melted butter can lead to a cakier texture.
Can I make these in an 8×8 pan?
Yes, but the baking time will increase significantly—expect 40-50 minutes. The bars will be much thicker, so check the center with a toothpick. You may also need to reduce the oven temperature to 325°F to prevent the edges from burning before the center is done.
How do I prevent the bars from sticking to the pan?
Parchment paper is your best friend here. Line the pan with parchment, leaving overhang on two sides. If you don’t have parchment, grease the pan thoroughly with butter or non-stick spray, then dust it lightly with flour. But parchment really is the easiest method.
Can I use quick oats or other add-ins?
Absolutely. You can replace up to ½ cup of the flour with quick oats for a slightly different texture. Other great add-ins include shredded coconut, dried cranberries, or chopped pretzels for a salty-sweet crunch. Just keep the total add-in amount to about 2 cups to avoid overcrowding the dough.
Pin This Recipe!
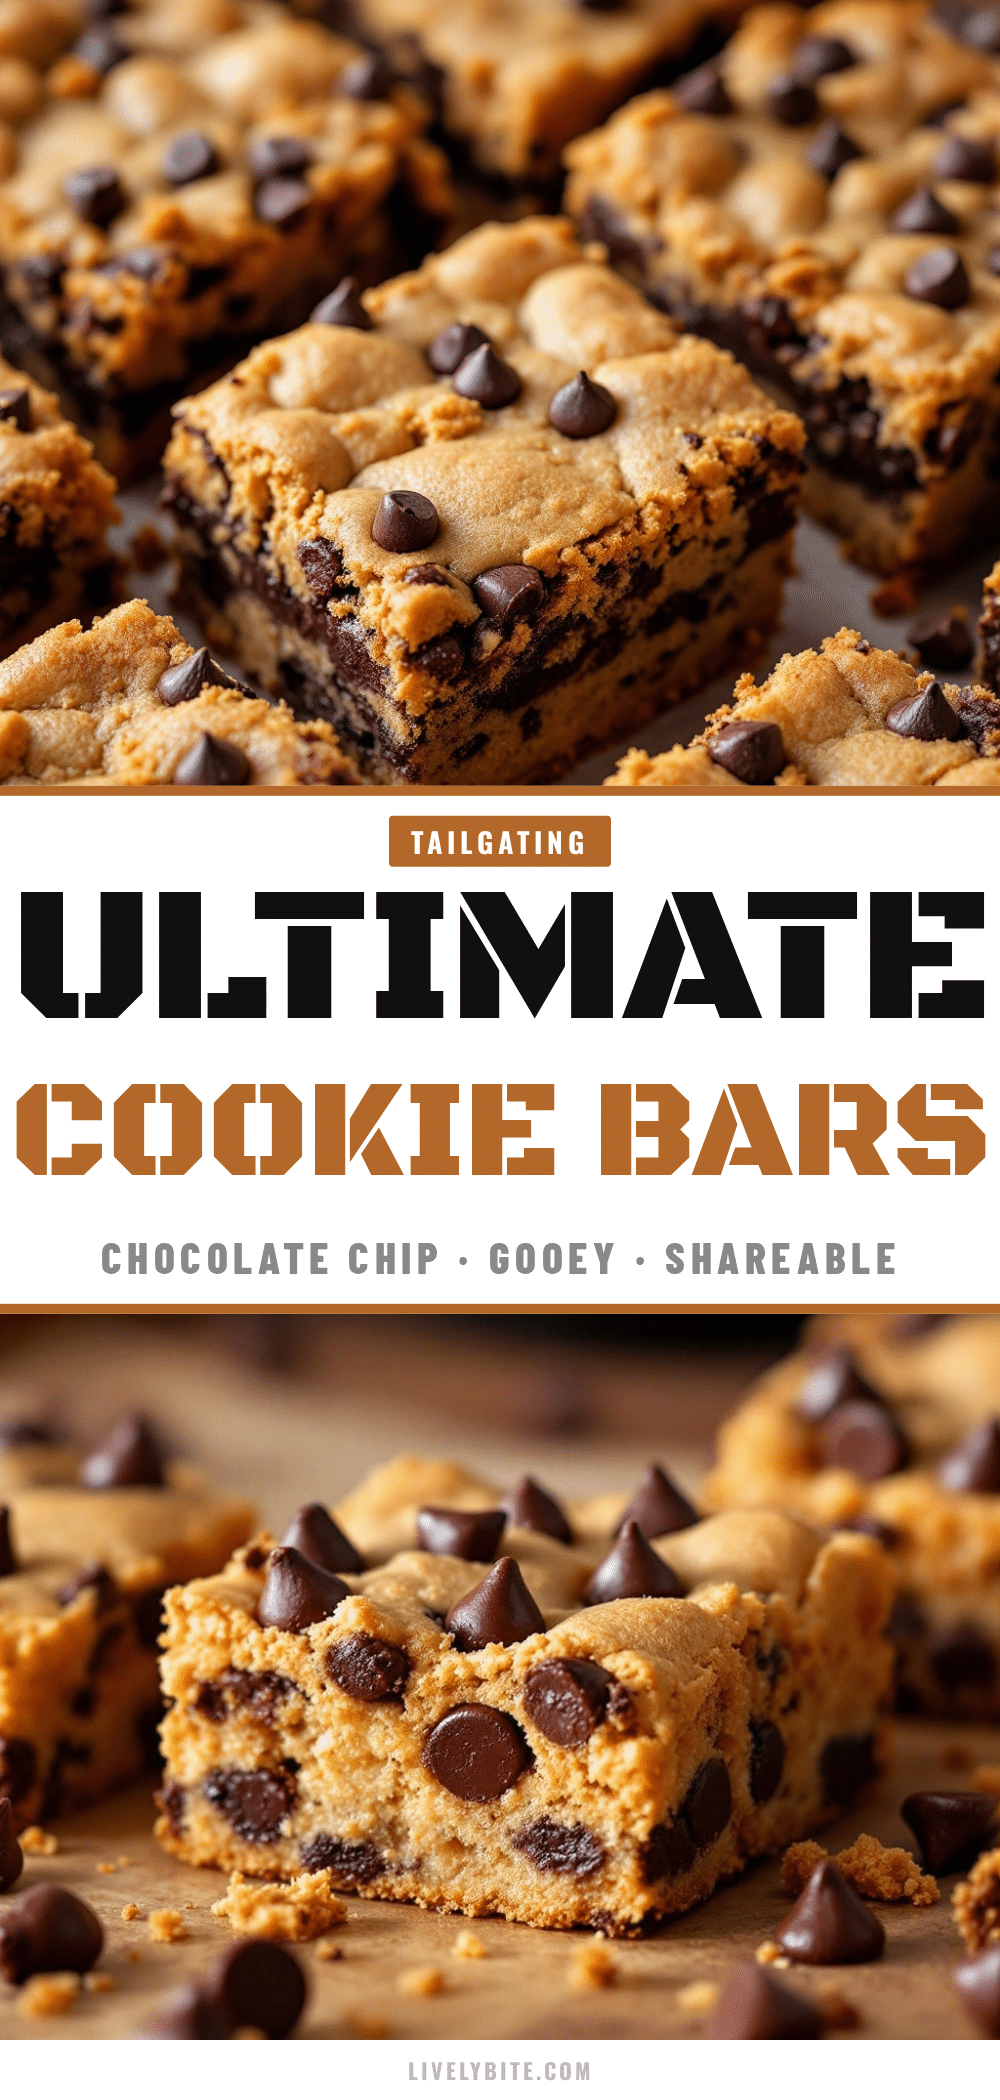
Best Chocolate Chip Cookie Bars for Tailgating
These chocolate chip cookie bars are the perfect tailgate dessert—sturdy, portable, and packed with chewy centers and crispy caramelized edges. Made with simple pantry ingredients, they travel well and taste even better the next day.
- Prep Time: 15 minutes
- Cook Time: 30 minutes
- Total Time: 45 minutes
- Yield: 12 servings 1x
- Category: Dessert
- Cuisine: American
Ingredients
- 1 cup (2 sticks / 226g) unsalted butter, melted
- 1 cup (200g) light brown sugar, packed
- ½ cup (100g) granulated sugar
- 2 large eggs, room temperature
- 2 teaspoons vanilla extract
- 2 ¼ cups (280g) all-purpose flour
- 1 teaspoon baking soda
- 1 teaspoon salt
- 2 cups (340g) semi-sweet chocolate chips
- Optional: flaky sea salt for topping
Instructions
- Preheat your oven to 350°F (175°C). Line a 9×13-inch baking pan with parchment paper, leaving about 2 inches of overhang on the two long sides.
- In a large microwave-safe bowl, melt the butter in 30-second bursts until just melted. Let it cool for 2-3 minutes.
- Add the brown sugar and granulated sugar to the melted butter. Whisk vigorously for about 30 seconds until smooth and slightly thickened.
- Add the eggs and vanilla, whisk until well combined and glossy, about 1 minute.
- In a separate medium bowl, whisk together the flour, baking soda, and salt.
- Pour the dry ingredients into the wet ingredients. Fold with a spatula until just combined—a few streaks of flour are okay.
- Fold in the chocolate chips until evenly distributed. Reserve ¼ cup for topping if desired.
- Transfer the dough to the prepared pan. Press evenly into the corners using a spatula or lightly greased fingers.
- Bake for 25-30 minutes, until edges are golden brown and center is set but still soft. A toothpick inserted should come out with moist crumbs.
- Cool completely in the pan on a cooling rack for at least 1 hour.
- Use the parchment overhang to lift the slab onto a cutting board. Cut into 12 large or 24 small squares with a sharp knife.
Notes
For cleaner cuts, chill the slab in the fridge for 30 minutes before cutting. These bars taste even better on day two. Store in an airtight container at room temperature for up to 4 days. Freeze for up to 3 months.
Nutrition
- Serving Size: 1 bar (based on 12 s
- Calories: 385
- Sugar: 35
- Sodium: 280
- Fat: 20
- Saturated Fat: 12
- Carbohydrates: 50
- Fiber: 2
- Protein: 4
Keywords: chocolate chip cookie bars, tailgate dessert, easy cookie bars, chewy cookie bars, crowd-pleasing dessert


