My daughter came home from preschool with a sniffle that turned into a full-blown cough by bedtime. The next morning, I was digging through the pantry looking for something—anything—that might help soothe her scratchy throat. All I found was a bag of dried elderberries I’d impulse-bought at the farmers market months ago, a cinnamon stick rolling around in the spice drawer, and some whole cloves that were probably past their prime. I honestly had no idea if this would work, but I figured it couldn’t hurt.
I threw the berries in a pot, added the spices, and let it all simmer while my daughter napped on the couch. The smell that filled the kitchen was incredible—warm, spicy, like Christmas morning but without the pressure. When I finally strained it and mixed in some honey, I tasted it and felt this weird little surge of hope. It was good. Really good. And the best part? She actually drank it without a fight. That’s when I knew this Homemade Elderberry Syrup with Cinnamon and Cloves was going to become a staple in our house, not just for cold season but for any day that needed a little extra comfort.
This recipe stuck because it’s proof that you don’t need a fancy wellness cabinet or a naturopath on speed dial. Sometimes the best remedies come from what you already have, combined with a little patience and a lot of love. And honestly? It tastes like a hug in a spoon.
Why You’ll Love This Recipe
I’ve tested this syrup through three different cold seasons, and I can confidently say it’s the version I keep coming back to. Here’s why this Homemade Elderberry Syrup with Cinnamon and Cloves deserves a spot in your kitchen:
- Simple Ingredients: No weird extracts or hard-to-find powders. You probably have the spices in your cabinet right now.
- Quick & Easy: It takes about 30 minutes of active time, most of which is just letting it simmer and smell amazing.
- Perfect for Cold Season: I make a batch every time I hear the first cough in our house. It’s become our go-to immune support.
- Crowd-Pleaser: Even my picky eater asks for it. The honey and cinnamon make it taste more like a treat than a remedy.
- Unbelievably Delicious: The combination of earthy elderberries, warm cinnamon, and aromatic cloves creates a flavor that’s both comforting and complex.
What makes this recipe different from all the others I tried? It’s the balance. So many syrups are either too sweet or too medicinal. This one hits that sweet spot where you actually look forward to taking your daily spoonful. I’ve shared it with friends who swear by store-bought versions, and they’ve all switched over after tasting this.
This isn’t just another wellness recipe—it’s the kind you make on a Sunday afternoon, pour into a pretty jar, and feel proud to have on your counter. It’s comfort food for your immune system, made with ingredients you can trust.
What Ingredients You Will Need
This recipe uses simple, wholesome ingredients that work together to create a syrup that’s both effective and delicious. Most of these are pantry staples or easy to find at your local grocery store.
- Dried elderberries, 1 cup – These are the star of the show. Look for organic dried elderberries from a reputable brand like Starwest Botanicals or Frontier Co-op. They should be dark purple and smell slightly tart.
- Cinnamon sticks, 2 large (or 3 small) – I recommend Ceylon cinnamon if you can find it, as it has a milder, sweeter flavor. Cassia cinnamon works fine too, but it’s a bit stronger.
- Whole cloves, 1 tablespoon – These add that warm, slightly peppery note. Don’t use ground cloves unless you want a cloudy syrup and an overpowering taste.
- Fresh ginger, a 2-inch piece, sliced – Adds a gentle heat and extra immune support. I leave the skin on because it’s easier and adds more flavor.
- Water, 4 cups – Filtered water is best, especially if you’re making this for kids.
- Raw honey, 1 cup – Local raw honey is ideal for its potential allergy benefits, but any good-quality honey works. Do not give honey to children under 1 year old.
- Optional: Orange peel, from 1 organic orange – Adds a bright, citrusy note that complements the spices beautifully.
One thing I learned the hard way: don’t skip the straining step. The first time I made this, I thought I could get away with a fine-mesh strainer alone. Let’s just say I spent the next 20 minutes picking tiny berry bits out of my teeth. A nut milk bag or cheesecloth makes a world of difference.
If you’re looking for a caffeine-free warm drink to pair with this syrup, try my Refreshing Cucumber Mint Green Tea Cooler—it’s a completely different vibe but equally soothing in its own way.
Equipment Needed
You don’t need a lot of fancy gear to make this syrup, which is part of why I love it. Here’s what you’ll need:
- Medium saucepan – I use a 3-quart stainless steel pot. Avoid aluminum, as it can react with the acidic berries.
- Fine-mesh strainer – For the initial straining. You’ll want one with a tight weave.
- Nut milk bag or cheesecloth – This is non-negotiable if you want a clear, smooth syrup. Trust me on this one.
- Glass jar or bottle – A 16-ounce Mason jar works perfectly. Make sure it’s sterilized.
- Wooden spoon – For stirring. Metal can sometimes leave a taste.
- Measuring cups and spoons – Basic, but essential.
If you don’t have a nut milk bag, you can use a clean, thin kitchen towel. I’ve done that in a pinch, and it works fine. Just make sure it’s not one you use for drying dishes, because the elderberries will stain it purple forever.
Preparation Method
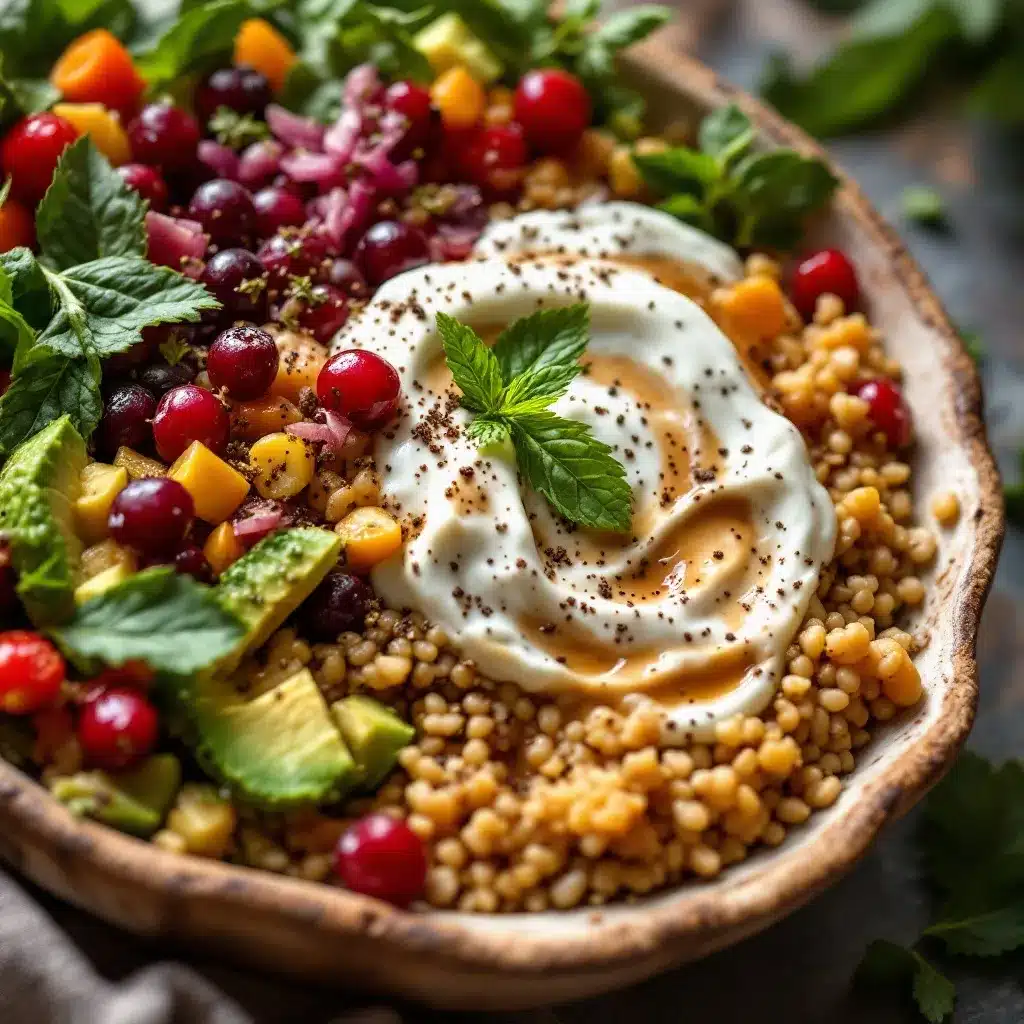
- Combine berries and spices: In your medium saucepan, add the dried elderberries, cinnamon sticks, whole cloves, and sliced ginger. Pour in the 4 cups of filtered water. If you’re using the orange peel, add it now.
- Bring to a boil: Turn the heat to high and bring the mixture to a rolling boil. This should take about 5-7 minutes. You’ll start to smell the spices immediately—it’s intoxicating.
- Reduce and simmer: Once boiling, reduce the heat to low and let it simmer gently for 30-40 minutes. The liquid should reduce by about half. Don’t rush this step; the longer it simmers, the more flavor and goodness you extract from the berries.
- Check for doneness: After 30 minutes, the liquid should be dark purple and smell deeply of berries and spices. The berries will have plumped up and look slightly wrinkled.
- Strain the mixture: Place your fine-mesh strainer over a large bowl or measuring cup. Pour the mixture through, catching the solids. Let it cool for about 10 minutes before the next step.
- Second strain: Line your strainer with a nut milk bag or cheesecloth and strain again. Press gently on the solids with a spoon to extract every last drop. This is where you get the most syrup, so don’t be shy.
- Add honey: Let the strained liquid cool until it’s warm but not hot—around body temperature. Stir in the raw honey until fully dissolved. Important: Never add honey to hot liquid, as heat destroys its beneficial enzymes.
- Bottle and store: Pour the syrup into your sterilized glass jar. Seal tightly and let it cool completely before refrigerating.
A sensory cue I always look for: when you’re simmering the berries, the liquid should look like a deep, dark ruby wine. If it’s still translucent, let it go a bit longer.
Cooking Tips & Techniques
I’ve made this syrup at least a dozen times, and I’ve learned a few things the hard way. Here’s what I wish someone had told me:
Don’t crush the berries before simmering. I thought I’d get more flavor by crushing them first. What I got was a cloudy, gritty syrup that took forever to strain. Whole berries release their goodness just fine on their own.
Watch the heat. This isn’t a recipe you can set and forget. If you boil it too hard, the liquid reduces too quickly and you end up with a thick, almost jelly-like syrup. Gentle simmering is your friend.
Taste before adding honey. The elderberries can vary in tartness depending on where they’re from. I once had a batch that was super tart, and I ended up adding an extra 1/4 cup of honey. Tasting first saves you from a syrup that’s either too sweet or too sour.
Multitask wisely. While the syrup is simmering, I like to prep my jar and set up the straining station. It saves time and keeps me from scrambling at the end.
If you’re into meal prep and batch cooking, you might enjoy my Easy Slow Cooker Honey Garlic Chicken Meal Prep Bowls for a savory counterpart to all this sweet and spicy goodness.
Variations & Adaptations
This recipe is surprisingly flexible. Here are a few ways I’ve adapted it over the years:
- Vegan version: Swap the honey for maple syrup or agave. Maple syrup adds a lovely depth that pairs well with the spices.
- Alcohol-based tincture: If you want a longer shelf life, replace the water with vodka or brandy and skip the simmering step. Let it steep for 4-6 weeks in a dark cabinet, shaking occasionally.
- Spice swap: Not a fan of cloves? Use star anise or cardamom pods instead. I tried cardamom once, and it gave the syrup a slightly floral, almost chai-like flavor.
- Extra immune boost: Add a tablespoon of dried echinacea or astragalus root to the simmering liquid. I do this during peak cold season.
- Kid-friendly adjustment: Reduce the cloves by half if your little ones find the flavor too strong. My daughter prefers it this way.
One of my favorite variations was when I added a sprig of fresh rosemary from my garden. It sounds weird, but the herbal note cut through the sweetness beautifully. I wouldn’t make it that way every time, but it was a fun experiment.
Serving & Storage Suggestions
This syrup is best served at room temperature or slightly warm. I usually take a tablespoon straight from the jar, but you can also stir it into tea, drizzle it over yogurt, or even use it as a pancake topping (trust me, it’s amazing).
Storage: Keep your syrup in a sealed glass jar in the refrigerator. It will last for up to 3 months. If you see any mold or fermentation bubbles, toss it immediately.
Freezing: You can freeze the syrup in ice cube trays for individual servings. Pop one out and thaw it in the fridge overnight. This is great for when you’re traveling or just want a quick dose.
Reheating: If you prefer warm syrup, heat a small amount in a saucepan over low heat. Don’t microwave it, as that can destroy the honey’s beneficial properties.
One thing I’ve noticed: the flavors actually deepen after a week in the fridge. The spices meld together and the elderberry taste becomes more rounded. So don’t worry if it tastes a little sharp on day one—it gets better.
Nutritional Information & Benefits
Here’s an approximate breakdown per 1-tablespoon serving:
- Calories: 35
- Carbohydrates: 9g
- Sugars: 8g (from honey and natural fruit sugars)
- Vitamin C: 2% DV
- Antioxidants: High (from elderberries)
The real benefits go beyond the numbers. Elderberries are packed with flavonoids that support immune function. Cinnamon helps regulate blood sugar and has anti-inflammatory properties. Cloves are known for their antimicrobial effects. And raw honey? It’s a natural cough suppressant and contains trace amounts of pollen that can help with seasonal allergies.
This syrup is naturally gluten-free, dairy-free, and vegetarian. The only allergen concern is honey, so if you’re serving it to infants under 1 year, use maple syrup instead.
I personally love that this recipe lets me feel proactive about my family’s health without relying on over-the-counter medicines. It’s a small, meaningful ritual that makes me feel connected to traditional food-based remedies.
Conclusion
This Homemade Elderberry Syrup with Cinnamon and Cloves has become more than just a recipe in my house—it’s a little act of care. When I see that jar sitting in my fridge, I feel prepared. I feel like I’ve done something good for my family, even on days when everything else feels chaotic.
I’d love for you to try it and make it your own. Play with the spices, adjust the sweetness, or add your favorite immune-boosting herbs. The beauty of this recipe is that it’s forgiving and flexible, just like real home cooking should be.
If you make a batch, drop a comment below and let me know how it turned out. Did you add something unexpected? Did your kids actually ask for seconds? I want to hear it all. And if you’re looking for more nourishing recipes, check out my full recipe collection—there’s something for every season and every craving.
Stay healthy, friends. And keep a spoon handy.
Frequently Asked Questions
Can I use fresh elderberries instead of dried?
You can, but you’ll need to adjust the water ratio. Fresh elderberries contain more water, so use about 2 cups of fresh berries for every 1 cup of dried. Also, make sure to cook fresh elderberries thoroughly—they can cause stomach upset if eaten raw.
How long does homemade elderberry syrup last?
Stored in a sealed glass jar in the refrigerator, it will keep for up to 3 months. If you add alcohol to extend the shelf life, it can last up to 6 months in a cool, dark place.
Can I give this syrup to my toddler?
Yes, but only if your child is over 1 year old due to the honey. For younger children, use maple syrup instead. Start with a small dose—about 1/2 teaspoon for toddlers—and watch for any allergic reactions.
What’s the best way to take elderberry syrup?
Most adults take 1 tablespoon daily for maintenance, or 1 tablespoon every 2-3 hours at the first sign of illness. You can take it straight, mix it into tea, or stir it into warm water with lemon.
Can I skip the cloves if I don’t like the taste?
Absolutely. The cloves add warmth and antimicrobial benefits, but they’re not essential. Try substituting with star anise or a pinch of nutmeg for a different flavor profile. The syrup will still be delicious and effective.
Pin This Recipe!
Homemade Elderberry Syrup with Cinnamon and Cloves

A comforting and immune-supporting syrup made with dried elderberries, cinnamon, cloves, and honey. Perfect for cold season or any day that needs a little extra comfort.
- Prep Time: 10 minutes
- Cook Time: 40 minutes
- Total Time: 50 minutes
- Yield: 16 servings 1x
- Category: Condiment
- Cuisine: American
Ingredients
- 1 cup dried elderberries
- 2 large cinnamon sticks (or 3 small)
- 1 tablespoon whole cloves
- 2-inch piece fresh ginger, sliced
- 4 cups filtered water
- 1 cup raw honey
- Optional: peel from 1 organic orange
Instructions
- Combine berries and spices: In a medium saucepan, add the dried elderberries, cinnamon sticks, whole cloves, and sliced ginger. Pour in the 4 cups of filtered water. If using orange peel, add it now.
- Bring to a boil: Turn the heat to high and bring the mixture to a rolling boil, about 5-7 minutes.
- Reduce and simmer: Once boiling, reduce the heat to low and let it simmer gently for 30-40 minutes until the liquid reduces by about half.
- Check for doneness: After 30 minutes, the liquid should be dark purple and smell deeply of berries and spices. The berries will have plumped up and look slightly wrinkled.
- Strain the mixture: Place a fine-mesh strainer over a large bowl or measuring cup. Pour the mixture through, catching the solids. Let it cool for about 10 minutes.
- Second strain: Line the strainer with a nut milk bag or cheesecloth and strain again. Press gently on the solids with a spoon to extract every last drop.
- Add honey: Let the strained liquid cool until warm but not hot (around body temperature). Stir in the raw honey until fully dissolved. Never add honey to hot liquid.
- Bottle and store: Pour the syrup into a sterilized glass jar. Seal tightly and let it cool completely before refrigerating.
Notes
Do not give honey to children under 1 year old. For a vegan version, swap honey for maple syrup or agave. The flavors deepen after a week in the fridge. Store in the refrigerator for up to 3 months.
Nutrition
- Serving Size: 1 tablespoon
- Calories: 35
- Sugar: 8
- Carbohydrates: 9
Keywords: elderberry syrup, homemade syrup, immune support, cold season, cinnamon, cloves, honey, natural remedy


