“Wait—you can put pasta salad in a lunchbox?” My sister-in-law stared at me like I’d just invented fire. It was a Tuesday, and she was wrestling with her third-grader’s lunch requirements—something nut-free, something that wouldn’t get soggy, something he’d actually eat. I’d brought over a batch of these Easy Turkey Club Pasta Salad Lunchbox Cups because I’d been testing them for my own kids, and honestly? I hadn’t thought much about it. But watching her face shift from skeptical to hopeful, I realized this was bigger than leftovers.
That’s the thing about lunch packing—it’s a daily negotiation. You want something easy. They want something fun. And somewhere in between, you’re supposed to hit all the food groups without resorting to crackers and cheese for the third time this week. These little cups came from that exact frustration. I wanted the flavors of a club sandwich—that salty-savory combo of turkey, bacon, and tomato—but in something that wouldn’t fall apart in a backpack. Pasta salad was the obvious answer, but it had to be sturdy enough to hold up to the lunchbox shuffle.
So here we are. These Easy Turkey Club Pasta Salad Lunchbox Cups are my solution to the lunch-packing struggle. They’re portable, they’re filling, and they taste like something you’d actually look forward to eating. No sad desk lunches here. Just good food that travels well, which honestly might be the most underrated superpower a recipe can have.
Why You’ll Love This Recipe
This isn’t just another pasta salad recipe. After testing this at least a dozen times (and yes, my family staged a minor intervention), I can tell you exactly why these little cups work so well.
- Quick & Easy: From start to finish, you’re looking at about 20 minutes of active prep. The pasta cooks while you chop, and everything comes together in one bowl. Perfect for Sunday meal prep or a Tuesday night scramble.
- Simple Ingredients: Nothing fancy here. You’re raiding your fridge for deli turkey, bacon, cherry tomatoes, and cheese. No specialty grocery trips required.
- Perfect for Lunchboxes: These cups were designed for portability. They hold up beautifully in a lunchbox, and kids actually eat them. My niece asked for them three days in a row, which is basically a culinary gold medal in the aunt world.
- Crowd-Pleaser: Adults love these too. I’ve brought them to potlucks and watched them disappear faster than the dessert table. Something about that club sandwich flavor combo just works on everyone.
- Unbelievably Satisfying: The protein from the turkey and bacon, the creaminess from the dressing, the chew from the pasta—it hits all the right notes. You won’t be hunting for snacks an hour later.
What makes this recipe different from the dozens of other pasta salads out there? It’s the texture. I specifically chose rotini pasta because those little spirals grab onto the dressing and hold it. And the way the bacon stays crispy even after a few hours in the fridge? That took some trial and error, but I figured it out. This is the version that works—tested by picky kids, busy parents, and one very skeptical sister-in-law.
What Ingredients You Will Need
This recipe uses simple, everyday ingredients to create something that feels special without the fuss. Most of these are probably in your kitchen right now, which is exactly how I like it.
- Rotini pasta (12 oz) – The spirals grab onto the dressing perfectly. You can use fusilli or penne in a pinch, but rotini really does work best here.
- Deli turkey (8 oz, diced) – Look for oven-roasted or smoked turkey from the deli counter. Thick-sliced works better than shaved—you want little cubes that hold their shape.
- Bacon (6 strips, cooked and crumbled) – This is non-negotiable for that club sandwich flavor. I prefer thick-cut bacon because it stays crispy longer.
- Cherry tomatoes (1 cup, halved) – Grape tomatoes work too. Just make sure they’re ripe but still firm so they don’t get mushy.
- Romaine lettuce (1 cup, chopped) – I add this right before serving so it stays crunchy. You can skip it if you’re prepping ahead.
- Sharp cheddar cheese (1 cup, cubed small) – The sharper the better. It holds up against the other flavors without getting lost.
- Mayonnaise (1/2 cup) – Full-fat works best for creaminess. If you’re watching calories, Greek yogurt can sub in for half of it.
- Greek yogurt (1/4 cup) – This lightens things up without sacrificing texture. I like Fage or Chobani for thickness.
- Dijon mustard (1 tablespoon) – Adds that tangy kick. Yellow mustard works in a pinch, but Dijon is better.
- Apple cider vinegar (1 tablespoon) – Brightens everything up. White wine vinegar is a fine substitute.
- Garlic powder (1/2 teaspoon) – Don’t skip this. It adds depth without being overpowering.
- Salt and black pepper (to taste) – Go easy on the salt—the bacon and turkey are already salty.
- Fresh parsley (2 tablespoons, chopped) – Optional but nice for color and freshness.
For the dressing, I’ve tested this with store-bought ranch and it works, but the homemade Dijon-yogurt combo is really where it’s at. It’s tangy, creamy, and doesn’t get watery overnight like some dressings do.
Equipment Needed
You don’t need a fancy kitchen to make these cups. Here’s what you’ll need:
- Large pot – For boiling the pasta. Any 4-6 quart pot works.
- Colander – For draining. Nothing fancy needed.
- Cutting board and sharp knife – You’ll be dicing turkey, chopping tomatoes, and cubing cheese. A good knife makes this go faster.
- Large mixing bowl – Big enough to toss everything together without spilling.
- Small bowl – For whisking the dressing.
- Whisk or fork – For mixing the dressing ingredients.
- Measuring cups and spoons – Standard set works fine.
- Muffin tin or small containers – I use a standard 12-cup muffin tin lined with silicone cups for easy removal. You can also use small meal prep containers with lids.
- Paper towels – For draining the bacon.
If you don’t have a muffin tin, no worries. You can use small glass containers or even repurpose those little takeout containers you’ve been saving. The key is portion control—these cups are meant to be grab-and-go.
Preparation Method
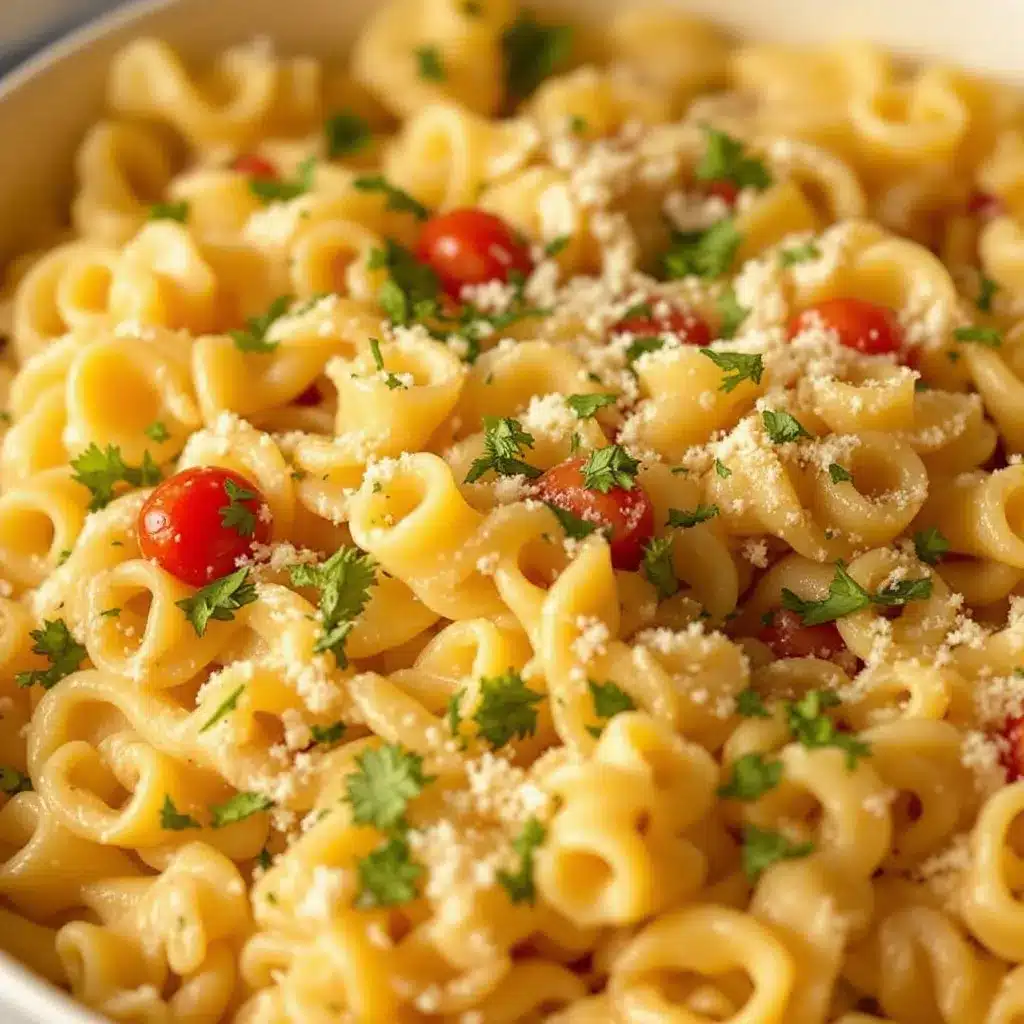
Let’s walk through this step by step. I’ve included all the little details I wish someone had told me the first time I made these.
- Cook the pasta – Bring a large pot of salted water to a rolling boil. Add the rotini and cook according to package directions until al dente. For most brands, that’s about 8-9 minutes. Drain in a colander and rinse with cold water to stop the cooking. Shake off excess water and let it sit in the colander while you prep everything else. (Don’t skip the rinse—you want the pasta cool so it doesn’t wilt the lettuce later.)
- Cook the bacon – While the pasta cooks, lay the bacon strips in a cold skillet. Turn the heat to medium and cook until crispy, about 6-8 minutes, flipping once. Transfer to a paper towel-lined plate to drain and cool. Once cool enough to handle, crumble or chop into small pieces. (Pro tip: cook the bacon a little extra crispy—it holds up better in the salad.)
- Make the dressing – In a small bowl, whisk together the mayonnaise, Greek yogurt, Dijon mustard, apple cider vinegar, garlic powder, and a pinch of salt and pepper. Taste it. Should be tangy and creamy with a little kick. If it tastes flat, add another splash of vinegar. Set aside.
- Prep the mix-ins – Dice the deli turkey into small cubes, about 1/4-inch. Halve the cherry tomatoes. Cube the sharp cheddar into similar-sized pieces. Chop the romaine lettuce if you’re using it. (I like to keep the lettuce separate until serving time so it stays crunchy.)
- Combine everything – In a large mixing bowl, add the cooled pasta, diced turkey, crumbled bacon, halved cherry tomatoes, and cubed cheddar. Pour the dressing over the top and toss gently until everything is evenly coated. Use a rubber spatula to scrape the sides and make sure nothing’s left dry.
- Portion into cups – If using a muffin tin, line the cups with silicone liners or spray with non-stick spray. Divide the pasta salad evenly among 12 cups. Press down gently with the back of a spoon so each cup is compact. (This helps them hold together when you pop them out.)
- Add lettuce (optional) – If you’re serving right away, top each cup with a small handful of chopped romaine. If you’re prepping for the week, leave the lettuce off and add it fresh before serving.
- Chill – Refrigerate the cups for at least 30 minutes before serving. This lets the flavors meld together and makes the cups easier to handle. They’ll keep in the fridge for up to 4 days.
A few things I learned the hard way: Don’t overdress the pasta. You want it coated, not swimming. And if you’re making these for a lunchbox, pack the cups with a small ice pack to keep everything fresh until lunchtime.
Cooking Tips & Techniques
After making these cups more times than I care to count, here are the things I wish I’d known from the start.
Salt your pasta water generously. This is the only chance you have to season the pasta itself. I use about a tablespoon of salt per gallon of water. It makes a difference, I promise.
Don’t overcook the pasta. Mushy pasta is the enemy of a good pasta salad. Cook it al dente—firm to the bite—because it will continue to soften slightly as it sits in the dressing. When in doubt, pull it a minute early.
Cool the pasta completely. I learned this one the hard way. If you add warm pasta to the dressing, it gets absorbed unevenly and the whole thing turns into a gummy mess. Rinse with cold water and let it sit in the colander for at least 5 minutes.
Bacon is a texture game. Regular bacon can get chewy and sad after a day in the fridge. I use thick-cut bacon and cook it until it’s almost too crispy. It stays crunchy longer. You can also use pre-cooked bacon bits in a pinch, but the flavor isn’t as good.
Let it rest. These cups taste better after they’ve sat in the fridge for a few hours. The flavors meld, the dressing soaks into the pasta just enough, and everything comes together. Don’t skip the chill time if you can help it.
Double the dressing. Okay, not literally. But I always make a little extra dressing to drizzle over the cups before serving, especially if they’ve been sitting for a day or two. The pasta absorbs some of the dressing overnight, so a fresh splash brings it back to life.
Variations & Adaptations
One of the best things about this recipe is how flexible it is. Here are some variations I’ve tried and loved.
Vegetarian version: Skip the turkey and bacon, and add chickpeas or white beans for protein. Roasted red peppers and artichoke hearts also work beautifully here. The tangy dressing pairs well with roasted veggies.
Gluten-free option: Use your favorite gluten-free pasta. I’ve had good luck with chickpea-based pasta or brown rice rotini. Just be careful not to overcook it—gluten-free pasta can get mushy fast.
Low-carb adaptation: Swap the pasta for cauliflower florets (roasted or raw) or use a broccoli slaw base. The dressing works great as a cole slaw-style dressing, and you still get that creamy, satisfying texture.
Spicy twist: Add a diced jalapeño or a pinch of red pepper flakes to the dressing. I tried this once on a whim and now it’s my preferred version. The heat cuts through the creaminess perfectly.
Herb swap: If you don’t have parsley, try fresh dill or chives. Dill especially works well with the turkey and bacon—it gives it a slight pickle-brine vibe that’s surprisingly good.
My personal favorite variation? I add a handful of toasted almonds for crunch. It’s not traditional, but that extra texture makes these cups feel even more like a complete meal.
Serving & Storage Suggestions
These cups are designed to be flexible, but here’s how to get the most out of them.
Serving temperature: Serve cold or at room temperature. Straight from the fridge is fine, but if you’re packing a lunchbox, they’ll be at room temp by lunchtime anyway. Just make sure they’re not sitting out for more than 2 hours.
Presentation: If you’re serving these at a party or potluck, pop them out of the muffin tin and arrange them on a platter. Garnish with a sprinkle of fresh parsley and a few extra cherry tomato halves. They look surprisingly fancy for something so simple.
What to serve with them: These cups are a meal on their own, but they pair well with fresh fruit, a handful of chips, or a simple side salad. For a heartier lunch, add a cup of soup. I love serving these alongside my Easy Slow Cooker Honey Garlic Chicken Meal Prep Bowls for a week of varied lunches.
Storage: Keep the cups in an airtight container in the refrigerator for up to 4 days. If you’ve added lettuce, remove it before storing—it will get soggy. Add fresh lettuce right before serving.
Freezing: I don’t recommend freezing these. The texture of the pasta and dressing changes too much. But you can freeze the bacon and turkey separately if you’re meal prepping components.
Reheating: Don’t. These are meant to be served cold. If you want a warm pasta salad, this isn’t the recipe for you.
One thing I love about these cups is how the flavors develop overnight. Day two is always better than day one. The dressing has fully soaked in, the bacon has softened just slightly, and everything tastes more cohesive.
Nutritional Information & Benefits
Here’s the nutritional breakdown for one cup (based on 12 servings). Keep in mind these are estimates and will vary based on your specific ingredients.
| Nutrient | Amount per Cup |
|---|---|
| Calories | 245 |
| Protein | 14g |
| Carbohydrates | 22g |
| Fiber | 2g |
| Fat | 12g |
| Saturated Fat | 4g |
| Sodium | 580mg |
These cups pack a solid protein punch thanks to the turkey and bacon, which helps keep you full through the afternoon. The Greek yogurt in the dressing adds probiotics and extra protein without the heaviness of all-mayo dressing.
If you’re watching your sodium, use low-sodium turkey and reduce the added salt. You can also swap the bacon for turkey bacon, though the texture won’t be quite the same.
For a lighter version, use whole wheat pasta and reduce the cheese by half. The flavor still holds up, and you get a little extra fiber.
If you’re looking for more balanced meal prep ideas, check out my full collection of recipes for lunches that actually work.
Conclusion
These Easy Turkey Club Pasta Salad Lunchbox Cups are the kind of recipe that makes you wonder why you didn’t think of it sooner. They’re simple enough for a busy weeknight, but clever enough to feel like you’ve got your life together. And honestly? That’s the sweet spot.
I love that these cups solve a real problem—what to pack for lunch that isn’t boring, isn’t soggy, and doesn’t require a million ingredients. They’ve become a staple in my house, and I hope they become one in yours too.
If you make these, I’d love to hear how they turn out. Leave a comment below and let me know what variations you tried, or tag me in your photos. And if you’re looking for another easy lunch idea, you might enjoy my Easy Mediterranean Stuffed Mini Peppers with Feta—they’re perfect for packing alongside these cups.
Happy cooking, friends. Your lunchbox just got a whole lot more interesting.
Frequently Asked Questions
Can I make these cups ahead of time?
Absolutely. In fact, they taste better after a day in the fridge. Make them up to 4 days ahead, but leave the lettuce off until you’re ready to serve.
Can I use a different type of pasta?
Yes. Rotini works best because the spirals hold the dressing, but fusilli, penne, or even bowtie pasta will work. Just avoid long noodles like spaghetti.
How do I keep the bacon from getting soggy?
Cook the bacon extra crispy and let it cool completely before adding it to the salad. Also, don’t overdress the pasta—too much dressing will soften the bacon faster.
Can I make this dairy-free?
Yes. Use a dairy-free yogurt and vegan cheese, or skip the cheese altogether. The dressing can be made with vegan mayo and a splash of lemon juice instead of yogurt.
Are these cups kid-friendly?
Very. The flavors are familiar (turkey, bacon, cheese) and the portion size is perfect for little hands. My niece went from picky eater to asking for seconds. That’s a win in my book.
Pin This Recipe!
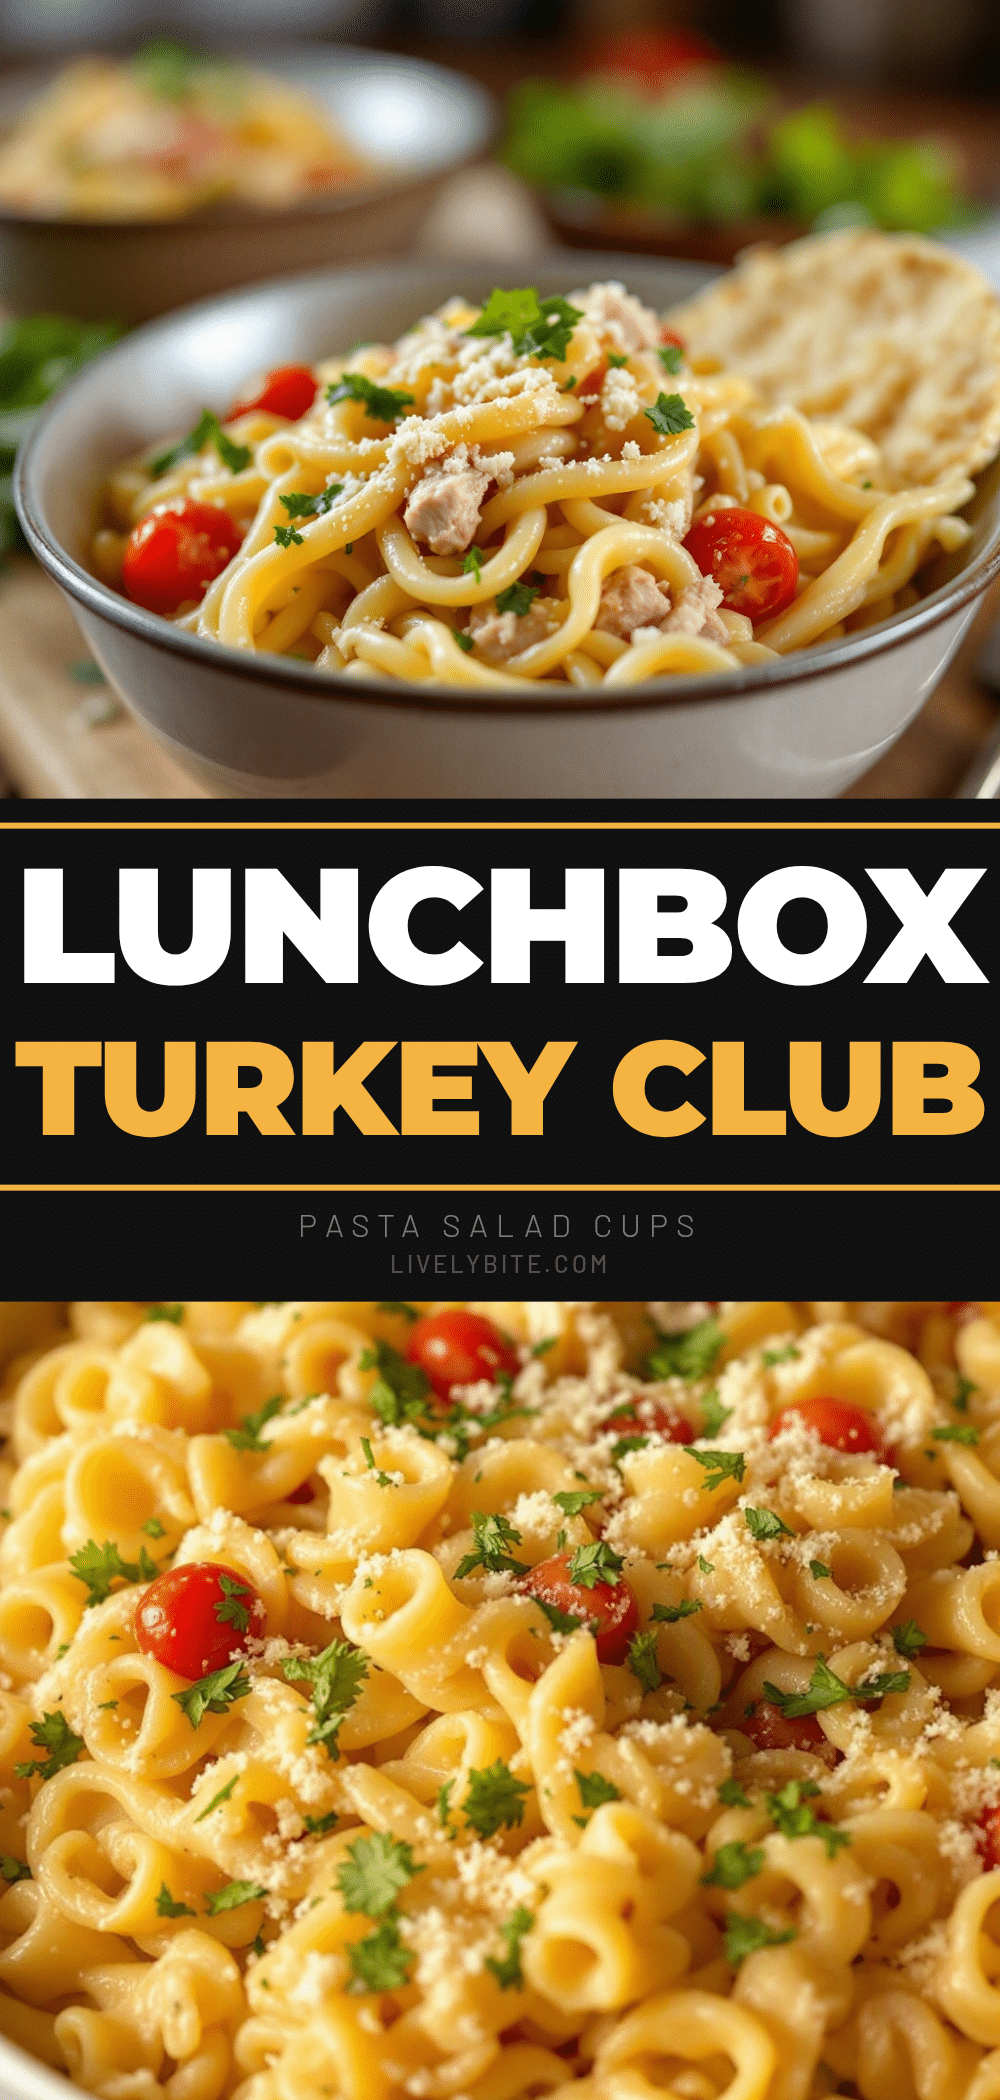
Easy Turkey Club Pasta Salad Lunchbox Cups
These portable pasta salad cups combine the flavors of a club sandwich with rotini pasta, turkey, bacon, and a creamy Dijon-yogurt dressing. Perfect for lunchboxes, meal prep, or potlucks.
- Prep Time: 20 minutes
- Cook Time: 15 minutes
- Total Time: 35 minutes
- Yield: 12 cups 1x
- Category: Main Course
- Cuisine: American
Ingredients
- 12 oz rotini pasta
- 8 oz deli turkey, diced
- 6 strips bacon, cooked and crumbled
- 1 cup cherry tomatoes, halved
- 1 cup romaine lettuce, chopped (optional, add before serving)
- 1 cup sharp cheddar cheese, cubed small
- 1/2 cup mayonnaise
- 1/4 cup Greek yogurt
- 1 tablespoon Dijon mustard
- 1 tablespoon apple cider vinegar
- 1/2 teaspoon garlic powder
- Salt and black pepper to taste
- 2 tablespoons fresh parsley, chopped (optional)
Instructions
- Cook the pasta: Bring a large pot of salted water to a rolling boil. Add the rotini and cook according to package directions until al dente (about 8-9 minutes). Drain in a colander and rinse with cold water to stop the cooking. Shake off excess water and let it sit in the colander while you prep everything else.
- Cook the bacon: While the pasta cooks, lay the bacon strips in a cold skillet. Turn the heat to medium and cook until crispy, about 6-8 minutes, flipping once. Transfer to a paper towel-lined plate to drain and cool. Once cool enough to handle, crumble or chop into small pieces.
- Make the dressing: In a small bowl, whisk together the mayonnaise, Greek yogurt, Dijon mustard, apple cider vinegar, garlic powder, and a pinch of salt and pepper. Taste and adjust seasoning if needed. Set aside.
- Prep the mix-ins: Dice the deli turkey into small cubes (about 1/4-inch). Halve the cherry tomatoes. Cube the sharp cheddar into similar-sized pieces. Chop the romaine lettuce if using (keep separate until serving).
- Combine everything: In a large mixing bowl, add the cooled pasta, diced turkey, crumbled bacon, halved cherry tomatoes, and cubed cheddar. Pour the dressing over the top and toss gently until everything is evenly coated.
- Portion into cups: If using a muffin tin, line the cups with silicone liners or spray with non-stick spray. Divide the pasta salad evenly among 12 cups. Press down gently with the back of a spoon so each cup is compact.
- Add lettuce (optional): If serving right away, top each cup with a small handful of chopped romaine. If prepping for the week, leave the lettuce off and add it fresh before serving.
- Chill: Refrigerate the cups for at least 30 minutes before serving. They will keep in the fridge for up to 4 days.
Notes
Cook bacon extra crispy to maintain texture. Cool pasta completely before mixing to avoid gummy salad. For best flavor, let cups chill for a few hours before serving. If storing, keep lettuce separate and add fresh before serving. Do not freeze.
Nutrition
- Serving Size: 1 cup
- Calories: 245
- Sugar: 2
- Sodium: 580
- Fat: 12
- Saturated Fat: 4
- Carbohydrates: 22
- Fiber: 2
- Protein: 14
Keywords: pasta salad, lunchbox, turkey club, meal prep, easy lunch, kid-friendly, portable


