The little plastic spider legs poking out from between the cheese cubes. That’s what did it for my three-year-old. Not the candy, not the cookies—the way a black spider leg looked like it was crawling out of a cheddar block. I knew right then this Easy Mini Halloween Charcuterie Board for Kids was going to be a staple. I’d spent the morning trying to figure out how to make Halloween snacks that weren’t just a sugar free-for-all, and honestly, I was overthinking it. Then I remembered: kids don’t need fancy. They need fun. And this board? It’s pure fun on a plate. It’s the kind of thing you put together in fifteen minutes, and your kids act like you’re the coolest parent on the block. The best part is, they actually eat it. No tricks, just treats.
I was standing in my kitchen, staring at a bag of clementines and a block of cheese, when I realized I had everything I needed. A few cookie cutters, some googly eyes, and a handful of pretzel sticks later, I had a spread that looked like it belonged at a Halloween party. This mini charcuterie board isn’t just about the food—it’s about the experience. Watching their faces light up when they see a cheese ghost or a cucumber monster is honestly better than any store-bought costume. It’s a small moment, but it sticks with you. And that’s why I keep coming back to this recipe.
Why You’ll Love This Mini Halloween Charcuterie Board
Look, I’ve tested a lot of holiday snacks. Some are too complicated, some are too sugary, and some just don’t hold up to little hands. This board solves all of that. It’s quick, it’s easy, and it’s actually something kids will eat. Here’s why it works:
- Quick & Easy: You can throw this together in under 15 minutes. No baking, no cooking, no stress. It’s perfect for a last-minute Halloween party or a pre-trick-or-treat snack.
- Simple Ingredients: You probably already have most of this stuff in your fridge. Cheese, crackers, fruit, and a few fun decorations. No fancy grocery runs.
- Perfect for Halloween: Whether it’s a class party, a family movie night, or just a fun afternoon snack, this board sets the mood. It’s spooky without being scary.
- Crowd-Pleaser: I’ve served this to toddlers, school-age kids, and even adults. Everyone picks at it. It’s the kind of snack that disappears fast.
- Unbelievably Delicious: The combination of creamy cheese, crunchy crackers, and sweet fruit is a classic. But when you shape it like a ghost or a bat? It’s next-level.
What makes this different from other Halloween snack boards is the focus on real food. I’m not using candy to make it fun. I’m using cookie cutters and a little imagination. It’s healthier, but it still feels like a treat. And that’s a win in my book.
What Ingredients You Will Need
This recipe uses simple, wholesome ingredients to create a fun and festive Halloween snack. You don’t need anything fancy—just a few pantry staples and some creative decorations. Here’s what you’ll need:
- Cheese: Use block cheese like cheddar, gouda, or mozzarella. Pre-sliced cheese won’t hold the cookie cutter shapes as well. I recommend a sharp cheddar for the best flavor and color contrast. (Cheddar makes the best ghosts and bats.)
- Crackers: Any plain or lightly salted cracker works. I like whole wheat or seed crackers for a bit of texture. Avoid flavored crackers that might clash with the cheese.
- Fruit: Red grapes, clementines, and apple slices are my go-tos. The grapes look like spider bodies, and the clementines add a pop of orange. For apple slices, toss them in a little lemon juice to stop browning.
- Vegetables: Cucumber slices and baby carrots are great for adding crunch. Use a small bat or ghost cookie cutter on the cucumber for a fun touch. (Pro tip: slice the cucumber thin so the shapes hold.)
- Protein: Turkey or ham slices rolled up make great “mummies.” You can wrap them in a strip of cheese for a bandage effect. Or just add some pepperoni slices for a pop of color.
- Decorations: Edible googly eyes, pretzel sticks, and black olives. The olives can be halved to look like spider bodies. Pretzel sticks make great witch broom handles or spider legs.
- Dips: A small bowl of ranch dressing or hummus is optional but nice. You can add a drop of green food coloring to the ranch to make it look like “monster slime.”
For the best results, keep everything cold until you’re ready to assemble. Room-temperature cheese doesn’t cut as cleanly with cookie cutters. And if you’re using a stuffed mini pepper recipe vibe, you can swap in some mini bell peppers for extra color.
Equipment Needed
You don’t need a lot of gear for this board. A few basic tools will get the job done. Here’s what I use:
- Small Cutting Board or Platter: A wooden or slate board works best. It gives a nice contrast to the bright colors. A 12-inch board is perfect for one kid. You can also use a large dinner plate.
- Halloween Cookie Cutters: Ghost, bat, and pumpkin shapes are the most fun. You can find them at any craft store or online. They’re cheap and reusable. I’ve had my set for years.
- Small Bowls: For dips or loose items like olives. I use little ramekins or silicone cups. They keep everything contained and easy to grab.
- Paring Knife: For slicing cheese and fruit. A sharp knife makes cleaner cuts. If you’re using cookie cutters, you’ll need a knife to cut the cheese into slabs first.
- Toothpicks: For securing spider legs or holding together mummy wraps. Just be careful with little kids—you might want to skip these if your child is under three.
- Optional: Melon Baller or Small Scoop: For making cheese balls or fruit balls. It’s a nice touch, but not necessary.
If you don’t have cookie cutters, you can freehand shapes with a knife. It takes a little more time, but it works. I’ve done it when my cookie cutters were in the dishwasher. The shapes don’t have to be perfect—your kids won’t notice.
Preparation Method
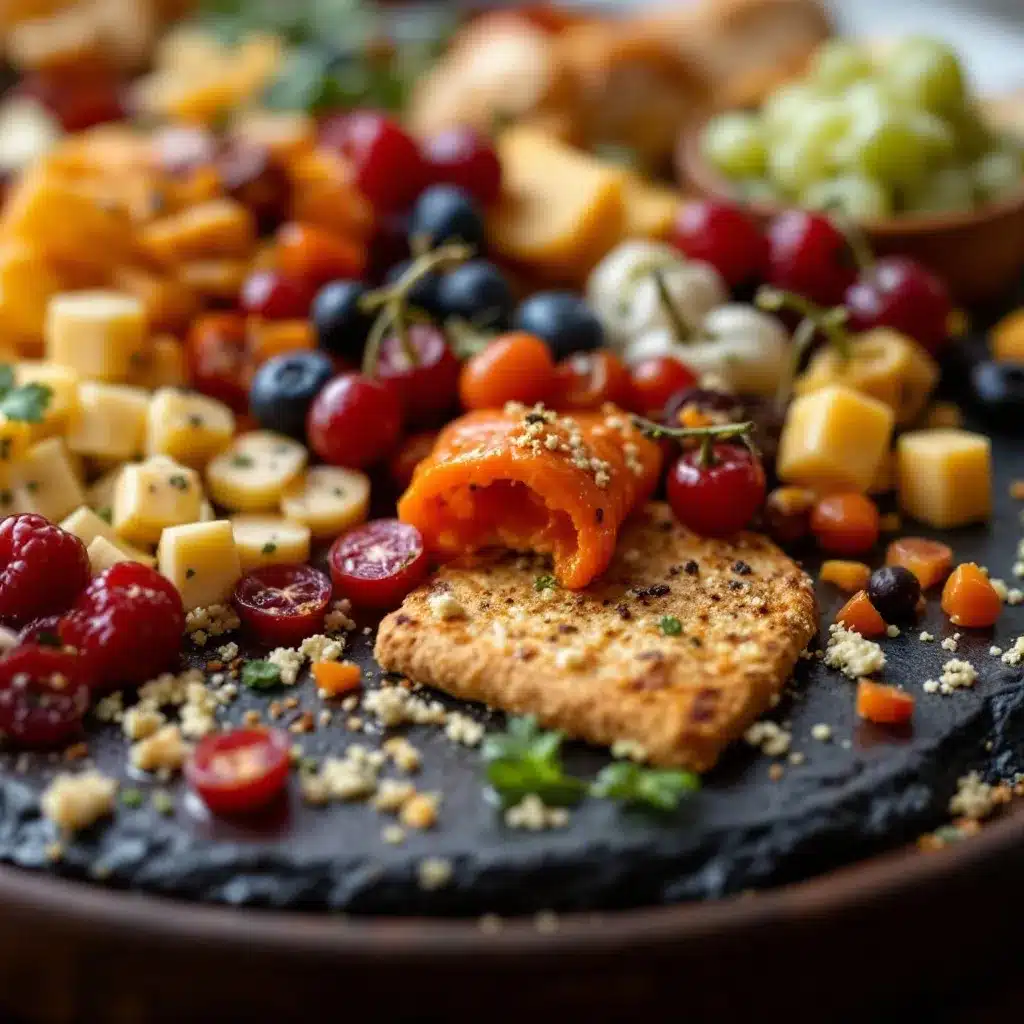
This is the fun part. Follow these steps, and you’ll have a spooky snack board in no time. I’ve included time estimates and sensory cues so you know exactly what to look for.
- Prep the cheese (5 minutes): Cut your block cheese into 1/4-inch thick slabs. Use a ghost or bat cookie cutter to press out shapes. Press firmly and twist slightly to release. The cheese should feel firm and cold. If it’s too soft, the shapes will crumble. You should get about 4-6 shapes per block of cheese.
- Prep the fruit (5 minutes): Wash and dry the grapes and clementines. Slice the apples into thin wedges and toss with a little lemon juice to prevent browning. The grapes should feel plump and firm. If you’re using cucumber, slice it into 1/4-inch rounds and use a small cookie cutter for shapes.
- Make the spider (2 minutes): Take a black olive and cut it in half lengthwise. Place one half on the board, cut side down. Use four pretzel sticks as legs—two on each side. Push them gently into the olive. The legs should look like they’re crawling. Add a small dot of cream cheese or a googly eye on top for the spider’s face.
- Assemble the board (5 minutes): Start with the dips in small bowls. Place them in the corners of the board. Arrange the cheese shapes in the center. Then add the fruit and vegetables around them. Fill any gaps with crackers and rolled-up meat. The board should look full and colorful. Don’t overcrowd it—you want everything to be easy to grab.
- Add the decorations (2 minutes): Stick edible googly eyes on the cheese ghosts. Place a few spider olives around the board. Arrange the pretzel sticks so they look like witch broom handles or fence posts. The final board should look playful and a little spooky. The kids should be able to see all the details.
- Serve immediately: This board is best eaten within 30 minutes of assembly. The cheese will start to sweat, and the crackers will get soft. If you’re making it ahead, keep the crackers separate and add them just before serving.
One thing I learned the hard way: don’t use a sharp cheddar that’s too crumbly. It won’t hold the cookie cutter shapes. Stick with a semi-firm cheese like gouda or mild cheddar. And if you’re feeling adventurous, you can even use a creamy vegan chocolate avocado pudding as a dip for the fruit—it’s a healthier sweet option that kids love.
Cooking Tips & Techniques
I’ve made this board about a dozen times now, and I’ve picked up a few tricks along the way. Here are my best tips for getting it right every time:
- Keep everything cold. Cold cheese cuts cleaner. Cold fruit stays crisp. If you’re making this ahead, keep the components in the fridge and assemble just before serving. Room-temperature ingredients get soft and lose their shape.
- Use a sharp cookie cutter. Dull cutters will crush the cheese instead of cutting it. If your cutter is stuck, dip it in hot water for a few seconds. The heat helps it slide through the cheese. Wipe it dry between cuts.
- Don’t overthink the shapes. Not every cheese cube needs to be a perfect ghost. Some will break. That’s okay—just eat those ones yourself. The kids won’t notice a few imperfect shapes.
- Layer for visual appeal. Put the tallest items in the back and the flattest items in the front. This makes the board look fuller and more inviting. I like to put the dip bowls in the corners and the cheese shapes in the center.
- Watch the salt. If you’re using salty crackers and salty cheese, go easy on the pretzels. Kids don’t need that much sodium. I use low-sodium crackers and unsalted pretzels to balance it out.
- Prep in stages. Cut the cheese and fruit the night before. Store them in separate containers in the fridge. Then all you have to do on party day is assemble. It takes five minutes.
I once forgot to chill the cheese, and my ghost shapes came out looking like blobs. My son called them “melted ghosts,” and he actually liked them more. So if things go wrong, just lean into it. Kids are forgiving.
Variations & Adaptations
This board is super flexible. You can change it up based on what your kids like or what you have on hand. Here are a few variations I’ve tried:
- Nut-Free Version: Skip any nut-based crackers or dips. Use seed crackers and hummus instead. Most kids don’t notice the difference.
- Dairy-Free Version: Use dairy-free cheese slices or just skip the cheese altogether. Load up on fruit, vegetables, and meat. You can also use avocado slices cut into shapes for a creamy element.
- Vegan Version: Use vegan cheese, fruit, vegetables, and hummus. Add some roasted chickpeas for crunch. The spider olives and pretzels are already vegan.
- Sweet Version: Swap the cheese for mini marshmallows and the crackers for graham crackers. Use fruit and a small bowl of chocolate chips. It’s more of a dessert board, but it’s still fun.
- Seasonal Version: In the fall, use apple slices and pears. In the summer, use berries and melon balls. The shapes work with any fruit that’s firm enough to cut.
- Spooky Spider Web: Use a small bowl of ranch dressing and draw a spider web on top with a squeeze bottle of green or black food coloring. It’s a simple way to add a creepy touch.
My personal favorite variation is the “monster mummy” board. I wrap turkey slices around cheese sticks and use a strip of cheddar as a bandage. Add two googly eyes on top, and you’ve got a mummy. It’s hilarious and delicious.
Serving & Storage Suggestions
This board is best served immediately, but you can prep everything ahead. Here’s how to handle serving and storage:
- Serving Temperature: Serve everything cold or at room temperature. The cheese should be cold enough to hold its shape but not so cold that it’s hard to bite. Take the cheese out of the fridge 10 minutes before serving.
- Presentation: Arrange the board on a flat platter or cutting board. Use small bowls for dips and loose items. Add a few spooky decorations around the board—I like to put a plastic spider or two on the side for atmosphere.
- Complementary Dishes: This board pairs well with cucumber mint green tea cooler for a refreshing drink option. For a heartier meal, serve it alongside a honey garlic chicken meal prep bowl. The flavors balance nicely.
- Storage: If you have leftovers (unlikely), store the components separately. Cheese goes in an airtight container. Fruit and vegetables go in a separate container. Crackers go in a ziplock bag. Don’t store assembled items—they’ll get soggy.
- Reheating: There’s no reheating needed for this board. If the cheese has softened, just pop it in the fridge for 10 minutes before serving again.
- Flavor Development: Honestly, this board is best fresh. The crackers get soft, and the fruit starts to brown after a few hours. If you’re making it for a party, assemble it within 30 minutes of serving.
One thing I love about this board is that it’s a great way to use up leftover cheese and fruit from the week. It’s a zero-waste snack that feels special.
Nutritional Information & Benefits
This board is a balanced snack with protein, healthy fats, and fiber. Here’s a rough estimate for one serving (about 1/4 of the board):
- Calories: 250-300
- Protein: 12-15g (from cheese and meat)
- Fat: 15-20g (from cheese and crackers)
- Carbohydrates: 20-25g (from fruit and crackers)
- Fiber: 3-5g (from fruit and vegetables)
- Sugar: 10-12g (natural from fruit)
The health benefits come from the whole foods. Cheese provides calcium and protein. Fruit provides vitamins and antioxidants. Vegetables add fiber and hydration. Crackers provide energy for active kids. It’s a balanced snack that won’t spike blood sugar like candy would.
If you’re concerned about allergens, note that cheese contains dairy, and crackers may contain gluten. You can easily swap in dairy-free cheese and gluten-free crackers. The fruit and vegetables are naturally free of common allergens.
From a wellness perspective, I love that this board lets kids eat with their hands and explore different textures. It’s a sensory-friendly snack that encourages them to try new foods. My picky eater actually ate cucumber for the first time because it was shaped like a bat.
Conclusion
This Easy Mini Halloween Charcuterie Board for Kids is more than just a snack—it’s a memory. It’s the kind of thing your kids will ask for every year, and you’ll be happy to make it because it takes fifteen minutes and uses real food. No sugar crashes, no complicated recipes, just pure Halloween fun. I love how it brings the family together, even for just a few minutes before the chaos of trick-or-treating starts.
Don’t be afraid to customize it based on what your kids love. Use their favorite cheese, swap in their preferred fruit, and let them help with the assembly. My son loves placing the googly eyes on the cheese ghosts, and my daughter is all about the spider olives. It’s a team effort, and that makes it even more special.
I’d love to hear how your board turns out! Leave a comment below with your favorite variation, or tag me in your photos on social media. And if you’re looking for more easy snack ideas, check out the recipes section for more inspiration. Happy Halloween, and happy snacking!
Frequently Asked Questions
Can I make this board ahead of time?
Yes, you can prep the cheese shapes, fruit, and vegetables the night before. Store them in separate containers in the fridge. Assemble the board just before serving to keep everything fresh and crisp.
What if I don’t have Halloween cookie cutters?
You can freehand shapes with a sharp knife, or just use round cutters for a simpler look. You can also skip the shapes entirely and just arrange the ingredients in a fun pattern. Kids won’t mind.
How do I keep the fruit from browning?
Toss apple slices and pear slices in a little lemon juice or lime juice. This stops oxidation and keeps them looking fresh for a few hours. You can also use a fruit fresh product if you prefer.
Is this board safe for toddlers?
Yes, but supervise closely if you use toothpicks or pretzel sticks. For toddlers under three, skip the toothpicks and break pretzel sticks into smaller pieces. Cut grapes in half lengthwise to prevent choking.
Can I add candy to this board?
Absolutely! If you want a sweeter touch, add a small bowl of candy corn, mini chocolate bars, or gummy worms. Just be mindful of the sugar content. I prefer to keep it mostly real food with a small treat element.
Pin This Recipe!
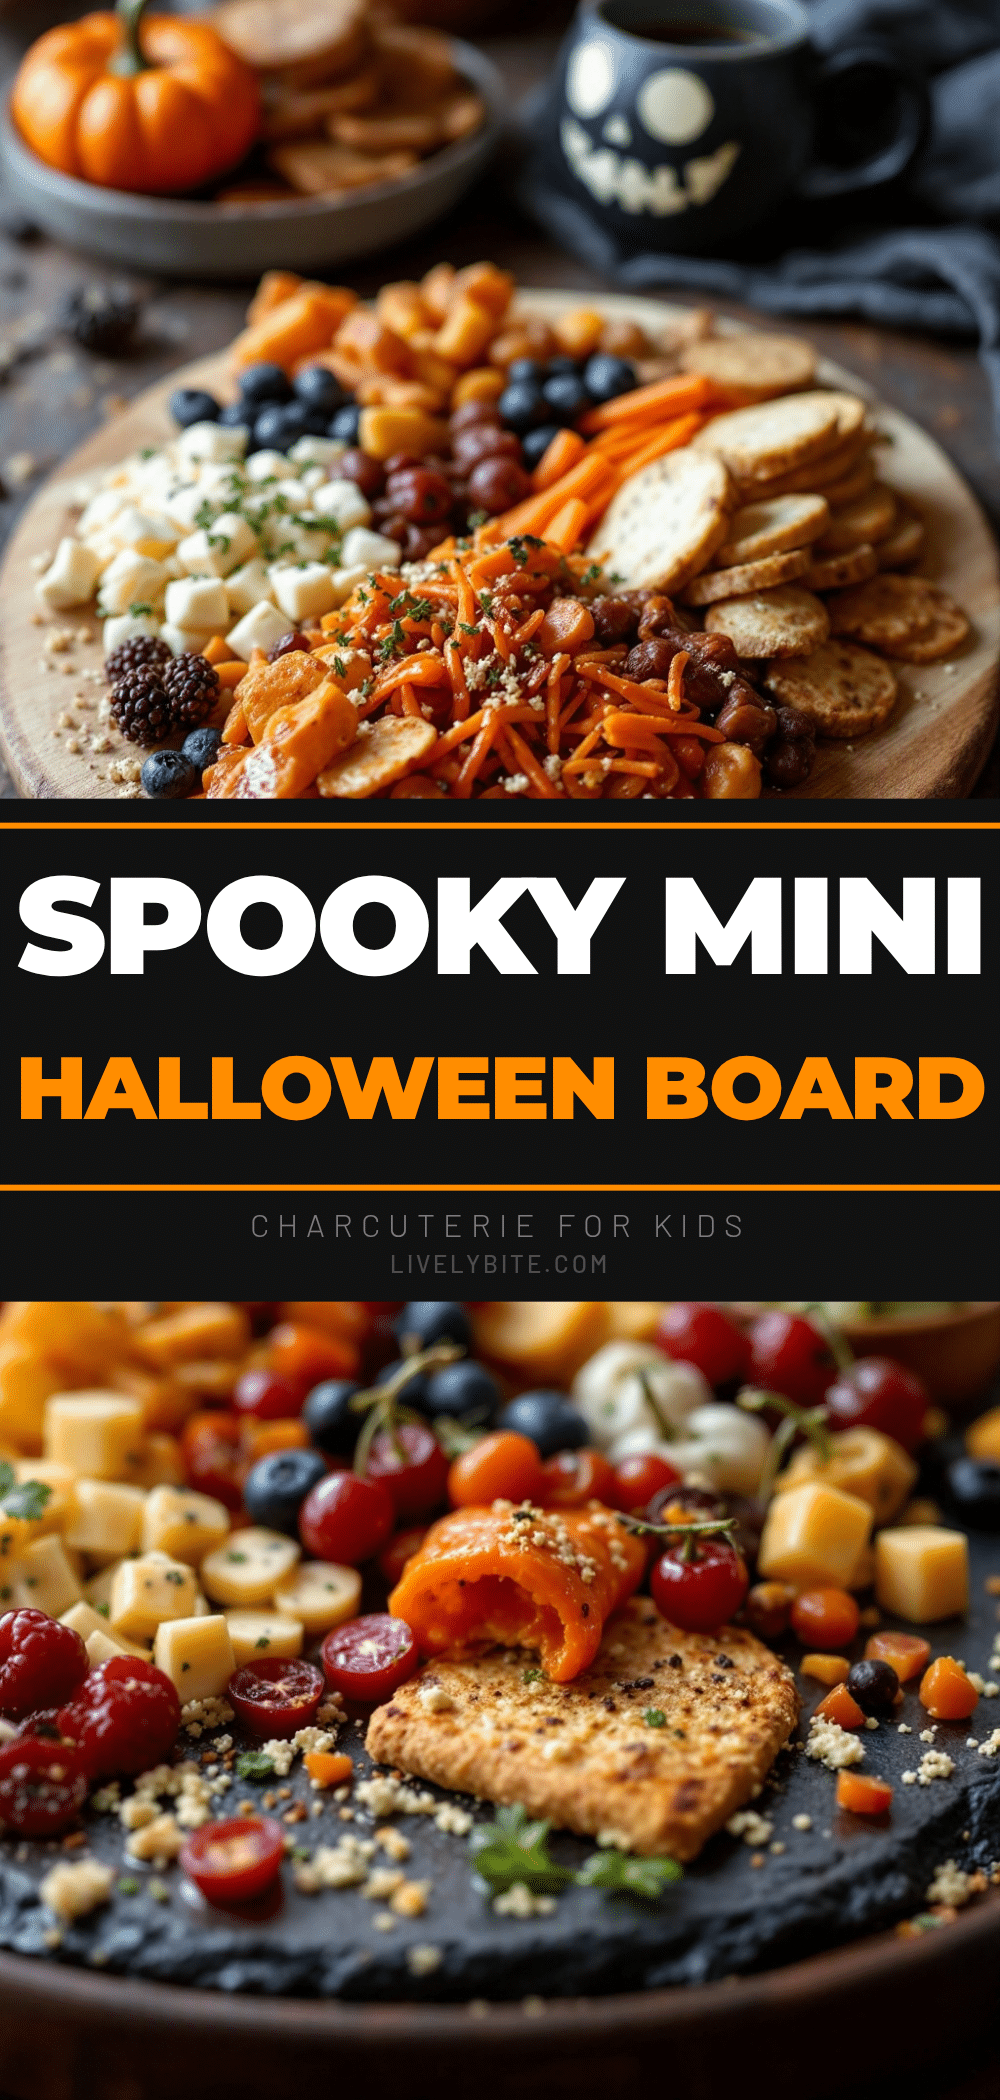
Easy Mini Halloween Charcuterie Board for Kids
A fun and spooky mini charcuterie board for kids made with cheese, fruit, vegetables, and creative Halloween decorations. Ready in 15 minutes with no cooking required.
- Prep Time: 15 minutes
- Cook Time: 0 minutes
- Total Time: 15 minutes
- Yield: 4 servings
- Category: Snack
- Cuisine: American
Ingredients
- Block cheese (cheddar, gouda, or mozzarella)
- Plain or lightly salted crackers (whole wheat or seed crackers)
- Red grapes
- Clementines
- Apple slices (tossed with lemon juice)
- Cucumber slices
- Baby carrots
- Turkey or ham slices
- Pepperoni slices (optional)
- Edible googly eyes
- Pretzel sticks
- Black olives
- Ranch dressing or hummus (optional)
- Green food coloring (optional, for monster slime dip)
Instructions
- Prep the cheese (5 minutes): Cut block cheese into 1/4-inch thick slabs. Use a ghost or bat cookie cutter to press out shapes. Press firmly and twist slightly to release. You should get about 4-6 shapes per block.
- Prep the fruit (5 minutes): Wash and dry grapes and clementines. Slice apples into thin wedges and toss with lemon juice to prevent browning. If using cucumber, slice into 1/4-inch rounds and use a small cookie cutter for shapes.
- Make the spider (2 minutes): Cut a black olive in half lengthwise. Place one half on the board, cut side down. Use four pretzel sticks as legs—two on each side. Push gently into the olive. Add a small dot of cream cheese or a googly eye on top.
- Assemble the board (5 minutes): Place dips in small bowls in the corners. Arrange cheese shapes in the center. Add fruit and vegetables around them. Fill gaps with crackers and rolled-up meat. The board should look full and colorful.
- Add the decorations (2 minutes): Stick edible googly eyes on cheese ghosts. Place spider olives around the board. Arrange pretzel sticks to look like witch broom handles or fence posts.
- Serve immediately: Best eaten within 30 minutes of assembly. If making ahead, keep crackers separate and add just before serving.
Notes
Keep cheese cold for cleaner cuts. If cheese is too soft, shapes will crumble. Use semi-firm cheese like gouda or mild cheddar—sharp cheddar can be too crumbly. For toddlers under 3, skip toothpicks and break pretzel sticks into smaller pieces. Cut grapes in half lengthwise to prevent choking. Prep cheese and fruit the night before for quicker assembly.
Nutrition
- Serving Size: 1/4 of the board
- Calories: 250300
- Sugar: 1012
- Sodium: 400500
- Fat: 1520
- Saturated Fat: 810
- Carbohydrates: 2025
- Fiber: 35
- Protein: 1215
Keywords: Halloween charcuterie board, kids snack, Halloween snack, easy charcuterie board, spooky snack, no-cook snack, kid-friendly Halloween


