The cast iron skillet sat on the cooling stove, and I just stood there, staring at the pile of dirty dishes in the sink. It was a Tuesday night, late, and the last thing I wanted was to scrub another pan. The chicken thighs were defrosted, the bell peppers were starting to wrinkle in the crisper drawer, and the fajita seasoning I’d bought on a whim was gathering dust. I wanted the deep, savory satisfaction of fajitas without the sizzling platter drama or the cleanup. That’s when the idea hit me—what if I just threw it all on one sheet pan and let the oven do the heavy lifting?
Honestly, I was skeptical. I thought sheet-pan dinners were for roasted vegetables and maybe a piece of salmon. But chicken thighs? They’re forgiving—they don’t dry out like breasts—and they love high heat. I tossed the sliced peppers and onions with oil, nestled the seasoned thighs right on top, and slid the whole thing into a screaming hot oven. Twenty-five minutes later, I pulled out a pan of caramelized edges, tender meat that pulled apart with a fork, and juices that had mingled into a little pool of magic. No flipping, no stirring, no standing over a stove.
That night, I ate my first sheet-pan chicken thigh fajita wrapped in a warm tortilla, and I knew I’d stumbled onto something worth sharing. It wasn’t just easy—it was better. The oven did what a stovetop can’t: it surrounded every piece of pepper and every thigh with even, intense heat, coaxing out sweetness and char without any work from me. This recipe became my weeknight secret, the one I turn to when I want a meal that feels like a celebration but takes almost no effort. Let me show you how it’s done.
Why You’ll Love This Recipe
I’ve tested this recipe more times than I can count—through different oven temps, different spice blends, and even with bone-in thighs (which work, but boneless is faster). Here’s why it’s become my go-to:
- One Pan, Zero Fuss : Everything cooks together on a single sheet pan. No extra pots, no splattering oil, no sink full of dishes. You line the pan with foil or parchment, and cleanup is basically a rinse.
- Juicy, Not Dry : Chicken thighs are naturally higher in fat than breasts, which means they stay moist and tender even under high heat. You get that crispy, browned exterior without any risk of chalky meat.
- Bold Flavor, Minimal Effort : A simple mix of chili powder, cumin, smoked paprika, and garlic does the heavy lifting. The oven concentrates the flavors, so you don’t need a complicated marinade or a long wait time.
- Perfect for Busy Nights : From start to table in about 35 minutes. While the chicken roasts, you can warm the tortillas, chop some cilantro, or pour yourself a drink.
- Crowd-Pleaser Approved : I’ve served this to picky eaters, spice-wary friends, and hardcore fajita fans. Everyone goes back for seconds. It’s that kind of recipe.
What sets this apart from other fajita recipes? Most versions require you to stand over a hot skillet, cooking in batches. This one hands the work to your oven, freeing you up to do literally anything else. And because the chicken thighs roast right on top of the vegetables, their juices drip down and season the peppers and onions as they cook. It’s a built-in flavor boost that you can’t get from a stovetop.
This is the kind of meal that makes you close your eyes after the first bite—not because it’s fancy, but because it’s exactly what you needed. It’s comfort food reimagined: faster, easier, and just as soul-soothing.
What Ingredients You Will Need
This recipe uses simple, pantry-friendly ingredients to deliver big, authentic fajita flavor without any fuss. Most of these are things you probably already have on hand.
- Boneless, skinless chicken thighs (1.5 lbs / 680g) – I prefer thighs for their richness and forgiving nature. They don’t dry out like breasts, and they shred beautifully after roasting. Look for thighs that are roughly the same size for even cooking.
- Bell peppers (3 medium, mixed colors) – Use a mix of red, yellow, and orange for sweetness and visual appeal. Green peppers work too, but they’re slightly more bitter. Slice them into 1/2-inch strips.
- Yellow onion (1 large) – Sliced into half-moons. Red onion is a fine substitute and adds a milder, slightly sweeter flavor.
- Olive oil (3 tablespoons / 45ml) – Use a good-quality extra virgin olive oil for roasting. Avocado oil works well too, especially if you want a higher smoke point.
- Chili powder (1 tablespoon) – This is the backbone of the fajita seasoning. I use a standard blend, but if you like heat, look for one with chipotle or ancho.
- Ground cumin (2 teaspoons) – Cumin adds that warm, earthy note that defines fajita flavor. Toast it briefly in a dry pan for extra depth (though for this recipe, mixing it with oil is fine).
- Smoked paprika (1 teaspoon) – This gives a subtle smokiness that mimics the char from a grill. Regular paprika works, but smoked is worth the splurge here.
- Garlic powder (1 teaspoon) – Not fresh garlic, which can burn at high heat. Garlic powder distributes evenly and doesn’t scorch.
- Dried oregano (1/2 teaspoon) – Mexican oregano is ideal, but Mediterranean oregano works. Rub it between your palms to release the oils before mixing.
- Salt and black pepper (to taste) – I use about 1 teaspoon of kosher salt and 1/2 teaspoon of black pepper. Adjust based on your preference.
- Lime juice (from 1 lime) – Added at the end for brightness. Don’t skip this—it lifts all the roasted flavors.
- Fresh cilantro (a handful, chopped) – For garnish. If you’re one of those people who tastes soap, skip it or use fresh parsley instead.
For serving (optional but recommended):
- Flour or corn tortillas (warmed)
- Sour cream or Greek yogurt
- Guacamole or sliced avocado
- Salsa or hot sauce
- Shredded cheese (queso fresco or cheddar)
Ingredient tips from my kitchen: I’ve tried this with jarred fajita seasoning, and while it works, the homemade blend has no anti-caking agents or sugar, so it clings better to the meat. For the peppers, I like to use at least one red bell pepper because it’s the sweetest when roasted. If you’re watching your sodium, go easy on the salt in the seasoning—you can always add more at the table.
Equipment Needed
You don’t need a lot of fancy gear for this one, which is part of the appeal. Here’s what you’ll need:
- Sheet pan (half-sheet size, 18×13 inches) – A rimmed baking sheet is essential to catch the juices. I use a heavy-duty aluminum one, but any sturdy pan works. Avoid nonstick sheets for high heat—they can warp.
- Parchment paper or aluminum foil – Lining the pan makes cleanup even easier. If you use foil, lightly grease it so the chicken doesn’t stick.
- Chef’s knife and cutting board – For slicing the peppers and onions. A sharp knife makes the work quicker and safer.
- Mixing bowl (medium) – For tossing the vegetables with oil and seasoning.
- Small bowl – For mixing the spice rub.
- Tongs – For turning the chicken halfway through roasting (optional, but helpful).
- Instant-read thermometer – Not strictly necessary, but it takes the guesswork out of doneness. Chicken thighs are safe at 165°F (74°C), but I pull them at 175°F (80°C) for the most tender texture.
Budget-friendly tips: Don’t own a sheet pan? A large cast-iron skillet works beautifully—just spread everything in a single layer and roast as directed. No instant-read thermometer? Cut into the thickest thigh to check for clear juices and no pinkness. I’ve done it both ways, and the oven method is forgiving enough that you’ll be fine without the gadget.
Preparation Method
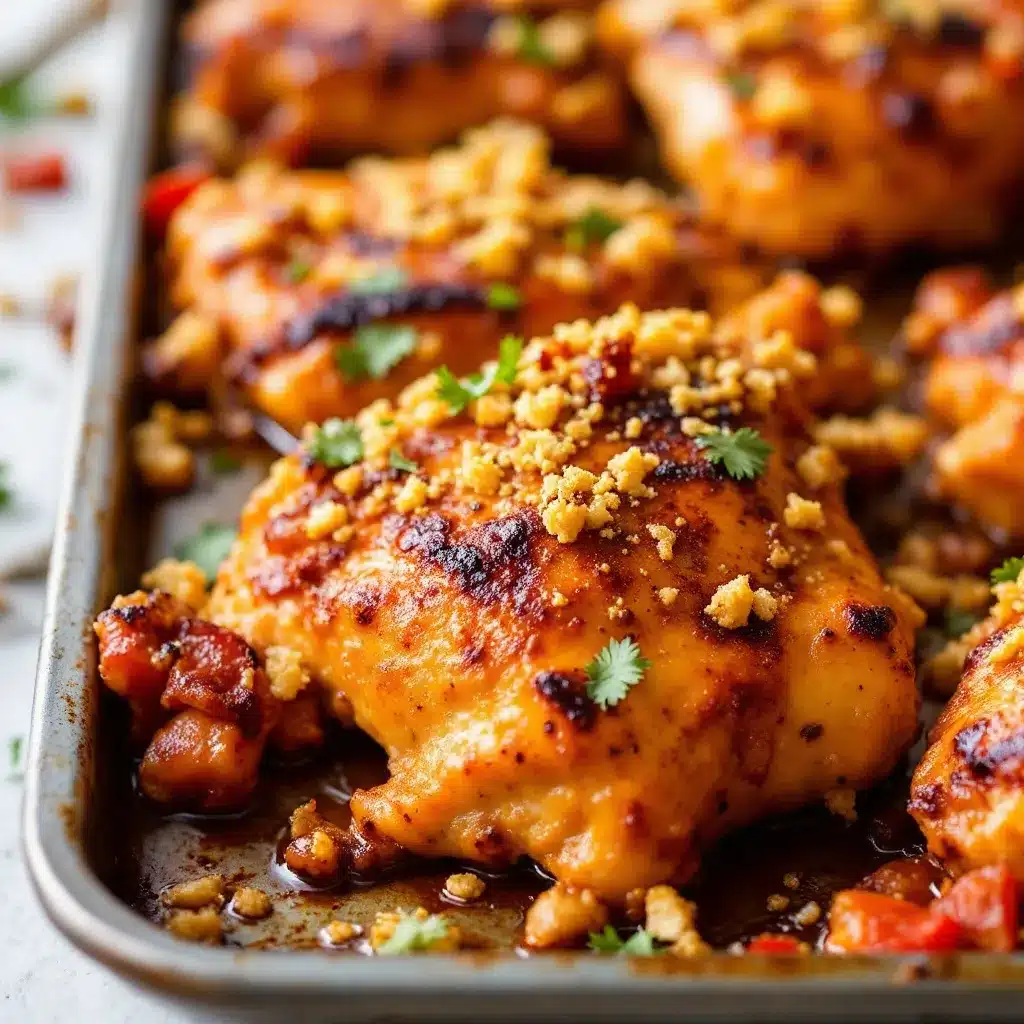
Let’s get cooking. This comes together fast, so I like to prep everything before I turn on the oven. Set your oven to 425°F (220°C) and let it preheat while you work.
- Preheat your oven to 425°F (220°C). Position the rack in the middle. A hot oven is key here—it creates the caramelization on the peppers and browns the chicken without drying it out.
- Line your sheet pan. Cover it with parchment paper or aluminum foil. If using foil, spray it lightly with cooking spray so the chicken skin doesn’t stick.
- Make the spice rub. In a small bowl, combine 1 tablespoon chili powder, 2 teaspoons cumin, 1 teaspoon smoked paprika, 1 teaspoon garlic powder, 1/2 teaspoon dried oregano, 1 teaspoon kosher salt, and 1/2 teaspoon black pepper. Stir with a fork to break up any clumps.
- Season the chicken. Pat the chicken thighs dry with a paper towel (this helps the seasoning stick and promotes browning). Place them in a large bowl, drizzle with 1 tablespoon of olive oil, and sprinkle with half of the spice rub. Toss to coat evenly. Set aside.
- Prepare the vegetables. Slice the bell peppers into 1/2-inch strips and the onion into half-moons. In the same bowl you used for the chicken (less cleanup!), combine the peppers and onion with the remaining 2 tablespoons of olive oil and the rest of the spice rub. Toss well so every piece is coated.
- Arrange on the sheet pan. Spread the seasoned peppers and onions in an even layer on the prepared pan. Nestle the chicken thighs on top of the vegetables, skin-side up (if they have skin) or simply spaced evenly. Don’t overcrowd—if the thighs are touching, they’ll steam instead of brown. Leave a little space between each piece.
- Roast for 20 minutes. Place the pan in the preheated oven. Set a timer. No peeking for the first 15 minutes—you want that heat to stay consistent.
- Flip and finish. After 20 minutes, remove the pan from the oven. Using tongs, flip the chicken thighs over. The undersides should be golden and the peppers starting to soften. Return the pan to the oven and roast for another 5-10 minutes, until the chicken reaches an internal temperature of 165°F (74°C) and the peppers are tender with charred edges.
- Rest and squeeze. Remove the pan from the oven and let it rest for 5 minutes. This lets the juices redistribute. Squeeze the juice of one lime over everything—this brightens the flavors and deglazes the pan slightly, creating a little sauce.
- Slice or shred. Transfer the chicken thighs to a cutting board. Let them rest for a minute, then slice against the grain into strips, or shred with two forks. Return the chicken to the pan with the peppers and toss gently to combine. Garnish with fresh cilantro.
Sensory cues: At the 20-minute mark, your kitchen should smell like a taqueria. The peppers will be soft and starting to blister, and the chicken will have deep brown patches. If you hear a gentle sizzle when you open the oven, that’s perfect—it means the sugars in the peppers are caramelizing. The chicken should release easily from the pan when it’s ready; if it sticks, give it another minute or two.
My personal tip: I used to skip the flip step, thinking the oven would do all the work. But that quick turn at 20 minutes makes a real difference in browning the second side. Don’t skip it—it’s two minutes of effort for way better color and texture.
Cooking Tips & Techniques
I’ve made this recipe enough times to learn a few things the hard way. Here’s what I wish someone had told me:
- Don’t crowd the pan. If your sheet pan is too small, the vegetables will steam instead of roast. Use a half-sheet pan (18×13 inches) and spread everything in a single layer. If you need to double the recipe, use two pans.
- Pat the chicken dry. Wet chicken won’t brown. Take an extra 30 seconds to blot the thighs with a paper towel before seasoning. It’s the single easiest way to get that golden crust.
- Use high heat. 425°F (220°C) is non-negotiable. Lower temperatures will cook the chicken through, but you’ll lose the caramelization on the peppers and the browning on the meat. Trust the heat.
- Let it rest. I know you’re hungry, but cutting into the chicken immediately will release all its juices onto the cutting board. A 5-minute rest keeps the meat moist and tender.
- Toast your tortillas. While the fajitas rest, warm your tortillas directly over a gas flame (using tongs) for about 15 seconds per side, or in a dry skillet. This makes them pliable and adds a slight smokiness that complements the fajitas.
A mistake I made: The first time I made this, I used chicken breasts instead of thighs because I thought they were healthier. They came out dry and stringy. Thighs are more forgiving, and honestly, the flavor is so much better. If you must use breasts, reduce the cooking time to 15-18 minutes total and check for doneness early.
Timing strategy: While the fajitas roast, I prep my toppings—slice the avocado, chop the cilantro, mix the sour cream with a squeeze of lime. This way, everything is ready when the pan comes out of the oven, and dinner is on the table in under 40 minutes.
Variations & Adaptations
This recipe is endlessly adaptable. Here are a few ways I’ve tweaked it depending on what I have on hand or who I’m feeding:
- Make it low-carb or keto: Skip the tortillas and serve the fajitas over a bed of lettuce or cauliflower rice. The chicken and peppers are naturally low-carb, so this is an easy swap. I’ve also served them in large romaine leaves for a crunchy wrap.
- Add extra vegetables: Throw in sliced zucchini, yellow squash, or even halved cherry tomatoes during the last 10 minutes of roasting. Mushrooms are great too—they soak up the seasoned juices beautifully.
- Switch up the protein: Boneless chicken breasts work (see my note above about timing), but so do shrimp (add during the last 8 minutes of roasting) or skirt steak (slice thinly against the grain and roast for 12-15 minutes).
- Make it vegetarian: Replace the chicken with extra-firm tofu (pressed and cubed) or portobello mushroom caps (sliced thick). Toss them with the same spice rub and roast for 20-25 minutes.
- Turn up the heat: Add 1/2 teaspoon of cayenne pepper to the spice rub, or toss in a sliced jalapeño with the peppers. For a smoky kick, use chipotle powder instead of smoked paprika.
A personal variation I love: Sometimes I add a can of drained and rinsed black beans to the sheet pan during the last 10 minutes of roasting. They get slightly crispy on the outside and creamy on the inside, and they soak up all those spicy juices. It turns the fajitas into a heartier meal with almost no extra effort.
Serving & Storage Suggestions
These fajitas are best served warm, straight from the oven, but they’re still delicious the next day. Here’s how to make the most of them:
- Serving temperature: Serve immediately after resting and slicing. The peppers should be tender but still have a little bite, and the chicken should be warm and juicy. Warm tortillas are a must—cold tortillas will crack and make a mess.
- Presentation ideas: Pile the chicken and peppers onto a platter, garnish with cilantro and lime wedges, and let everyone build their own fajitas. Set out small bowls of sour cream, guacamole, salsa, and cheese so people can customize. It’s casual and interactive—perfect for a weeknight or a small gathering.
- What to serve alongside: A simple side of refreshing cucumber mint green tea cooler balances the warmth of the fajitas beautifully. For a starter, try easy Mediterranean stuffed mini peppers with feta—they’re light, tangy, and a great lead-in to the main event.
Storage instructions: Let any leftovers cool completely, then store the chicken and peppers together in an airtight container in the refrigerator for up to 4 days. The flavors actually deepen overnight, making leftovers ideal for lunch or a quick dinner the next day.
Reheating tips: Reheat in a skillet over medium heat for 3-5 minutes, stirring occasionally, until warmed through. The microwave works in a pinch, but it will soften the peppers. For best results, add a splash of water or lime juice to the skillet to revive the moisture. Avoid reheating in the oven—it can dry out the chicken.
Freezer-friendly: You can freeze the cooked fajita mixture in a freezer-safe bag or container for up to 3 months. Thaw overnight in the refrigerator, then reheat in a skillet. I like to portion it into single servings so I can grab exactly what I need.
How flavors develop: The day after making these, the peppers absorb even more of the spice rub, and the chicken becomes almost confit-like in tenderness. Honestly, I sometimes make a double batch just for the leftovers.
Nutritional Information & Benefits
This recipe is as nourishing as it is delicious. Here’s an approximate breakdown per serving (based on 4 servings, without tortillas or toppings):
| Nutrient | Amount per Serving |
|---|---|
| Calories | 385 |
| Protein | 32g |
| Fat | 22g |
| Saturated Fat | 5g |
| Carbohydrates | 12g |
| Fiber | 4g |
| Sugar | 6g |
| Sodium | 680mg |
Health benefits: Chicken thighs are a great source of high-quality protein, iron, and B vitamins, which support energy metabolism and immune function. Bell peppers are packed with vitamin C—one serving provides more than 100% of your daily needs. The olive oil adds heart-healthy monounsaturated fats, while the cumin and chili powder offer anti-inflammatory properties.
Dietary considerations: This recipe is naturally gluten-free and dairy-free (as written). For a low-carb option, skip the tortillas and serve over greens. If you’re watching sodium, reduce the salt in the spice rub to 1/2 teaspoon and add more at the table. The only potential allergen is the chicken itself—no nuts, soy, or eggs are used.
My wellness perspective: I don’t believe in “good” or “bad” foods, but I do believe in meals that make you feel good. This one hits the spot—it’s satisfying without being heavy, and it’s packed with real, whole ingredients. That’s the kind of balance I can get behind.
Conclusion
This sheet-pan chicken thigh fajita recipe is proof that you don’t need a sizzling platter or a pile of dishes to get incredible fajitas at home. It’s fast, it’s forgiving, and it delivers the kind of deep, roasted flavor that makes you forget you barely lifted a finger. Whether you’re feeding a hungry family on a Tuesday night or meal-prepping for the week ahead, this one-pan wonder has your back.
I love this recipe because it’s honest—it doesn’t pretend to be fancy, but it delivers every single time. The chicken stays juicy, the peppers get sweet and charred, and the whole thing comes together with ingredients you probably already have. If you make it, don’t be afraid to tweak the spice level or throw in whatever vegetables are lingering in your fridge. That’s the beauty of a recipe like this—it works with you, not against you.
I’d love to hear how yours turn out. Did you add extra heat? Serve it with something unexpected? Drop a comment below and let me know—your tweaks might inspire someone else’s dinner tonight. And if you’re looking for another effortless meal, check out this easy lemon herb salmon sheet pan dinner for a lighter but equally satisfying option. Happy cooking, friends!
Frequently Asked Questions
Can I use chicken breasts instead of thighs?
Yes, but be careful. Chicken breasts cook faster and can dry out easily. Reduce the roasting time to 15-18 minutes total, and check for doneness at 15 minutes. I recommend pounding the breasts to an even thickness for the most consistent results.
Do I have to flip the chicken halfway through?
It’s not strictly necessary, but I highly recommend it. Flipping ensures even browning on both sides and helps the chicken cook more uniformly. If you skip it, the top side might be pale while the bottom gets all the color.
Can I prep this ahead of time?
Absolutely. You can slice the peppers and onions up to 2 days in advance and store them in an airtight container in the fridge. The spice rub can be mixed and stored in a jar for months. When you’re ready to cook, just toss everything together and roast.
How do I prevent the chicken from sticking to the pan?
Line your sheet pan with parchment paper or aluminum foil and give it a light spray of cooking oil. The parchment is my go-to—nothing sticks, and cleanup is a breeze. If you use foil, make sure it’s nonstick foil or grease it well.
What should I do with leftovers?
Leftovers are fantastic. Store the chicken and peppers together in the fridge for up to 4 days. Reheat in a skillet over medium heat with a splash of water or lime juice. They’re great in quesadillas, on salads, or even stuffed into baked potatoes.
Pin This Recipe!
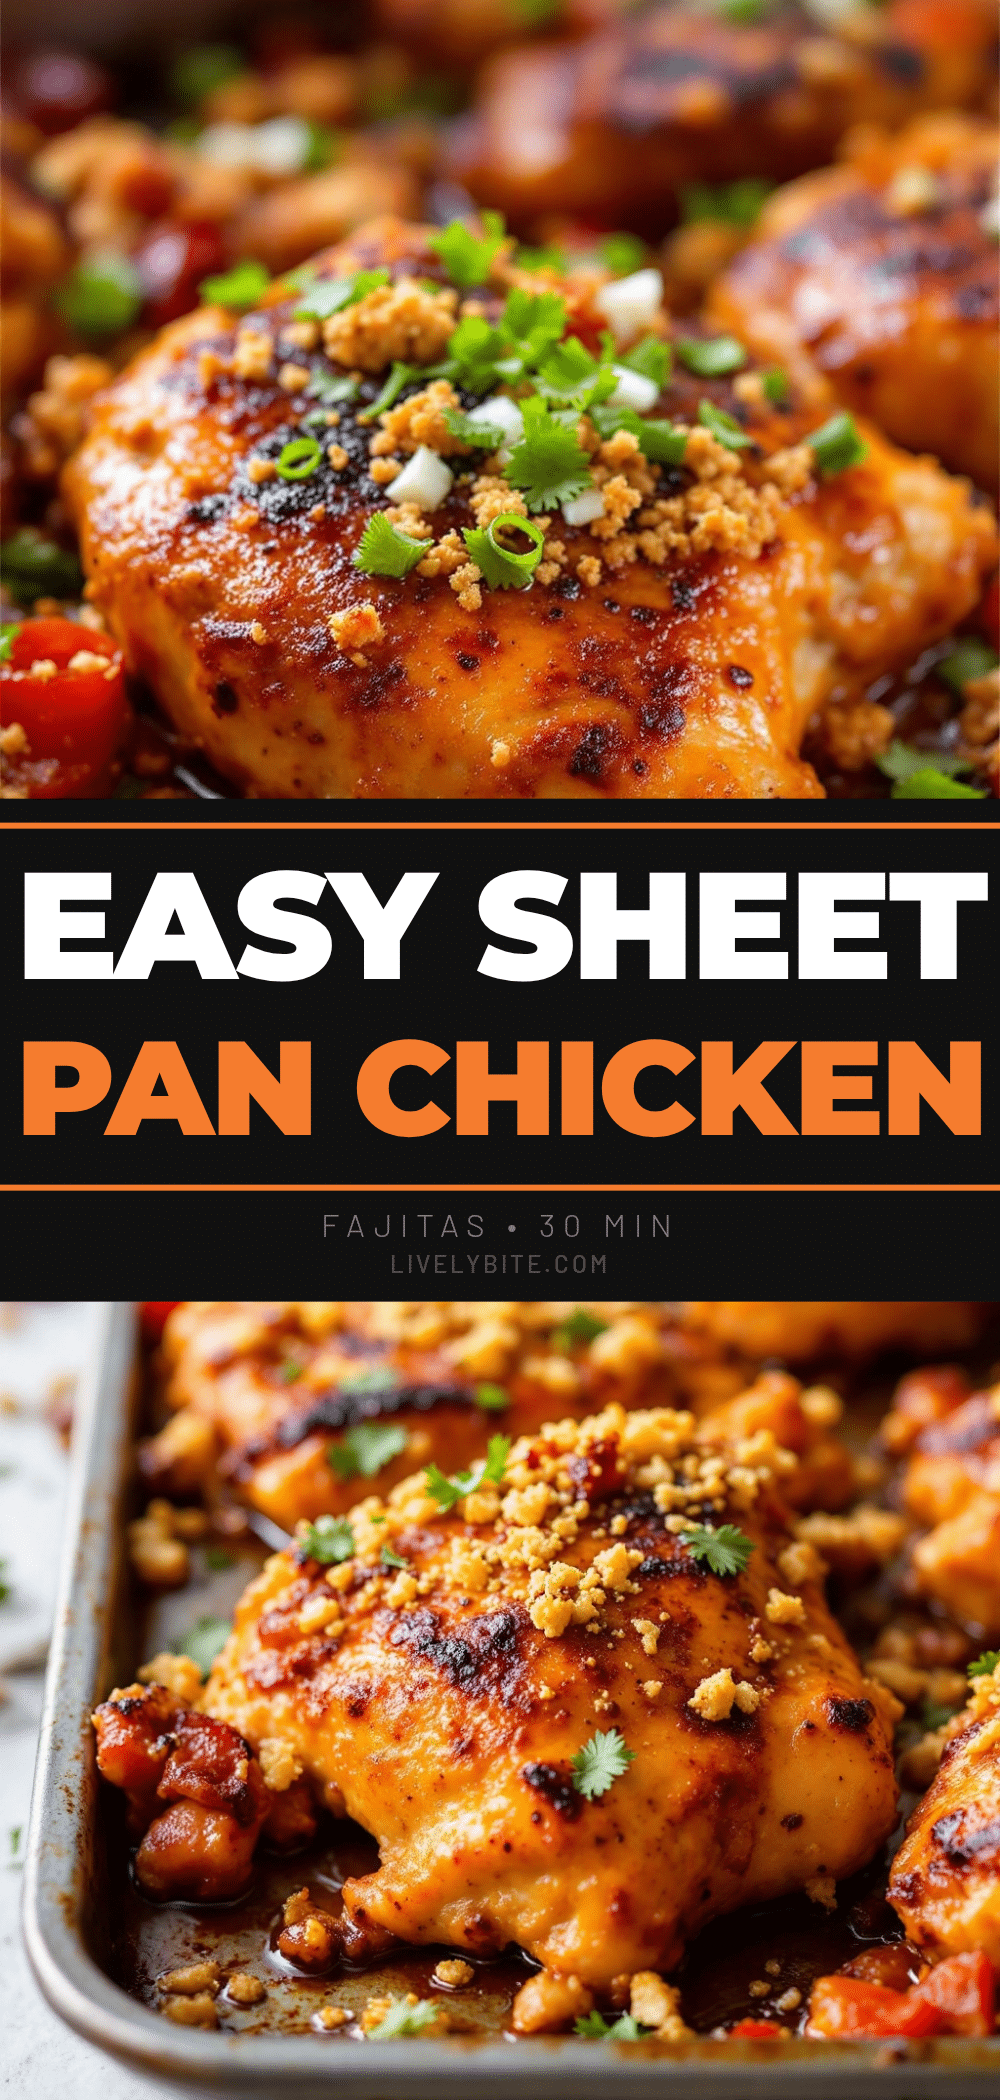
Easy Sheet-Pan Chicken Thigh Fajitas: Best One-Pan Dinner

Juicy chicken thighs and caramelized peppers and onions roasted together on a single sheet pan for a quick, flavorful, and fuss-free weeknight dinner. Ready in about 35 minutes with minimal cleanup.
- Prep Time: 10 minutes
- Cook Time: 25 minutes
- Total Time: 35 minutes
- Yield: 4 servings 1x
- Category: Main Course
- Cuisine: Mexican
Ingredients
- 1.5 lbs (680g) boneless, skinless chicken thighs
- 3 medium bell peppers (mixed colors), sliced into 1/2-inch strips
- 1 large yellow onion, sliced into half-moons
- 3 tablespoons (45ml) olive oil
- 1 tablespoon chili powder
- 2 teaspoons ground cumin
- 1 teaspoon smoked paprika
- 1 teaspoon garlic powder
- 1/2 teaspoon dried oregano
- 1 teaspoon kosher salt
- 1/2 teaspoon black pepper
- Juice of 1 lime
- Fresh cilantro, chopped (for garnish)
- Flour or corn tortillas (for serving, optional)
- Sour cream or Greek yogurt (for serving, optional)
- Guacamole or sliced avocado (for serving, optional)
- Salsa or hot sauce (for serving, optional)
- Shredded cheese (queso fresco or cheddar, for serving, optional)
Instructions
- Preheat your oven to 425°F (220°C). Position the rack in the middle.
- Line your sheet pan with parchment paper or aluminum foil. If using foil, spray lightly with cooking spray.
- In a small bowl, combine 1 tablespoon chili powder, 2 teaspoons cumin, 1 teaspoon smoked paprika, 1 teaspoon garlic powder, 1/2 teaspoon dried oregano, 1 teaspoon kosher salt, and 1/2 teaspoon black pepper. Stir with a fork to break up any clumps.
- Pat the chicken thighs dry with a paper towel. Place them in a large bowl, drizzle with 1 tablespoon of olive oil, and sprinkle with half of the spice rub. Toss to coat evenly. Set aside.
- Slice the bell peppers into 1/2-inch strips and the onion into half-moons. In the same bowl, combine the peppers and onion with the remaining 2 tablespoons of olive oil and the rest of the spice rub. Toss well.
- Spread the seasoned peppers and onions in an even layer on the prepared pan. Nestle the chicken thighs on top of the vegetables, skin-side up (if they have skin) or simply spaced evenly. Leave a little space between each piece.
- Roast for 20 minutes. Do not open the oven for the first 15 minutes.
- After 20 minutes, remove the pan from the oven. Using tongs, flip the chicken thighs over. Return the pan to the oven and roast for another 5-10 minutes, until the chicken reaches an internal temperature of 165°F (74°C) and the peppers are tender with charred edges.
- Remove the pan from the oven and let it rest for 5 minutes. Squeeze the juice of one lime over everything.
- Transfer the chicken thighs to a cutting board. Let them rest for a minute, then slice against the grain into strips, or shred with two forks. Return the chicken to the pan with the peppers and toss gently to combine. Garnish with fresh cilantro.
Notes
Pat chicken dry for better browning. Don’t crowd the pan—use a half-sheet pan. Flip chicken halfway through for even browning. Let rest 5 minutes before slicing. Toast tortillas over a gas flame or in a dry skillet for best texture. For chicken breasts, reduce cooking time to 15-18 minutes total.
Nutrition
- Serving Size: 1 serving (without t
- Calories: 385
- Sugar: 6
- Sodium: 680
- Fat: 22
- Saturated Fat: 5
- Carbohydrates: 12
- Fiber: 4
- Protein: 32
Keywords: sheet pan fajitas, chicken thigh fajitas, one pan dinner, easy fajitas, weeknight dinner, gluten free fajitas


