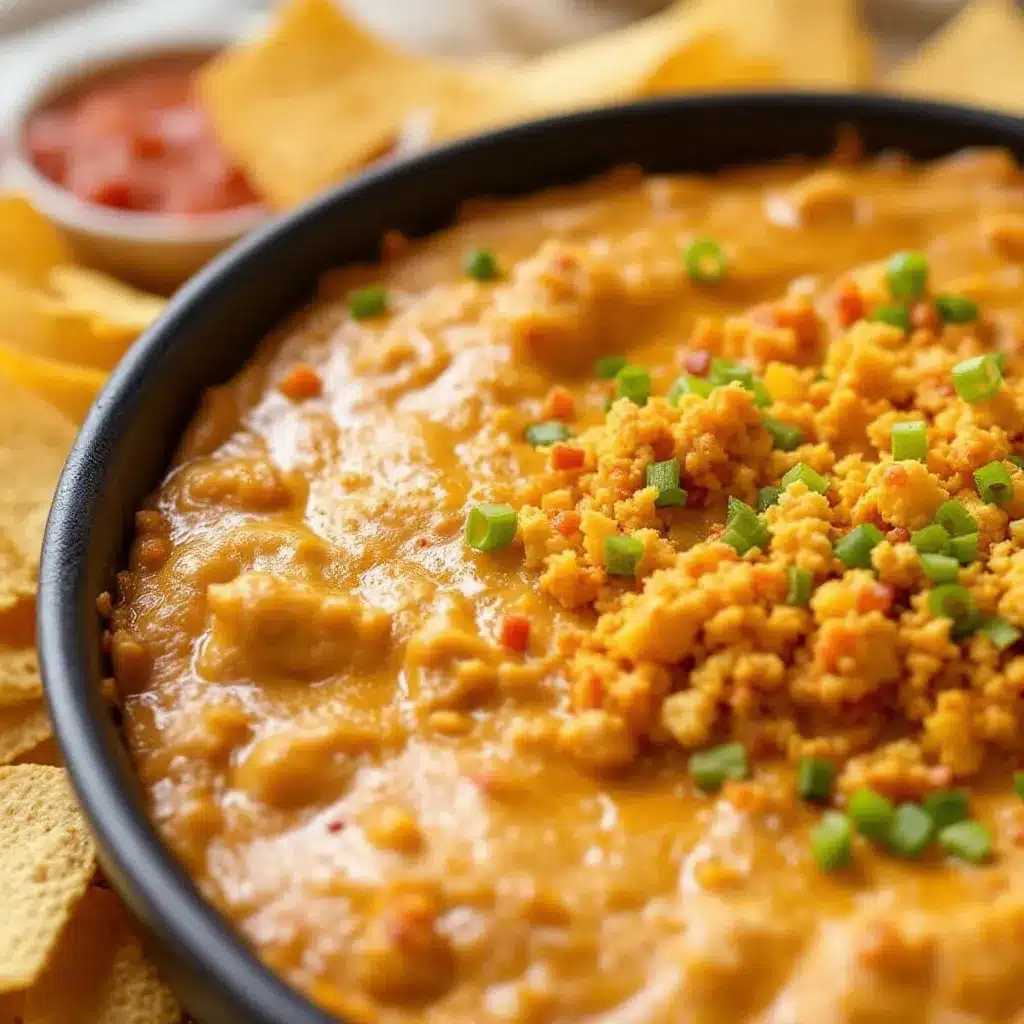
The way the melted cheese stretches from the spoon—slowly, almost reluctantly, before snapping back into the bowl—is what I made this dip for. Everything else is secondary.
I first had Hatch green chili queso at a tiny taqueria in Santa Fe, the kind of place where the menu is handwritten and the cook yells orders in Spanish. One spoonful and I forgot about my burrito entirely. The cheese was velvety, the chilies brought this subtle heat that crept up on you, and every chip came out loaded with flavor. I sat there scraping the bowl with a tortilla chip like it was my last meal.
Back home, I spent three weekends trying to recreate it. The first batch was grainy (wrong cheese). The second was bland (I skipped the roasting step). The third—well, the third was the one. My husband walked in, dipped a chip, and said, “This is dangerous.” He wasn’t wrong.
This spicy Hatch green chili queso dip isn’t complicated. It doesn’t need fancy ingredients or culinary tricks. What it needs is patience—letting the cheese melt slowly, giving the chilies time to release their smoky flavor, and trusting that simple things done right are worth the wait.
Honestly, if you’ve never cooked with Hatch chilies before, you’re in for a treat. They’re not just heat—they’ve got this earthy, almost sweet undertone that makes the cheese taste richer. And when you mix them with sharp cheddar and creamy Monterey Jack? That’s the kind of dip that makes people hover around the kitchen island, pretending to help while sneaking chips.
I should warn you: once you make this, store-bought queso will never taste the same again. And honestly, that’s the whole point.
Why You’ll Love This Recipe
Let me tell you—this isn’t just another queso recipe you’ll find online. I tested this one six times (yes, six) before I got the texture just right. Here’s why it’s the one you’ll keep coming back to:
- 30 Minutes Start to Finish: This comes together fast enough for a weeknight craving but tastes like you spent hours on it. Perfect for those “I need something cheesy right now” moments.
- Real Ingredients, No Shortcuts: No processed cheese blocks or canned soup here. Just real cheese, fresh chilies, and a few pantry staples. Your body will thank you.
- Perfect for Game Day: Whether it’s football, a family gathering, or just Tuesday night, this dip disappears faster than anything else on the table. I’ve seen it happen.
- Crowd-Pleaser with a Kick: It’s spicy enough for heat lovers but balanced enough that people who usually avoid spicy food ask for seconds. The Hatch chilies add warmth, not punishment.
- Unbelievably Silky Texture: The secret is blending a small amount of evaporated milk into the cheese base. It keeps the queso smooth even after it cools—no clumps, no graininess.
What makes this different from every other queso recipe out there? It’s the roasting technique. Most recipes just dump in canned chilies and call it a day. But taking the extra ten minutes to roast fresh Hatch chilies (or even fire-roasting canned ones under the broiler) changes everything. That char adds a smoky depth that makes the dip taste like it came from a restaurant kitchen, not your stovetop.
And let’s be honest—there’s something about dipping a warm chip into a bowl of perfectly melted cheese that feels like a hug for your soul. This isn’t just snack food. It’s comfort food reimagined—a little healthier, a lot more flavorful, and exactly what you need after a long week.
What Ingredients You Will Need
This recipe uses simple, honest ingredients to create something greater than the sum of its parts. Most of these are probably already in your kitchen—except maybe the Hatch chilies, which are worth a special trip.
For the Cheese Base
- 8 ounces sharp white cheddar cheese, freshly shredded (don’t buy pre-shredded—it has anti-caking agents that ruin the texture)
- 8 ounces Monterey Jack cheese, freshly shredded (creamier than cheddar, melts like a dream)
- 1 cup evaporated milk (not sweetened condensed milk—evaporated milk keeps the queso silky without making it sweet)
- 1 tablespoon cornstarch (toss with the shredded cheese to prevent clumping)
For the Hatch Green Chili Component
- 4 fresh Hatch green chilies (medium heat level preferred—look for ones labeled “hot” if you want more fire)
- 1 tablespoon olive oil (for roasting the chilies)
- 1/2 teaspoon kosher salt (brings out the chilies’ natural sweetness)
For the Aromatics & Flavor Base
- 2 tablespoons unsalted butter (adds richness and helps the garlic bloom)
- 3 cloves garlic, minced (fresh only—don’t use jarred garlic here)
- 1/2 small yellow onion, finely diced (about 1/4 cup)
- 1 jalapeño, seeded and minced (optional, for extra heat)
- 1 Roma tomato, seeded and diced (adds freshness and acidity)
- 1/4 cup fresh cilantro, chopped (for garnish—don’t skip it)
- Juice of 1 lime (brightens everything up)
Ingredient Selection Tip: For the best texture, I always recommend Tillamook or Cabot sharp cheddar—both melt beautifully and have that tangy bite that stands up to the chilies. If you can’t find fresh Hatch chilies, look for frozen Hatch green chilies in the freezer section (they’re often even better than canned) or use two 4-ounce cans of fire-roasted green chilies as a backup. Just drain them well first.
Substitution Guidance: Need to make this gluten-free? This recipe is naturally gluten-free as written—just double-check your cornstarch label. For a dairy-free version, use a high-quality plant-based cheddar and Monterey Jack shreds, plus full-fat coconut milk instead of evaporated milk. The texture won’t be quite as silky, but it’s still delicious. And if you’re watching your sodium, use low-sodium cheese and skip the added salt until the end—you can always adjust.
Equipment Needed
- Medium saucepan (heavy-bottomed is best—prevents scorching)
- Wooden spoon or silicone spatula (for stirring—metal can scratch your pan)
- Cutting board and chef’s knife (for dicing vegetables)
- Box grater (for shredding cheese—a food processor works too, but I actually prefer hand-grating for better texture control)
- Small bowl (for tossing cheese with cornstarch)
- Baking sheet (for roasting chilies under the broiler)
- Tongs (for turning chilies while roasting)
- Paper towels or a clean kitchen towel (for steaming off chili skins)
- Measuring cups and spoons
Personal Note on Tools: I’ve made this dip in a cheap nonstick pan and in my favorite Le Creuset Dutch oven—both work fine. The key is using a heavy-bottomed pan that distributes heat evenly. If you’re on a budget, a stainless steel pot from IKEA works perfectly. Just stir constantly and you’ll be fine. Also, don’t skip the box grater. I know it’s tempting to buy pre-shredded cheese, but trust me—freshly shredded cheese melts so much better. It’s the difference between a silky dip and a grainy one.
Preparation Method
- Roast the Hatch Chilies: Preheat your broiler to high. Place the fresh Hatch chilies on a baking sheet and drizzle with olive oil. Toss to coat. Broil for 4-5 minutes per side, until the skins are charred and blistered. Don’t walk away—they burn fast. Using tongs, transfer the charred chilies to a bowl and cover with plastic wrap or a clean kitchen towel. Let them steam for 10 minutes. This step makes the skins peel off effortlessly.
- Peel and Chop the Chilies: Once the chilies are cool enough to handle, peel off the blackened skins (they should slide right off). Remove the stems and seeds—unless you want extra heat, in which case leave some seeds in. Chop the peeled chilies into small pieces. You should have about 1/2 cup. Set aside.
- Prep the Cheese: While the chilies steam, shred both cheeses using the large holes of a box grater. Place the shredded cheese in a small bowl and toss with the cornstarch. This coating helps stabilize the cheese sauce and prevents it from separating. Trust me on this—it’s a game-changer.
- Sauté the Aromatics: In a medium saucepan over medium heat, melt the butter. Add the diced onion and cook for 3-4 minutes, until softened and translucent. Add the minced garlic and optional jalapeño, and cook for another 30 seconds until fragrant. Your kitchen should smell amazing right about now.
- Add the Chilies and Tomato: Stir in the chopped Hatch chilies and diced tomato. Cook for 2 minutes, stirring occasionally. The tomato will break down slightly, releasing its juices. This is good—it adds acidity that balances the richness of the cheese.
- Pour in the Evaporated Milk: Slowly pour in the evaporated milk while stirring. Bring the mixture to a gentle simmer over medium-low heat. Do not let it boil—boiling can cause the milk to curdle. Reduce the heat to low once you see small bubbles forming around the edges.
- Add the Cheese Gradually: This is the most important step. Add the cornstarch-coated cheese to the saucepan one handful at a time, stirring constantly in a figure-eight motion. Wait until each handful is mostly melted before adding the next. This slow incorporation ensures a silky, lump-free texture. The whole process takes about 5 minutes—don’t rush it.
- Finish with Lime and Cilantro: Once all the cheese is melted and the dip is smooth and glossy, remove the pan from heat. Stir in the lime juice and half the chopped cilantro. Taste and add salt if needed (the cheese is already salty, so go easy).
- Serve Immediately: Transfer the queso to a warm serving bowl. Top with the remaining cilantro and a few extra chopped Hatch chilies for color. Serve with tortilla chips, fresh vegetables, or warm flour tortillas.
Visual Cue: At step 7, the dip should look like liquid gold—smooth, glossy, and thick enough to coat the back of a spoon. If it looks thin, let it cook for another minute while stirring. If it looks grainy, you probably added the cheese too fast or the heat was too high. Don’t panic—just remove it from heat and whisk vigorously. It usually smooths out.
Cooking Tips & Techniques
I’ve made this dip more times than I can count, and I’ve definitely made my share of mistakes along the way. Here’s what I’ve learned so you don’t have to repeat my failures:
The Low-and-Slow Rule: Cheese sauce is not a race. Keep your heat on low-medium at most. The first time I made this, I cranked up the heat thinking it would melt faster. It didn’t. The cheese seized up into a rubbery mess, and I ended up ordering pizza. Low heat, constant stirring—that’s the secret.
Cornstarch Is Non-Negotiable: I know it’s an extra step, but tossing the shredded cheese with cornstarch before adding it to the milk prevents the proteins from clumping together. If you skip this, you risk ending up with a stringy, separated sauce. I’ve done it both ways—the difference is night and day.
Room Temperature Cheese Matters: Cold cheese straight from the fridge takes longer to melt, which means it spends more time over heat—and that increases the chance of it breaking. Let your shredded cheese sit at room temperature for 15-20 minutes before you start cooking. I keep mine in a bowl on the counter while I roast the chilies.
Multitasking Strategy: Here’s how I time it so everything comes together at once. Start roasting the chilies first (step 1). While they’re steaming under the towel, shred the cheese and toss it with cornstarch. While the aromatics sauté (step 4), peel and chop the chilies. By the time you’re ready to add the cheese, everything else is done. The whole process takes about 25 minutes from start to finish.
The Rescue Technique: If your queso starts looking grainy or separated, don’t throw it out. Remove the pan from heat immediately and add 1-2 tablespoons of cold evaporated milk. Whisk vigorously. The cold liquid helps re-emulsify the sauce. I’ve saved three batches this way, and no one ever knew.
Variations & Adaptations
One of the best things about this queso is how flexible it is. Here are some ways I’ve adapted it over the years:
Smoky Bacon Queso: Cook 4 slices of bacon until crispy, crumble them, and stir into the finished queso along with 1 teaspoon of smoked paprika. The smoky bacon flavor pairs beautifully with the roasted Hatch chilies. I made this version for a Super Bowl party and it was gone in twenty minutes flat.
Vegan Hatch Chili Queso: Substitute the cheddar and Monterey Jack with your favorite plant-based shreds (I like Violife or Daiya for melting). Use coconut oil instead of butter and full-fat oat milk instead of evaporated milk. The texture won’t be quite as stretchy, but the flavor is surprisingly close. Add 1 tablespoon of nutritional yeast for extra cheesiness.
Extra Spicy Version: Keep the seeds in one or two of the Hatch chilies, add a second jalapeño (with seeds), and stir in 1/2 teaspoon of cayenne pepper at the end. This version is not for the faint of heart—my spice-loving brother-in-law calls it “the one that makes you sweat.”
Slow Cooker Method: Sauté the aromatics on the stovetop, then transfer everything (including the cheese) to a slow cooker. Cook on low for 1-2 hours, stirring occasionally. This is perfect for parties—just set it out with chips and let people help themselves. The queso stays warm and smooth for hours.
White Bean Hatch Chili Queso: For a heartier version, stir in 1 cup of drained and rinsed canned white beans (like cannellini or Great Northern) along with the cheese. The beans add protein and fiber without changing the flavor much. My kids actually prefer this version—they don’t even notice the beans.
Personal Variation I Love: My favorite adaptation is the “Breakfast Queso”—I stir in 1/2 cup of crumbled chorizo (cooked and drained) and serve the dip over scrambled eggs with warm tortillas. It’s ridiculous and indulgent and absolutely worth the calories.
Serving & Storage Suggestions
How to Serve: This queso is best served warm, straight from the stovetop. Transfer it to a pre-warmed ceramic bowl (run it under hot water for a minute and dry it) to keep it hot longer. For parties, I like to set it out with a variety of dippers: thick tortilla chips, fresh jicama sticks, cucumber rounds, and warm flour tortillas cut into strips. The contrast of crunchy chips against the silky cheese is everything.
What to Pair It With: This queso pairs beautifully with a cold beer (a Mexican lager like Modelo or a crisp pilsner), a tangy margarita, or even a simple sparkling water with lime. For a full spread, serve it alongside my Easy Mediterranean Stuffed Mini Peppers with Feta for a colorful appetizer table. The bright, tangy peppers balance the richness of the queso perfectly.
Storage Instructions: Leftover queso can be stored in an airtight container in the refrigerator for up to 4 days. The texture will thicken as it cools—that’s normal. To reheat, warm it gently in a saucepan over low heat, stirring constantly. Add a splash of milk or evaporated milk to thin it out if needed. Avoid the microwave—it tends to make the cheese grainy.
Freezer Option: You can freeze this queso for up to 2 months, but the texture will change slightly. Thaw it in the refrigerator overnight, then reheat slowly on the stovetop with an extra tablespoon of evaporated milk. It’s still delicious, just not quite as silky as fresh. I usually freeze individual portions in small containers for quick snacks.
Flavor Development Note: Honestly, this queso actually tastes even better the next day. The flavors meld together overnight, and the heat from the Hatch chilies becomes more integrated. If you’re making this for a party, consider making it a day ahead and reheating it—your guests will never know.
Nutritional Information & Benefits
Let’s be real—this is queso, not a salad. But that doesn’t mean it’s without nutritional merit. Here’s the breakdown per serving (about 1/4 cup, assuming 8 servings per batch):
| Nutrient | Amount per Serving |
|---|---|
| Calories | 210 |
| Total Fat | 16g |
| Saturated Fat | 10g |
| Cholesterol | 45mg |
| Sodium | 380mg |
| Carbohydrates | 6g |
| Fiber | 1g |
| Sugar | 4g |
| Protein | 11g |
| Calcium | 25% DV |
| Vitamin C | 15% DV |
Health Benefits: Hatch green chilies are surprisingly good for you. They’re rich in vitamin C (more than an orange, gram for gram), vitamin A, and capsaicin—the compound that gives them heat and has anti-inflammatory properties. The cheese provides calcium and protein, which is great for bone health and muscle repair. And the garlic and onions add prebiotic fiber that supports gut health.
Dietary Considerations: This recipe is naturally gluten-free, nut-free, and vegetarian. It contains dairy and may contain sulfites (naturally occurring in dried chilies). For a lower-sodium version, use low-sodium cheese and skip the added salt—the chilies and garlic provide plenty of flavor on their own.
Personal Wellness Perspective: I believe in balance. This queso isn’t health food, but it’s made with real ingredients—no preservatives, no artificial flavors, no strange additives. When I serve it, I pair it with fresh vegetables alongside the chips, and I don’t feel guilty about enjoying a bowl of something that brings people together. Food is about connection, not perfection.
Conclusion
This spicy Hatch green chili queso dip is the kind of recipe that becomes a staple—the one you make for every party, every game day, every time you need something warm and cheesy and satisfying. It’s simple enough for a Tuesday night snack but impressive enough for a holiday gathering.
What I love most about this recipe is how forgiving it is. You can adjust the heat, swap the cheeses, add bacon or beans or chorizo—and it still works. It’s a recipe that invites experimentation, not perfection. And honestly, that’s what cooking should be about.
I’d love to hear how yours turns out. Did you add extra chilies? Try a different cheese blend? Serve it with something unexpected? Drop a comment below and let me know—I read every single one, and I love seeing how you make this recipe your own.
And if you’re looking for more game day inspiration, don’t miss my Easy Slow Cooker Honey Garlic Chicken Meal Prep Bowls—it’s the perfect make-ahead meal for busy weeks. Or check out all my favorite recipes for more ideas that bring people to the table.
Now go make some queso. Your chips are waiting.
Frequently Asked Questions
Can I use canned Hatch green chilies instead of fresh?
Absolutely. If fresh Hatch chilies aren’t available in your area (they’re seasonal, typically August through September), canned or frozen Hatch green chilies work great. Just drain them well before using. For the best flavor, look for fire-roasted canned chilies—they add that smoky depth without the extra step.
Why did my queso turn out grainy?
Grainy queso usually happens for one of three reasons: the heat was too high, the cheese was added too quickly, or you used pre-shredded cheese (which contains anti-caking agents). To fix it, remove the pan from heat and whisk in a tablespoon of cold evaporated milk. If that doesn’t work, blend the queso with an immersion blender until smooth.
Can I make this queso in advance?
Yes! This queso actually tastes better the next day. Make it up to 24 hours ahead, let it cool completely, and store it in an airtight container in the refrigerator. Reheat gently on the stovetop over low heat, stirring constantly. Add a splash of milk if it’s too thick.
How spicy is this queso on a scale of 1 to 10?
With medium-heat Hatch chilies and no jalapeño, I’d rate it about a 4 out of 10—warm and flavorful, but not overwhelming. If you add the jalapeño and keep the seeds, it bumps up to a 6 or 7. For a milder version, use mild Hatch chilies and skip the jalapeño entirely.
Can I double this recipe for a party?
Definitely. This recipe doubles beautifully. Just make sure you use a large enough pot (at least a 4-quart saucepan) and be patient when adding the cheese—doubling the batch means you need to stir even more carefully. For very large gatherings, I recommend making two separate batches rather than tripling it, as the texture is harder to control with larger quantities.
Pin This Recipe!
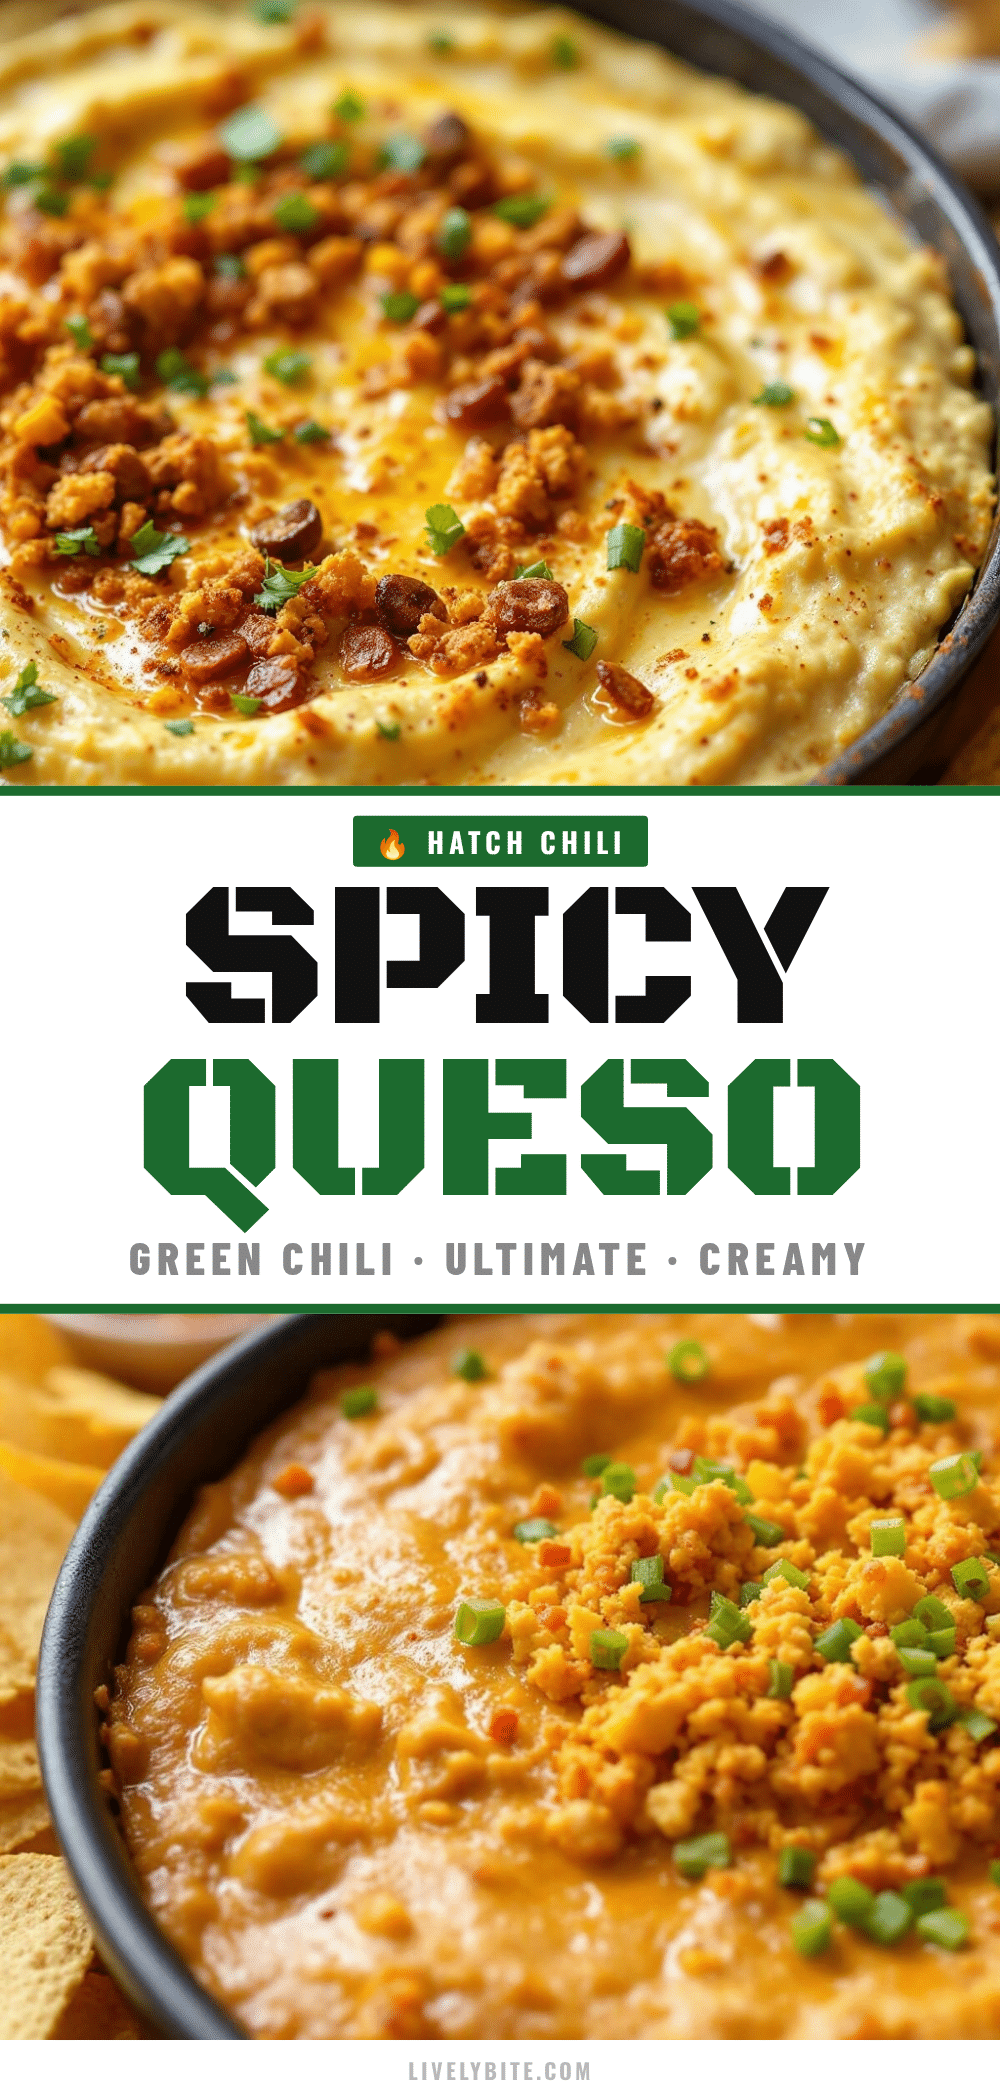
The Best Spicy Hatch Green Chili Queso Dip Recipe

This spicy Hatch green chili queso dip is velvety, smoky, and perfectly balanced—ready in 30 minutes with real ingredients. It’s the ultimate crowd-pleaser for game day or any cheesy craving.
- Prep Time: 15 minutes
- Cook Time: 15 minutes
- Total Time: 30 minutes
- Yield: 8 servings 1x
- Category: Appetizer
- Cuisine: Mexican
Ingredients
- 8 ounces sharp white cheddar cheese, freshly shredded
- 8 ounces Monterey Jack cheese, freshly shredded
- 1 cup evaporated milk
- 1 tablespoon cornstarch
- 4 fresh Hatch green chilies (medium heat)
- 1 tablespoon olive oil
- 1/2 teaspoon kosher salt
- 2 tablespoons unsalted butter
- 3 cloves garlic, minced
- 1/2 small yellow onion, finely diced (about 1/4 cup)
- 1 jalapeño, seeded and minced (optional)
- 1 Roma tomato, seeded and diced
- 1/4 cup fresh cilantro, chopped
- Juice of 1 lime
Instructions
- Roast the Hatch Chilies: Preheat broiler to high. Place chilies on a baking sheet, drizzle with olive oil, and toss to coat. Broil 4-5 minutes per side until charred and blistered. Transfer to a bowl, cover with plastic wrap or a towel, and let steam for 10 minutes.
- Peel and Chop the Chilies: Once cool, peel off blackened skins, remove stems and seeds (leave some seeds for extra heat). Chop into small pieces (about 1/2 cup). Set aside.
- Prep the Cheese: Shred both cheeses using a box grater. Place in a small bowl and toss with cornstarch.
- Sauté the Aromatics: In a medium saucepan over medium heat, melt butter. Add onion and cook 3-4 minutes until softened. Add garlic and optional jalapeño, cook 30 seconds until fragrant.
- Add the Chilies and Tomato: Stir in chopped Hatch chilies and diced tomato. Cook 2 minutes, stirring occasionally.
- Pour in the Evaporated Milk: Slowly pour in evaporated milk while stirring. Bring to a gentle simmer over medium-low heat. Do not let it boil. Reduce heat to low once small bubbles form around edges.
- Add the Cheese Gradually: Add cornstarch-coated cheese one handful at a time, stirring constantly in a figure-eight motion. Wait until each handful is mostly melted before adding the next (about 5 minutes total).
- Finish with Lime and Cilantro: Remove from heat. Stir in lime juice and half the cilantro. Taste and add salt if needed.
- Serve Immediately: Transfer to a warm serving bowl. Top with remaining cilantro and extra chopped Hatch chilies. Serve with tortilla chips, fresh vegetables, or warm flour tortillas.
Notes
For best texture, use freshly shredded cheese (not pre-shredded). Let cheese sit at room temperature for 15-20 minutes before cooking. If queso becomes grainy, remove from heat and whisk in 1-2 tablespoons cold evaporated milk. This queso tastes even better the next day.
Nutrition
- Serving Size: 1/4 cup
- Calories: 210
- Sugar: 4
- Sodium: 380
- Fat: 16
- Saturated Fat: 10
- Carbohydrates: 6
- Fiber: 1
- Protein: 11
Keywords: Hatch green chili queso, spicy queso dip, game day dip, cheese dip, Hatch chili recipe, Mexican appetizer, vegetarian queso


